Last updated November 17, 2026




Free written scope consultation - allowances, timeline, and change-order rules on paper before a single trade is scheduled
Driveway & Pavers Troubleshooting: Common Problems and How to Fix Them
If your pavers are sinking in the same spot every time, filling the void with sand isn’t a fix. It’s proof the base was never compacted correctly, and the problem will return within one season. That single insight separates a repair that lasts from one that fails before the next rainy winter in Tustin. Most driveway and paver failures aren’t random bad luck. They’re the predictable outcome of three or four installation shortcuts, and each shortcut leaves its own signature. This guide works backward from the symptom to the root cause, so you can identify which shortcut caused your specific problem and know exactly how to fix it without paying twice.
Quick Answer
Most driveway paver problems come from one of four failure points: an uncompacted base layer, washed-out bedding sand, missing or failed edge restraints, or joint sand that was never properly installed. The symptom tells you which one failed. Sinking in the same spot every time points to base failure, sand in the joints won’t fix it. Pavers spreading outward at the driveway edge point to missing restraints. White staining is usually cosmetic efflorescence, not structural damage. The correct repair depends entirely on which layer failed, and getting the diagnosis right the first time is what keeps you from paying for the same fix twice.
Styles & brands we work with
- Kitchen remodeling
- Bathroom remodeling
- Home additions & ADU
- Roofing
- Windows & doors
- Driveway & pavers
- Fence
Table of Contents
- The Diagnostic Matrix: Which Layer Failed?
- Why Pavers Sink in the Same Spot Every Time
- Edge Pavers Shifting Outward vs. Interior Pavers Shifting
- Cracked or Broken Pavers: When to Replace and When to Investigate
- Efflorescence vs. Calcium Deposits: Cosmetic Staining or Drainage Failure?
- Can It Be Lifted and Releveled? The Stick-and-Probe Test
- When a Paver Problem Voids a Manufacturer Warranty
- Common Mistakes to Avoid
- When to Call a Professional
- Frequently Asked Questions
The Diagnostic Matrix: Which Layer Failed?
Every paver system is built in layers, and each layer fails in its own distinct way. A paver driveway or walkway has four components stacked in order: the compacted sub-base, the bedding sand, the pavers themselves, and the joint sand. When a problem appears at the surface, the cause is almost always one or two layers below where you see the symptom. That’s why jumping straight to a surface fix wastes money. Before you touch anything, use this diagnostic sequence to isolate which layer failed.
Walk the area and note the exact pattern of the failure. Then cross-reference it against this table:
- Sub-base failure: Pavers sink in the same spot repeatedly, a depression returns within one season of being filled with sand, the surface feels soft or spongy when you walk on it, or a large area settles uniformly. The base underneath was never compacted to proper density or wasn’t deep enough for the load.
- Bedding sand failure: Individual pavers rock slightly underfoot, there’s a hollow sound when you tap them, or a small isolated section dips while the surrounding pavers are stable. The thin sand layer the pavers sit on has migrated or compressed irregularly.
- Joint sand failure: Sand washes out of the joints after rain, weeds grow in the gaps, the paver field loses its interlock, or the edges start to loosen. The sand that locks the pavers together has eroded and was never refilled or stabilized.
- Paver failure: Isolated cracks, chips, or spalling on individual units while the surrounding surface stays flat. This is a material or traffic-load problem, not a structural failure, and usually affects only that unit.
In Tustin, we see this pattern play out more in certain areas than others. Homes near the older streets with mature trees often have root intrusion lifting sections from below, which reads as base failure but has a different cause entirely. Newer subdivisions off Jamboree and Tustin Ranch tend to have clean installations that fail only where compaction was skipped at the edges. If your driveway drains toward the garage instead of the street, that grading error will concentrate water in one zone and accelerate whatever weakness already exists. Getting a free estimate from a contractor who reads these patterns saves far more than the cost of the diagnosis.
Why Pavers Sink in the Same Spot Every Time
A depression that returns after you fill it isn’t a sand problem. It’s a base problem. Filling it with sand addresses the symptom at the surface while the actual failure is six to eight inches below, in the sub-base layer that’s supposed to carry the load. The sand settles into the void the failed base leaves behind, and within one wet season you’re back where you started. This is the single most common waste of money we see on paver driveways in Tustin.
The correct fix depends on how far the failure extends. Here’s how the two repair approaches compare:
- Lift and relevel (minor, isolated settlement): If the failure covers a small area with stable base beneath, we remove the affected pavers, screen and recompact the bedding sand, and reset the pavers. This works when the sub-base itself is still intact.
- Full base reconstruction (recurring or widespread settlement): When the depression keeps returning or covers a large area, the sub-base has to be excavated, re-graded, and recompacted in lifts to proper density before the pavers go back down. This is the honest repair, and it’s the only one that holds.
When we work on a driveway that’s failing this way, we set the base with materials we trust, including Quikrete and Sakrete for the structural mixes, and compact in controlled lifts rather than one thick pour. The difference shows up two winters later when the neighbors’ driveways are sinking again and yours isn’t. If you’re seeing this problem recur, it’s worth a professional read before you spend another season filling it with sand. A driveway and pavers installation in Tustin done right the first time with a properly compacted base is what ends the cycle.
Edge Pavers Shifting Outward vs. Interior Pavers Shifting
Where the movement happens tells you what caused it, and conflating the two wastes repair money. Edge pavers shifting outward is almost always a restraint problem, not a base problem. Interior pavers shifting is usually the opposite. Getting this distinction wrong means you either pay to rebuild a base that was fine, or you fix a cosmetic edge issue while the real structural problem gets worse underneath.
Here’s how to tell them apart:
- Edge pavers moving outward or separating from the field: The pavers along the driveway’s edge, along the lawn, or at the garage apron are spreading, leaning, or opening gaps. This points to missing, rusted, or improperly set edge restraints. Pavers are supposed to be locked in place by a solid restraint running the full perimeter, set in concrete or spiked into the base. When that restraint is absent or failed, the paver field has nothing holding it in compression and it spreads like a deck of cards.
- Interior pavers shifting or rotating: Pavers in the middle of the field are tilting, heaving, or forming a ripple pattern. This points to base failure, root intrusion, or a drainage problem concentrating water under the surface. Restraints won’t help here because the problem is beneath the pavers, not at the perimeter.
Restraint repair is far cheaper than base reconstruction, which is why the diagnosis matters. A properly set edge restraint, whether an aluminum or concrete restraint anchored into the base, runs the full perimeter and can’t be skipped. In Tustin, homes with adjacent turf or planting beds often lose edge integrity because the original installer used plastic landscape edging instead of a structural restraint, and that’s a short-lived fix. If your driveway borders a slope or a planter where the pavers meet a lower grade, the restraint requirement is even more critical. We routinely find this on driveways where a fence installation in Tustin was added later and the crew disturbed the driveway’s edge restraint without replacing it.
Cracked or Broken Pavers: When to Replace and When to Investigate
A cracked paver is sometimes just a cracked paver, and sometimes it’s a symptom of something moving beneath it. The two situations need different responses, and the difference is usually obvious once you know what to look for. A single isolated crack in the middle of a stable field points to a material or impact problem. Cracks that appear in a line, spread across several pavers, or return after replacement point to movement below.
Use this sequence to decide:
- Check the surrounding pavers. If they’re flat and stable, the crack is isolated and the paver likely failed from a point load, a dropped object, or a manufacturing defect. Replace that unit and move on.
- Check for a crack pattern. Cracks that follow a line, form a cluster, or reappear after replacement signal that the base is moving beneath the pavers. Replacing the paver without fixing the cause means it will crack again.
- Check the joint sand. Wide open joints let pavers move independently, which causes edge chipping and cracking. If the joints have eroded, that’s a contributing cause even if the base is fine.
When repairs need new pavers that exactly match the original, whether they’re Cambridge Pavers, Oldcastle, or another line, color matching across the same production run is a real constraint. Brick-color pavers fade subtly over time, and old stock often has a slightly different tone than fresh stock. This is one of the reasons a documented installation matters: if you know the exact product, color, and lot, matching is straightforward. If you don’t, a close match becomes guesswork. In Tustin’s climate, freeze-thaw damage isn’t the cause, but our dry summer heat and wet winters do accelerate spalling on lower-density pavers that aren’t rated for the load. If you have questions about replacement matching, a free estimate from a contractor who works with these brands regularly will save you from buying the wrong batch.
Efflorescence vs. Calcium Deposits: Cosmetic Staining or Drainage Failure?
White staining on pavers falls into two categories that look similar and mean very different things. Efflorescence is a soluble salt that migrates to the surface and appears as a powdery white bloom. It’s cosmetic, it’s common, and it usually fades on its own or brushes off. Calcium deposits are the other kind: denser, harder, and often a sign of water sitting where it shouldn’t. Treating calcium deposits with aggressive acid when what you actually have is efflorescence can damage the paver surface. Treating efflorescence as a structural crisis wastes money on a problem that isn’t structural.
How to tell them apart:
- Efflorescence: Powdery white haze that brushes off or washes away with water, often more visible after wet weather, tends to appear on new pavers in the first year or two. It’s a natural result of moisture moving through the paver and evaporating at the surface, carrying dissolved salts with it.
- Calcium deposits or efflorescence that keeps returning: Hard, crusty buildup that doesn’t wash away, or white staining that reappears in the same spot after every rain. That pattern signals water is consistently pooling or moving through the paver system from below, which points to a drainage failure, a broken irrigation line, or a base that holds water instead of draining.
The takeaway is to watch the pattern, not just the color. If the white staining keeps coming back in one area, that’s the drainage signal. In Tustin, our clay-heavy soils in some neighborhoods hold water longer than sandier soils, so a base that wasn’t graded to shed water will show efflorescence or calcium staining in the same spot repeatedly. The fix isn’t a stronger cleaner. It’s correcting how the water moves under and through the pavers. This is where the diagnostic approach pays off: the staining is the clue, not the problem.
Can It Be Lifted and Releveled? The Stick-and-Probe Test
Not every sunken section needs a full rebuild. Some can be lifted and releveled, which is far less expensive, and whether it can is usually answerable in a few minutes with a simple probe. This test tells you the condition of the base layer without pulling up any pavers, and it’s the single most useful diagnostic step before you commit to a repair approach.
Here’s how the stick-and-probe test works:
- Choose a probe tool. A stiff piece of rebar, a long screwdriver, or a soil probe works. You need something that will pass through sand but resist a compacted base.
- Push through a joint or edge. Work it down through the joint sand or along the edge where a paver meets the restraint, past the bedding sand.
- Read the resistance. When you hit the sub-base, the probe should meet solid resistance. If it sinks easily, the base has failed and the pavers will keep settling. If it stops firmly, the base is holding.
- Sample several points. Probe the center of the depression, the edges of it, and a stable area nearby. If only the depressed zone probes soft, the failure is localized. If it probes soft across a wide area, the base needs reconstruction, not a relevel.
When the probe shows a firm base beneath a small depression, the section can usually be lifted and releveled with fresh bedding sand and reset pavers. When it sinks freely, that’s the signal to plan a base reconstruction. In Tustin, we use this test before quoting any sunk-paver repair because it keeps the fix honest, and it keeps homeowners from paying for a rebuild they don’t need, or a relevel that won’t hold. Both Quikrete and Sakrete base materials give predictable, testable results when compacted properly, which is why we rely on them.
When a Paver Problem Voids a Manufacturer Warranty
Paver warranties cover manufacturing defects, not installation mistakes, and they can be voided by the wrong repair. The manufacturer warrants the paver itself against things like excessive breakage, surface defects, or premature deterioration under normal conditions. What they don’t cover is settlement, heaving, or movement caused by poor base prep, missing restraints, or inadequate drainage. Those are installation issues, and touching them yourself without documenting the problem can make a legitimate warranty claim impossible.
Before attempting any repair, gather this documentation:
- Photos of the problem before any work. Wide shots of the whole field, close-ups of the staining, cracking, or shifting, and the date the problem first appeared.
- The original installation record. Product name, manufacturer, color, and lot number if available. If a contractor installed the driveway, ask for the material spec sheet.
- The pattern and timeline of the failure. When the problem started, whether it recurs, whether it appeared after a weather event or new construction nearby, and which direction it’s spreading.
If the problem is a material defect, contacting the manufacturer’s warranty department before you alter anything is essential. If the problem is installation-related, a manufacturer warranty won’t help, but a workmanship guarantee will. That’s why the 730-Day Done Right Promise matters on our installations: if the work isn’t right, we make it right, and that covers the installation problems a manufacturer’s warranty won’t. When we quote a paver repair in Tustin, we tell homeowners plainly which type of warranty applies, and what to document before anything gets touched.
Common Mistakes to Avoid
- Filling a recurring depression with sand. If the paver field sinks in the same spot after every rain, the base is failing. Sand just migrates into the void and the problem returns. This is the most expensive shortcut because it delays the real repair while making it larger.
- Replacing a cracked paver without checking the base. A single crack in a stable field is a material problem and replacement is fine. Cracks that return after replacement mean the base is moving, and you’ve just paid twice for the same symptom.
- Adding edge restraints where the problem is actually in the field. If interior pavers are shifting, perimeter restraints won’t fix it. That’s base failure, and restraint work on a failing base just puts a fixed edge on a moving field.
- Treating efflorescence with aggressive acid. Many white stains are cosmetic salt bloom that fades on its own. Strong acid treatments on a paver surface that doesn’t need them can etch the finish and void the paver warranty.
- Skipping the probe test before committing to a repair. The stick-and-probe test is quick and tells you whether a relevel will hold or a full rebuild is needed. Guessing wrong on this one decision is where most paver repair money gets wasted.
- Forgetting to check drainage before rebuilding. In Tustin, clay-heavy soils hold water, and a base rebuilt without correcting the grade or drainage will show the same settling within a couple of seasons. The water path matters as much as the compaction.
- Overlooking how later work disturbed the edge. A fence, planter, or landscape installation added after the driveway was built can break the perimeter restraint without anyone noticing. If your edge pavers started moving after nearby work, that’s the clue.
When to Call a Professional
Some paver problems are safe to diagnose and even fix yourself: a single cracked paver, a thin efflorescence haze that brushes away, joint sand that needs refilling. The situations that warrant a professional are the ones where the diagnosis itself is unclear and a wrong guess costs real money. A depression that returns after being filled, movement that spreads across the field rather than staying at the edge, white staining that keeps coming back in the same spot, or any sinking that’s within a few feet of the garage or foundation needs a trained eye. There’s no safety risk in a paver surface the way there is with a roof or an electrical panel, but there’s a financial risk in guessing wrong on the base question. If the probe test shows a soft base under more than a small area, get it looked at before you spend another season patching the surface.
Groundwork Construction Co. of Tustin offers free estimates in Tustin and can tell you whether your pavement needs a relevel, a base reconstruction, or just a new restraint. Call (833) 954-6066. Our technicians have up to 12 years of experience reading paver failures and we quote the repair honestly, even when the honest answer is the smaller one. The 730-Day Done Right Promise backs every install and repair we do. If you’re weighing whether to repair or replace, a free estimate gives you a written line-item quote with upfront pricing so the number you see is the number you pay.
Frequently Asked Questions
Because the sand isn’t the problem. The sub-base beneath the pavers has failed or was never compacted to proper density, so it keeps consolidating under load and the bedding sand seeps into the void. Filling the depression adds material at the surface but does nothing to the base, and the settlement returns within a season or two. The real fix is a base repair, which the stick-and-probe test will confirm before you commit to the cost. Call (833) 954-6066 for a free estimate if you want a professional diagnosis before spending more money on sand.
Usually not, if it’s efflorescence. That’s a cosmetic salt bloom that brushes off or fades on its own and is common on newer pavers that are still drying out. The concern is when white staining keeps returning in the same spot after every rain, which points to a drainage problem or a base holding water. In Tustin’s clay soils, that pattern is worth a look. Call (833) 954-6066 for a free estimate and we’ll tell you which one you’re dealing with.
It depends on the base condition, and the stick-and-probe test tells you. If the base beneath a small depression is still firm, the section can be lifted, the bedding sand rescreened, and the pavers reset. If the probe sinks easily across a wide area, the base has failed and needs reconstruction. This is the single most important diagnostic decision, and getting it wrong in either direction wastes money. Call (833) 954-6066 for a free estimate and an honest read on which repair applies.
Cost depends on the scope of the fix and the size of the affected area, which is exactly why the diagnosis matters before you get a price. A localized relevel is a fraction of the cost of a base reconstruction, and the difference is determined by the probe test. We give written line-item quotes with upfront pricing so the number you see is the number you pay, and there are no change orders on the written scope. Call (833) 954-6066 for a free estimate and a written quote.
Freeze-thaw damage isn’t the issue here. The real local risks are dry summer heat that can accelerate surface wear on lower-density pavers and wet winters that expose drainage problems and push failing bases further. Tustin homes on clay-heavy soils hold water longer, which is why grading and drainage matter as much as compaction on any installation. If your pavers show staining or settlement after wet weather, that’s the drainage signal. Call (833) 954-6066 for a free estimate if you want your driveway’s drainage looked at.
It can, if the repair alters the problem before the manufacturer can assess a legitimate material defect. Warranty coverage applies to the paver itself, not to installation problems, so touching it yourself without documenting the issue first can cloud the claim. Take photos of the problem before any work, gather the installation record, and note the timeline. If the problem is a material defect, contact the manufacturer first. If it’s installation-related, a workmanship guarantee covers what the manufacturer won’t. Call (833) 954-6066 for a free estimate if you want help sorting out which situation you’re in.
The Bottom Line
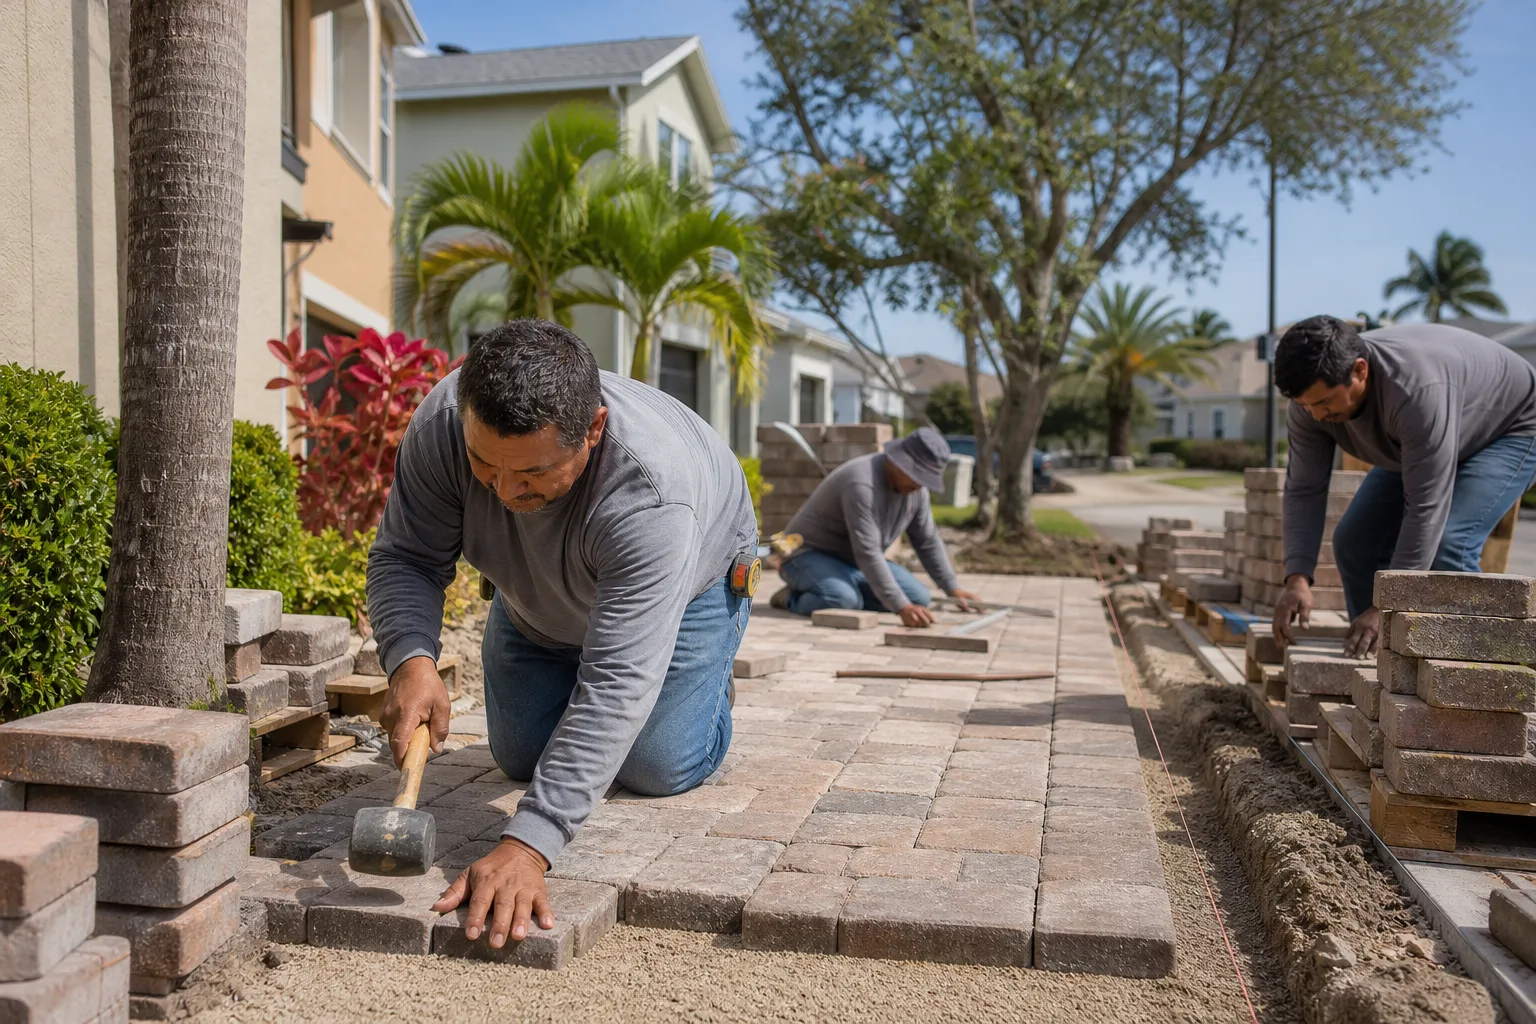
Most driveway paver problems aren’t random. They follow a predictable path from one or two installation shortcuts, and the symptom you see tells you which layer failed. A recurring depression means base failure, not a sand problem. Edge movement means a missing restraint, interior movement means a base issue, and white staining means efflorescence unless it keeps returning, which means drainage. The stick-and-probe test is your best tool for deciding between a relevel and a rebuild, and doing that diagnosis before you spend money is what keeps you from paying twice. Get the diagnosis right, and the repair is straightforward, durable, and built to last. Call (833) 954-6066 for a free estimate. Our written line-item quotes come with upfront pricing so the number you see is the number you pay, and the 730-Day Done Right Promise backs every job from foundation to finish line. Whether you’re around Old Town Tustin, Tustin Ranch, or anywhere in between, Groundwork Construction Co. of Tustin is here to give you a straight answer and a repair that holds. For a broader view of what we build, start at the Groundwork Construction Co. of Tustin home page, or learn how our work scales to bigger projects in our home additions and ADU work in Tustin.
Written by the team at Groundwork Construction Co. of Tustin.
See the difference
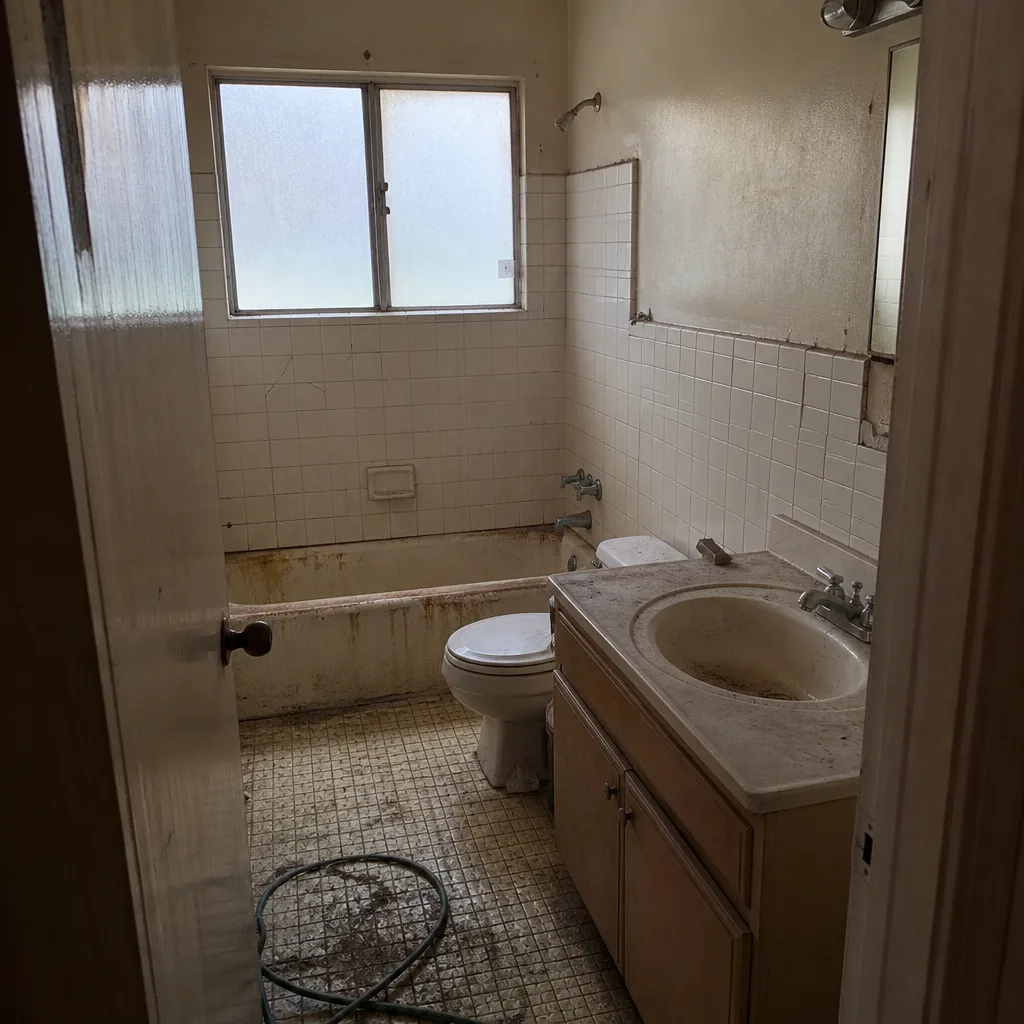 Before
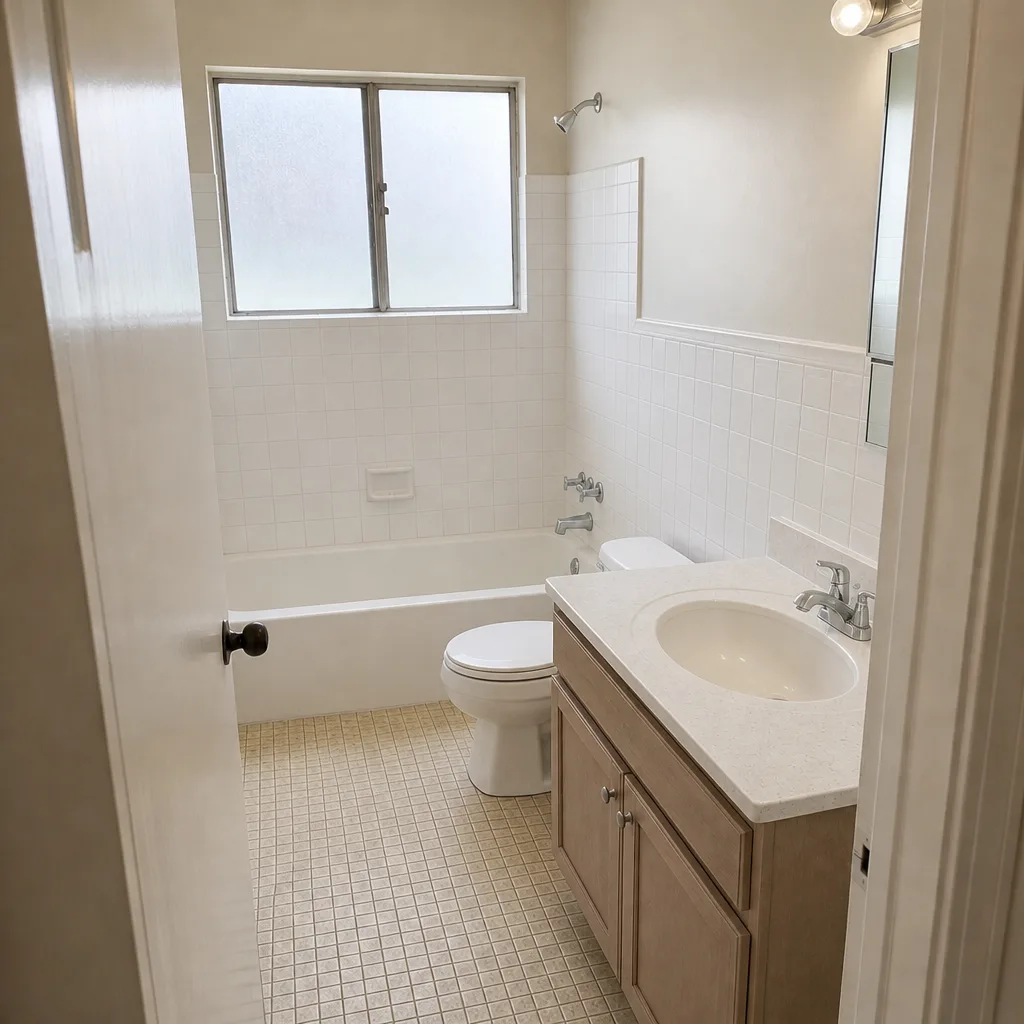 After
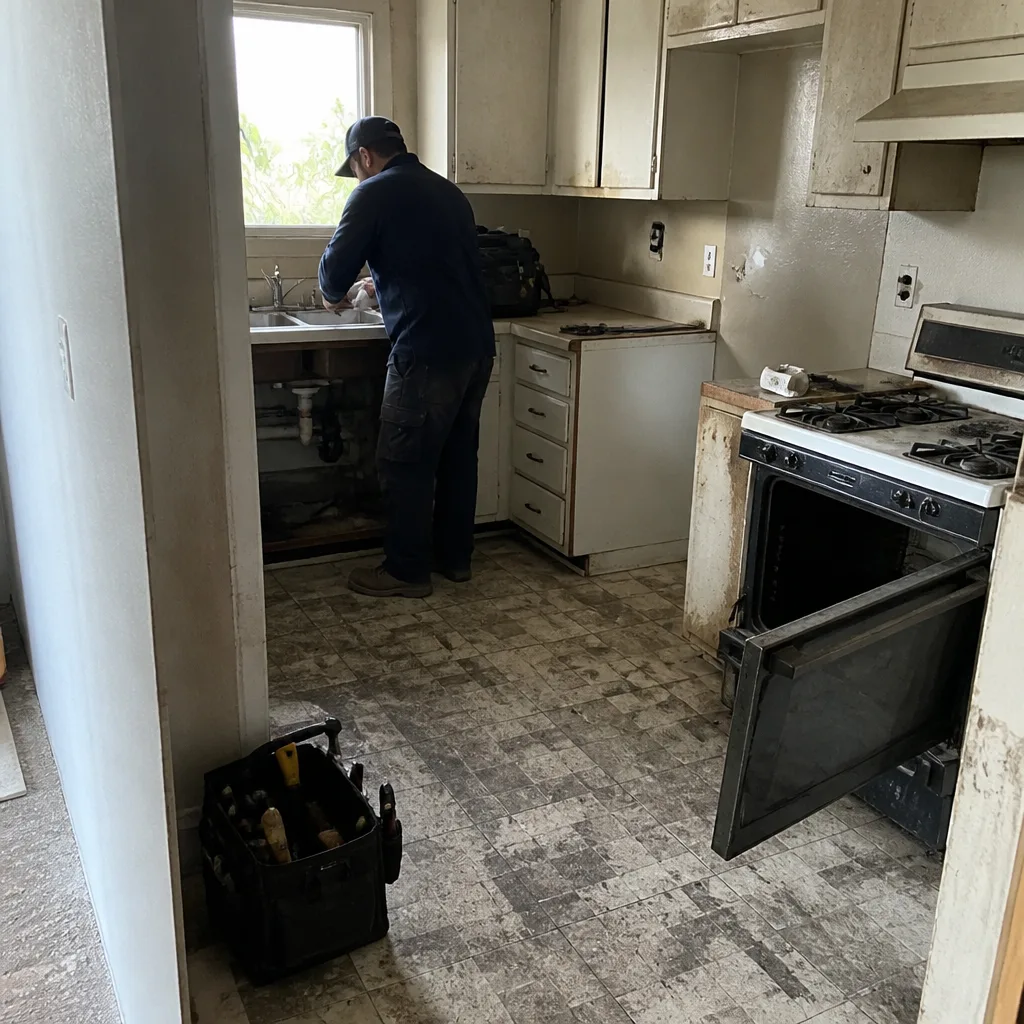 Before
 After
 Before
 After