Last updated November 17, 2026


Free written scope consultation - allowances, timeline, and change-order rules on paper before a single trade is scheduled
Driveway & Pavers Warning Signs Every Homeowner Should Know
A paver that rocks slightly under your foot isn’t a loose paver. It’s a drainage problem underneath, and within two rainy seasons, that rocking section will be a sinkhole. We’ve watched Tustin homeowners walk past that exact sign for eighteen months, then call us when a four-square-foot section of their driveway caves in after a heavy winter storm. The difference between a $400 fix and a $4,000 rebuild is almost always timing. This guide walks you through every warning sign a paver driveway gives you, what each one actually means, and how long you have before it escalates. You’ll learn the rocking paver test, why edge creep compounds faster than any other failure, and how to read weed patterns like a diagnostic chart.
Quick Answer
The main walk-away warning signs on a paver driveway are rocking pavers, outward edge creep, weed growth in joints, uneven settling near downspouts, and surface flaking (spalling or delamination). Any single one of these is a repair signal, not a cosmetic quirk. Caught early, most fixes run under $600. Ignored past one rainy season in Tustin’s clay-heavy soil, they typically escalate into base reconstruction that costs three to ten times more.
Styles & brands we work with
- Kitchen remodeling
- Bathroom remodeling
- Home additions & ADU
- Roofing
- Windows & doors
- Driveway & pavers
- Fence
Table of Contents
- The Rocking Paver Test: What It Tells You and When It’s Serious
- Edge Creep: The Earliest Sign Your Restraints Have Failed
- Weed Patterns That Diagnose What’s Wrong Underneath
- Spalling vs. Delamination: One Is Cosmetic, One Spreads
- Settling Near Downspouts and the Tustin Soil Problem
- Joint Sand Depletion and the Erosion Cycle
- The Honest Urgency Guide: How Long Each Sign Gives You
- When to Call a Professional
The Rocking Paver Test: What It Tells You and When It’s Serious
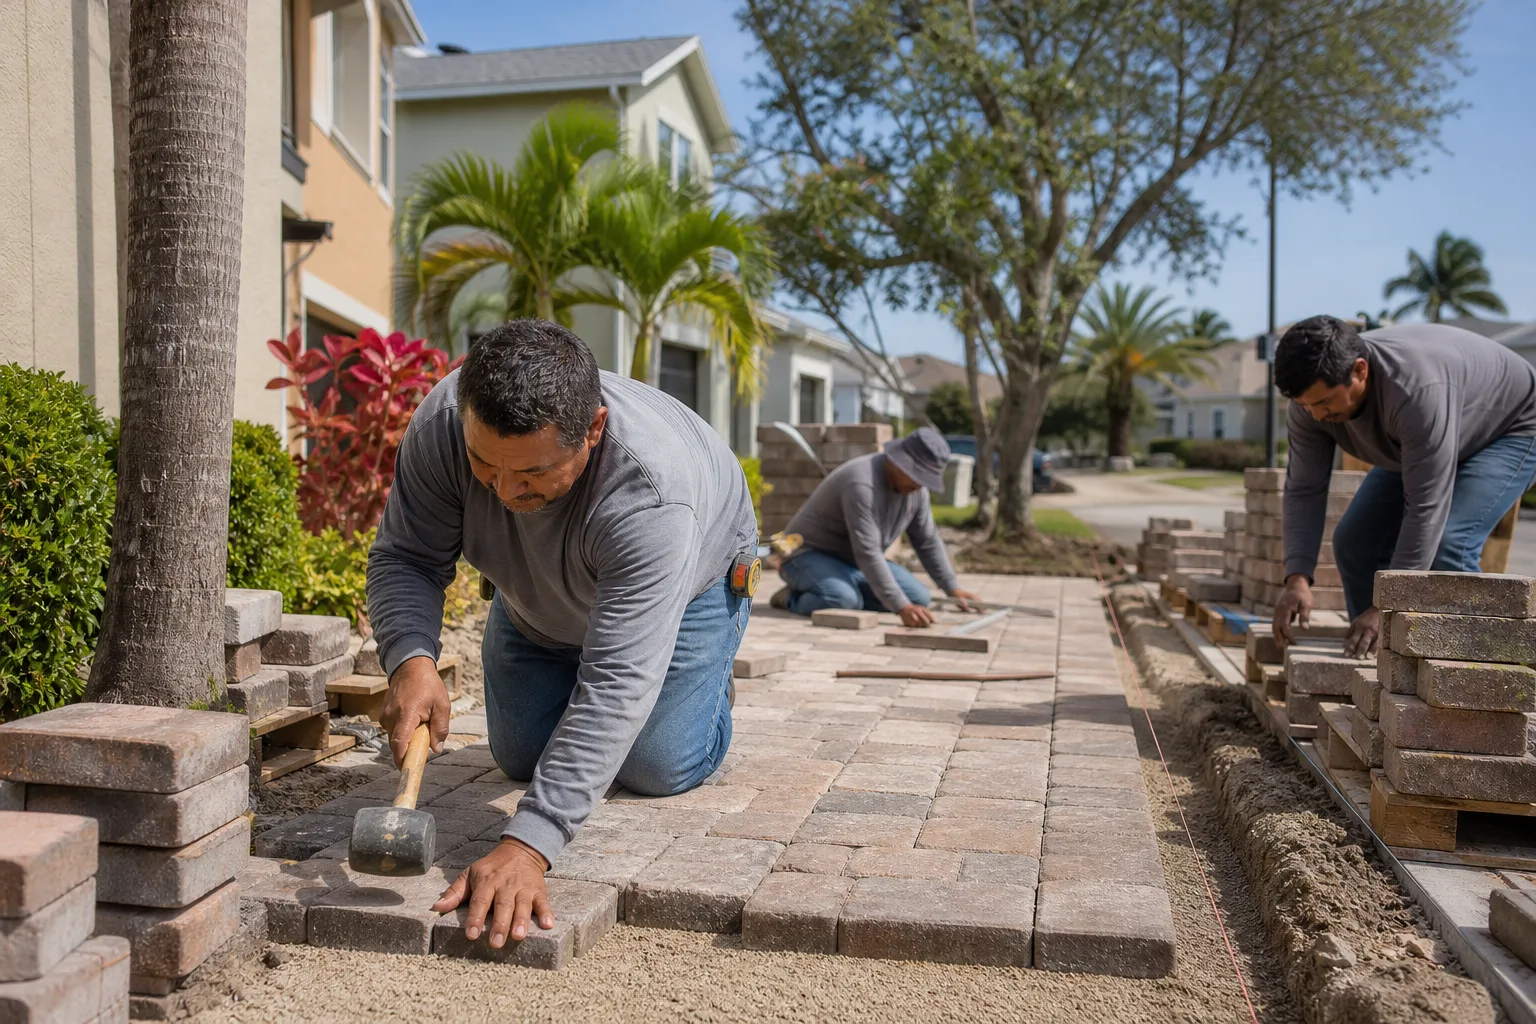
Rocking is measured in millimeters, and the range of motion tells you what’s happening below the surface. Here’s how to run the test properly, and it takes about ninety seconds for a whole driveway.
- Walk the full driveway barefoot or in thin-soled shoes. Sandals hide the rocking motion.
- When a paver shifts, stop and balance your weight on the opposite corner. Feel which way it tips.
- Press down on each corner in sequence: front-left, front-right, back-left, back-right. Note which corners move and by how much.
- Slide a putty knife or a thin plastic shim into the widest joint alongside the rocking paver. If the shim slides in more than an inch without resistance, sand has washed out.
- Repeat for any paver that felt loose during the walk.
A paver that rocks less than 1/16 inch with no visible joint gap is usually a sand top-up repair. The bedding layer has thinned from years of traffic but the base is intact. A paver that rocks more than 1/8 inch, tips under moderate weight, or displaces the joint sand in an obvious pattern is a base failure. That means the compacted aggregate underneath has settled unevenly, usually because water is getting in and not draining out.
In Tustin, base failures often cluster along the driveway apron where it meets the street. City code requires the apron to slope toward the gutter for drainage, and if that slope has been disturbed by street repairs or a utility crew, water pools at the apron edge and starts working its way under the field pavers. We see it most in older drives off Red Hill Avenue and Newport Boulevard where pressure from decades of curb work has shifted the pitch.
The single most useful distinction: a rocking paver that stays in place when you press the corners is a small job; a paver that pops out of the field when you press it is a professional repair, and you should not drive over that section until it’s fixed.
Edge Creep: The Earliest Sign Your Restraints Have Failed
Pavers don’t stay put on their own. They stay put because edge restraints – the aluminum or concrete border at the perimeter of the driveway – lock the field pavers into compression. When restraints are missing, rusted, or were never installed to spec, the field pavers slowly migrate outward under traffic load. That outward drift is edge creep, and it’s the earliest sign of a restraint failure you’ll ever get.
Walk to the edge of your driveway where it meets the lawn or landscaping. Stand at eye level with the surface and sight down the border line. A properly restrained driveway has a straight, unbroken edge. A driveway with edge creep shows one of three things:
- Stepped edges: Pavers overhang the soil or the concrete apron by 1/4 inch or more in some sections and sit flush in others.
- Widened joints: A visible gap has opened at the border, usually 1/8 to 1/2 inch, filled with loose sand that keeps washing out.
- Curled corners: Corner pavers lift slightly, exposing a triangular triangle of sand beneath the corner.
Edge creep compounds faster than any other paver failure because once a restraint fails, the whole border becomes a pressure relief valve for the entire field. The outward drift puts tension on the next row of pavers inward, which drifts next, and the pattern walks itself across the driveway. A 1-inch step that appears in the spring is often 3 inches by the following spring.
Restraint failure is common in Tustin neighborhoods built in the 1970s and 1980s where the original aluminum edging has rusted thin. On a full rebuild or border replacement, we use Belgard coordinating restraints and polymeric joint sand that resists the freeze-thaw cycling – a phrase that sounds odd for Southern California, but Tustin sees enough overnight temperature swings in December and January to open joints that were packed in July.
Weed Patterns That Diagnose What’s Wrong Underneath

Weed growth in a paver driveway is diagnostic. Different weed types tell you different things about what’s happening under the pavers, and most homeowners miss the distinction entirely.
Grass emerging along every joint evenly: joint sand depletion. The joints have opened from traffic load and lack the polymeric sand that sealed them. Water moves freely through the joints, seeds blow in, and grass sprouts. This is the mildest signal, and a joint sand replacement typically fixes it.
Grass emerging in concentrated patterns – a line, a triangle, a low spot: drainage failure underneath. Water is pooling in a specific location and draining down through a joint cluster. This is base failure territory, not a sand problem. Grass here grows more vigorously than the surrounding joints because it’s got moisture the rest of the driveway doesn’t.
Broadleaf weeds, dandelions, and clover in isolated patch: surface sand has degraded in one section, often because the sealant has worn off in a high-traffic area. Less serious, but worth bagging before they seed.
Moss or algae along the border and low edges: ponding. The gradient has shifted, or a downspout is discharging straight at the border. Moss is never a cosmetic issue on a paver driveway – it’s a signal that water is sitting where it shouldn’t.
The weeds that matter are the ones growing in a pattern, not scattered one-offs. A single dandelion is a dandelion. A line of dandelions down the center of the driveway along a hairline crack is a drainage problem.
Spalling vs. Delamination: One Is Cosmetic, One Spreads
Surface flaking on pavers is either spalling or delamination, and they’re not the same failure. Treating them the same wastes money.
Spalling is surface flaking from mechanical wear – typically on pavers driven across at high frequency, or where a heavy vehicle was parked in the same spot for years. The top layer of the paver chips off in a fairly shallow, even pattern. It’s cosmetic. It doesn’t spread to neighboring pavers unless the underlying paver is defective. It’s a strong signal your driveway was originally laid with a lower-grade paver, and it justifies replacement of the affected pavers rather than the whole field.
Delamination is separation of the paver’s layers, and it spreads. It shows up as a corner lifting and flaking off in a thin sheet, often with a visible ledge on the side. On a concrete paver, delamination usually traces back to freeze-thaw damage, chemical exposure (ice-melt salt is the classic culprit, less common in Tustin but not unheard of in the foothill neighborhoods), or pavers manufactured with a defective surface layer. It often appears on one paver, then its neighbor, then a row.
Here’s the test: pick up a flake of the pavement surface. If it crumbles in your fingers into fine particles, it’s spalling – the aggregate bond has failed locally. If it comes off in a relatively intact plane or sheet, it’s delamination – the surface layer has separated from the base paver. Delaminated pavers need replacement. Spalling pavers can often be left alone if they’re not in a high-visibility area.
On a full driveway or paver project, we regularly recommend stamped concrete pavers with a through-color mix rather than a surface-applied color layer precisely because through-color pavers don’t delaminate. The Belgard line we install is one we trust to hold its color and surface layer under fourteen years of Southern California sun.
Settling Near Downspouts and the Tustin Soil Problem

Every driveway fails somewhere. The question is where, and in Tustin it’s almost always at the downspout or the lowest corner of the pavement. Tustin’s soil profile includes clay-heavy patches, especially in the older neighborhoods east of the 55 Freeway, and clay soil under a driveway is a slow-motion settlement machine.
Clay expands when it absorbs water and contracts when it dries. A paver driveway over clay gets a compacted base that’s stable only as long as the moisture level is consistent. When a downspout dumps a concentrated stream of water at one corner of the driveway during a rain event, the clay beneath that corner saturates, expands, then dries and contracts under the next hot week. Repeat that cycle three or four seasons and the base compacts unevenly. Add traffic load and the settled section drops visibly.
The two things to check every spring in Tustin:
- Downspout discharge: Does the downspout outlet sit within 4 feet of a driveway edge or corner? If yes, the water is being routed straight at your base. A $30 splash block or downspout extension is the cheapest driveway insurance there is.
- Settling signature: A shallow dip in the driveway surface (1/4 inch or more across 3 feet) that pools water for more than 24 hours after a rain. That’s the settling signal. It’s small now and structural in two years.
We’ve also seen settling in low-lying areas of north Tustin where the original builder backfilled a drainage swale and paved it. The driveway looks flat for fifteen years, then the compacted backfill finally settles and a corner sags 2 inches in one season. That’s not a repair signal – it’s a rebuild signal. Rebuilding the affected section with a compacted aggregate base and proper pitch is the difference between a driveway that lasts another fifteen years and one that keeps solving the same problem.
See the difference
 Before
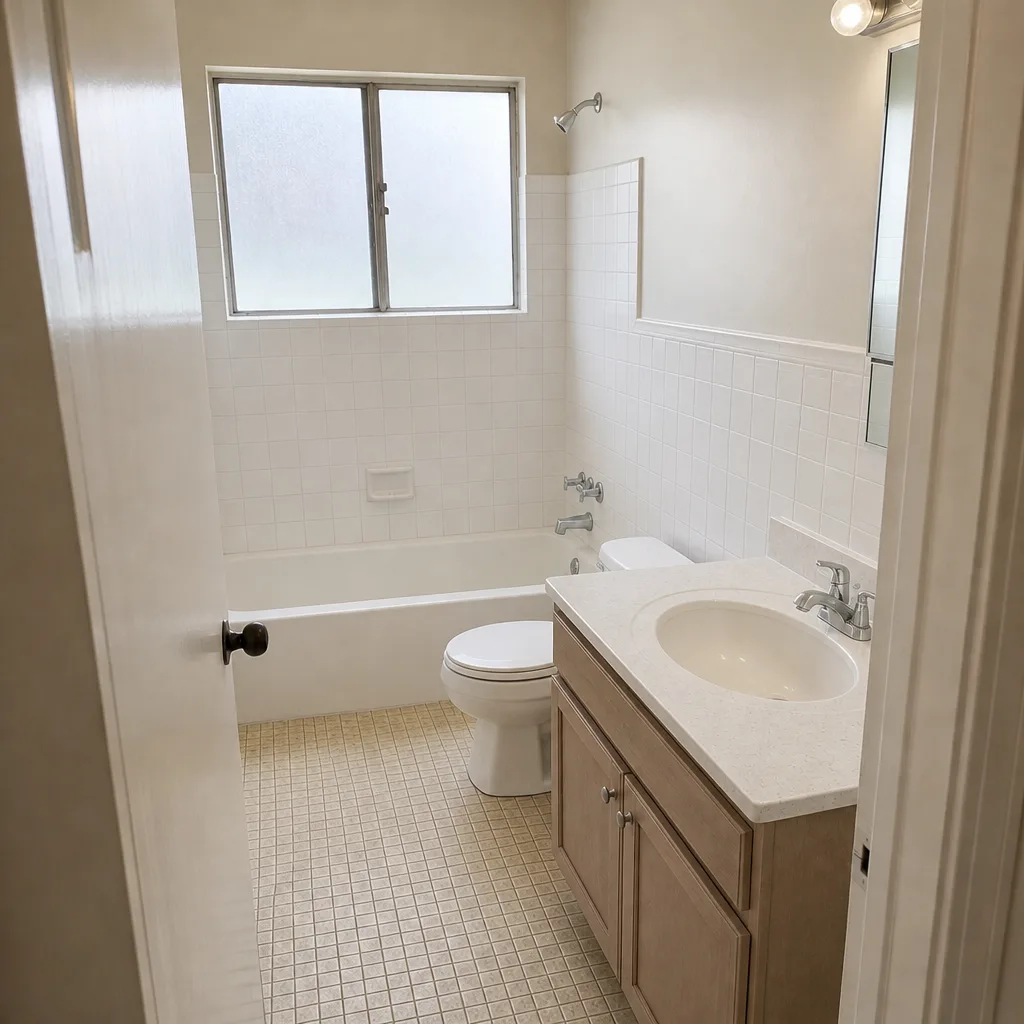 After
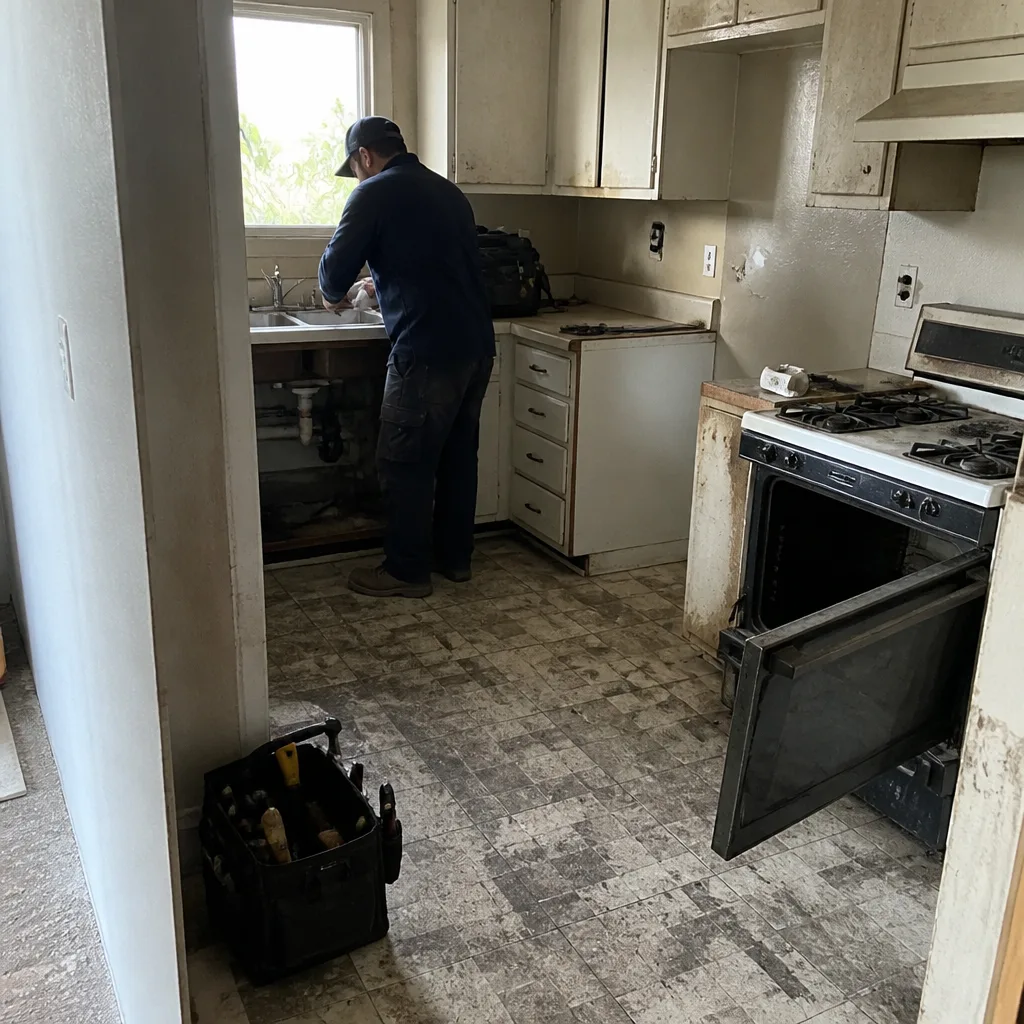 Before
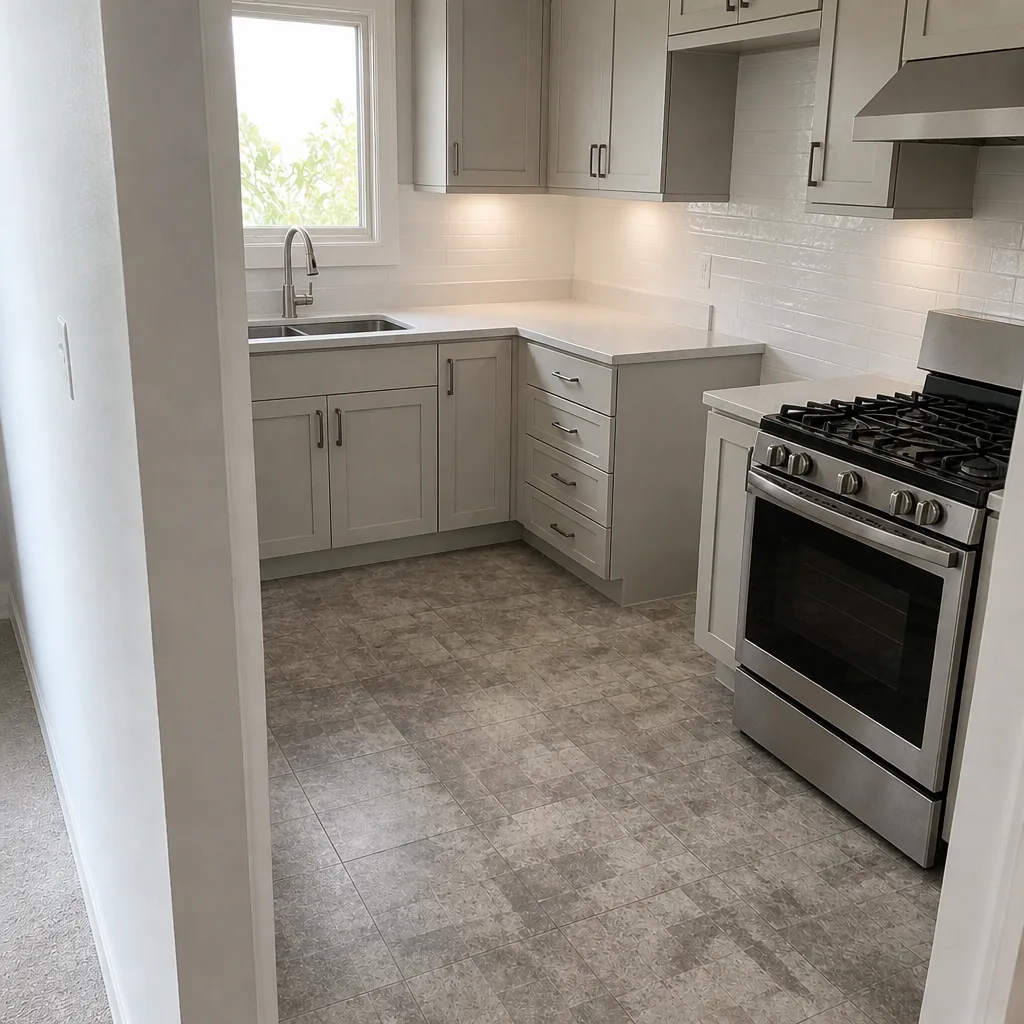 After
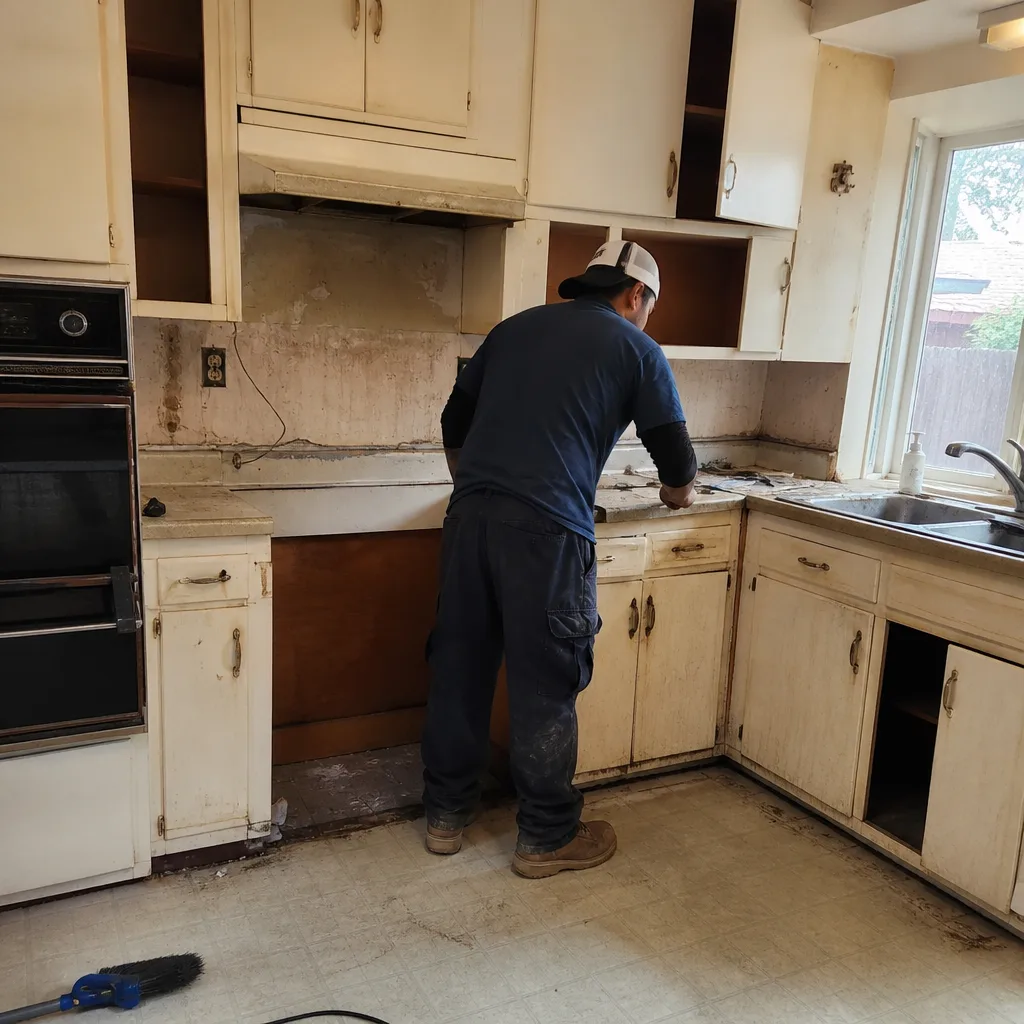 Before
 After
Joint Sand Depletion and the Erosion Cycle
Polymeric joint sand is the unsung hero of a paver driveway. It fills the space between pavers, keeps the surface flexible, and channels water off the edges instead of down through the joints. When it depletes, the driveway doesn’t fail immediately – it starts a slow erosion cycle.
The cycle looks like this:
- Joints open. Traffic and thermal movement push sand out of the joints over two to four years.
- Water enters. Every rain event now sends water past the surface and into the bedding sand layer.
- Bedding sand washes down. The water moves through the bedding sand and into the base, carrying the finer particles with it.
- Base compacts unevenly. Voids open under the pavers, creating the rocking sections and low points.
- Pavers migrate. The field relaxes outward, edge creep accelerates, and the base failure spreads.
The fix is straightforward when you catch it at step one: polymeric sand replacement, which takes us most of a single visit for a standard residential driveway. When you catch it at step three or four, it’s a professional base repair. When you catch it at step five, it’s a partial or full rebuild.
Our technicians have up to 12 years of experience, and one of the questions we ask on every paver estimate in Tustin is whether the driveway has ever been re-sanded. If the answer is no and the home is past eight years old, we usually find at least one section that’s mid-cycle. That’s not a scare tactic – it’s the pattern that shows up in our schedule again and again. A proper sealing and joint sand refresh every four to six years on a residential driveway is the single best maintenance habit you can build.
The Honest Urgency Guide: How Long Each Sign Gives You
Warning signs have different urgency timelines, and treating them all as “call immediately” is its own disservice. Here’s the honest breakdown, based on what we see in Tustin.
- Light rocking (under 1/16 inch, no joint gap): 12 to 24 months before it becomes a repair job. Schedule a sand top-up or joint sand refresh within the year.
- Moderate rocking (1/8 inch, visible sand movement): 6 to 12 months before base repair is necessary. Do the sand refresh in the next season and monitor.
- Significant rocking (paver tips under weight, joint emptied): 2 to 6 months before the base failure spreads to neighboring pavers. Get a professional assessment soon.
- Edge creep, first 1/4 inch: 12 to 18 months before the border demoralizes and the field starts migrating. Fix the restraint in the next cool season.
- Edge creep, 1/2 inch or more: 6 to 12 months before the border pavers lift fully and traffic starts displacing them. Repair the restraint and re-set the border within the year.
- Scattered weeds along joints: 24 to 48 months before significant base damage. Treat as a maintenance priority, not an emergency.
- Patterned weeds or a low spot that ponds water: 6 to 18 months before a visible sinkhole or paver displacement opens up. Professional inspection within the season.
- Spalling: no urgency for the driveway’s structural integrity. Replace the affected pavers when it becomes an eyesore.
- Delamination on multiple adjacent pavers: 6 to 24 months before the pattern spreads across a larger area. Plan for replacement within two seasons.
- Actual sinkhole or displaced section: immediate. Do not drive over it, and cover with plywood if rain is expected.
The urgency guide assumes the driveway is in Tustin’s climate, which means a wet winter season and dry summers. A driveway that has already completed two wet seasons is on a faster clock than one that just appeared with last winter’s rain. If you’re not sure which category your driveway falls into, a professional walk-through takes about twenty minutes and answers the question with no guesswork.
Common Mistakes to Avoid
- Calling a loose paver a “sand problem” without testing the corners. Sand top-up is the correct fix for a 1/16-inch rocking paver; it’s the wrong fix for a paver that tips under weight and displaces its neighbors. Locking in the wrong fix doubles the cost when the base failure surfaces anyway.
- Replacing individual pavers from a different batch. Treating a single delaminated paver as a standalone replacement. Paver colors and surface finishes fade and change batch to batch; a mismatch is visible from the street. On any paver replacement, ask for pavers from the same production batch or use the opportunity to re-set the whole border or pattern.
- Ignoring edge creep because the driveway still works. Edge creep is the earliest restraint failure signal, and the whole border is going to fail within one or two seasons. Fixing restraints while the field is still intact is a small job. Once the field has migrated, it isn’t.
- Grabbing a random paver sealer from the big box store. The wrong sealer – usually a film-forming acrylic – traps moisture under the surface and accelerates spalling and efflorescence. Use a breathable, penetrating sealer specified for the paver type, and only after a full dry-out.
- Treating a downspout discharge near a paver driveway as a landscaping problem. Routing a downspout straight at a driveway edge is the fastest way to spend four figures on base repair. A $30 downspout extension or splash block solves it. Do it now.
- Assuming the driveway is “just normal wear” past eight years without joint sand maintenance. Most paver driveways in Tustin built between 1995 and 2015 haven’t been re-sanded once. That’s not normal wear – it’s the middle of an erosion cycle that closes the underlying base.
- Hiring on price alone for a base repair. A base repair is 80% unseen work – excavation, compaction, and rebuild of the aggregate layer – and the visible pavers are the last 20%. A bottom-dollar bid usually skips the excavation and re-sets the pavers over the failing base. Ask for a written line-item scope, and confirm base prep is on it.
When to Call a Professional
Call a professional when you can no longer walk the driveway without pause – specifically when a paver tips under moderate weight, when any section of the field has displaced more than 1/4 inch, when the border has stepped outward by more than 1/2 inch, or when a low spot has started holding water for 24 hours after rain. Those four conditions all point to base failure, not surface wear. Also call if you’re seeing delamination across more than two adjacent pavers (it spreads), or if you’ve discovered a downspout discharging directly at a driveway edge and can’t redirect it without hitting a utility line.
Groundwork Construction Co. of Tustin offers free estimates in Tustin – call (833) 954-6066. We’ll walk the driveway with you, run the rocking test on affected pavers, and give you a written, line-item scope for repair or replacement. No-hassle upfront pricing means the number you see is the number you pay, and every paver project is backed by our 730-Day Done Right Promise. If the workmanship fails, we come back and make it right. For larger driveways and full paver replacements, we also offer 0% financing for 18 months and $1,000 off projects over $10,000.
Frequently Asked Questions
In Tustin, a joint sand refresh on a standard two-car driveway runs $250 to $450, a single rocking paver base repair with excavation and re-set runs $400 to $800, and a localized base reconstruction (roughly 100 square feet) runs $2,000 to $3,500. A full paver replacement runs $12 to $28 per square foot installed depending on material grade. Call (833) 954-6066 for an exact written line-item quote – estimates are free.
A well-installed paver driveway in Tustin typically lasts 25 to 40 years with proper joint sand maintenance every four to six years. The pavers themselves often outlast the base by a decade or more – which is why paver replacement is usually base reconstruction, not paver replacement. Quality paver brands like Belgard are engineered for Southern California sun and thermal cycling, so the pavers are rarely the failure point; the base preparation is.
You can fix a lightly rocking paver yourself if it rocks less than 1/16 inch with no joint gap – that’s a sand top-up job, and it’s a reasonable DIY repair. You should not repair a paver that tips under weight, displaces its neighbors, or has voided the joint sand beneath it. That’s a base failure, and re-setting it over the failing base makes the problem worse within one season. Call (833) 954-6066 for a professional inspection – the visit is free.
Weeds in driveway pavers mean joint sand has depleted or water is pooling in one area of the base. Evenly scattered grass along joints is a sand top-up signal. A line, triangle, or low-spot weed cluster is a drainage signal, and larger weeds (dandelions, clover) usually mean surface sand has degraded in a high-traffic area. The fix depends on the pattern, not the weed count – a professional walk-through identifies which one you’re dealing with.
Most surface paver repairs (joint sand, single-paver re-set, edge restraint repair) don’t require a permit in Tustin, but any work that touches the driveway apron, the street connection, or the base beneath the public right-of-way does require a city permit and inspection. We pull every permit that’s legally required for a paver project as part of the scope, and we don’t start work until permits are pulled and inspections are scheduled. That’s part of the written scope you get with a free estimate.
A standard two-car driveway paver replacement takes 3 to 6 working days, weather permitting. Day one to two is demolition and base prep; day three to four is compaction and base grading; day five is paver installation and edge restraints; day six is polymeric sand and a final walkthrough. Because base prep is the most important part of the job, we don’t compress the schedule to save days. Call (833) 954-6066 to schedule a free estimate and get a written timeline for your specific driveway.
The Bottom Line
Your driveway has been telling you it’s failing for months – through rocking pavers, edge creep, patterned weeds, surface flaking, and drainage dips you walk past every day. The signs are small enough to ignore and specific enough to diagnose, and every one of them gives you a window: a year, a season, sometimes just six months, before the base failure underneath turns a $400 fix into a $4,000 rebuild. Learn to read the signs. Fix them while they’re still small. And when you can’t tell – call someone who does this every week. Groundwork Construction Co. of Tustin runs free estimates, written line-item pricing, and every paver project covered by our 730-Day Done Right Promise. For a home that starts at the driveway and runs from foundation to finish line, learn more at Groundwork Construction Co. of Tustin home, see our Driveway & Pavers in Tustin service, and explore related projects like Fence Installation in Tustin and Home Additions & ADU in Tustin.
Call (833) 954-6066 to schedule your free estimate. Calls are answered live, 24/7 – no voicemail, no waiting until Monday. Our technicians are background-checked, arrive in uniform, and carry the 12 years of experience you’d expect on a job this important. If the workmanship fails within our warranty window, we make it right – that’s the 730-Day Done Right Promise.
Written by the team at Groundwork Construction Co. of Tustin.