Last updated November 17, 2026




Free written scope consultation - allowances, timeline, and change-order rules on paper before a single trade is scheduled
Fence Installation Troubleshooting: Common Problems and How to Fix Them
A leaning fence post gets blamed on the post almost every time, and almost every time that diagnosis is wrong. In Tustin’s heavy clay, a post that leans after a wet winter is telling you the footing moved with the soil, not that the wood gave out. Pull that post, drop a new one in the same hole, and you’ll be looking at the same lean within two years. This guide cuts past the guesswork. We’ll walk through the four decisions that cause nearly every fence failure – footing depth, concrete mix, post material at the soil line, and drainage around the base – and show you how to read which one failed so you know whether you’re facing a spot repair or a full reset. You’ll get the diagnostic steps, the repair pathways, and the documentation that separates a warranty claim from normal wear. Written from Tustin, for Tustin.
Quick Answer
Most fence problems trace back to four post-installation factors: how deep the footing went, what concrete mix was used, how the post material held up at the soil line, and whether water drains away from the base. Diagnose which of those four failed before you spend a dollar on repair. A post leaning from soil movement needs drainage correction plus a properly footed reset. A post that rotted at the soil line needs replacement. A rail that pulled loose at the hardware is usually a connection fix, not a rail replacement. Reading the failure correctly is the entire job.
Styles & brands we work with
- Kitchen remodeling
- Bathroom remodeling
- Home additions & ADU
- Roofing
- Windows & doors
- Driveway & pavers
- Fence
Table of Contents
- Diagnosing a Leaning Post: Soil, Footing, or Connection?
- Footing Depth and Concrete: Where Most Failures Start
- Why Wood Rails Fail at the Hardware First
- Gate Sag: Tension Rods, Anti-Sag Kits, and When the Post Has to Come Out
- Rust Bleed and What It Says About Your Hardware
- Drainage Around the Base: The Failure Nobody Checks
- Warranty Claim vs. Normal Wear: The Documentation That Decides It
- Post Material at the Soil Line: Wood, Steel, and Composite Compared
Diagnosing a Leaning Post: Soil, Footing, or Connection?
Three different failures produce a lean, and each one demands a different repair. Get the diagnosis wrong and you’ll pour money into a fix that won’t hold. In our experience across Tustin neighborhoods, the lean itself is less informative than what’s happening at the ground and at the rail connection. Here’s how to tell the three apart.
- Check the ground around the base. Look for a gap between soil and post on one side, a mound or depression, or fresh cracking in the dirt radiating from the footing. If the soil has pulled away or heaved, you’re looking at soil movement – usually clay expanding and contracting through Tustin’s wet-dry cycle. The post and footing may be intact; the ground moved.
- Check the post above the soil line for the full length. Run your hand or a level along the exposed post. If the post is straight but the whole assembly tilts, the footing is failing – the concrete has cracked, rotated, or settled. If the post itself curves or bows, you have a post material problem.
- Check the rail-to-post connections at both ends. Grip the rail near the post and push. If the post is steady but the rail moves, the hardware connection has loosened. If the post moves with the rail, the problem is in the ground.
- Dig a small test pit beside the footing if the lean is severe. Eight to twelve inches down, feel whether the concrete is still square to the post or has cracked away. Concrete that’s broken free of the post means the footing failed.
The repair pathway follows directly. Soil movement calls for drainage correction and a reset; footing failure calls for full excavation and re-pour; connection failure is a hardware repair. Repairs we handle through fence installation in Tustin almost always start with this diagnostic – homeowners who skip it end up re-doing the same failure.
Footing Depth and Concrete: Where Most Failures Start
Footing depth drives more post failures than any other single variable. A fence post needs to sit below the local frost line in cold climates, but in Tustin the controlling factor is different: expansive clay. That clay swells when it’s wet and shrinks hard when it dries, and a shallow footing rides that movement like a cork in a bath. Deep footings anchor below the active soil layer.
A few decision points matter more than others:
- Depth. A footing that’s too shallow allows the post to move with seasonal soil expansion. Deeper footings anchor into more stable soil.
- Concrete mix. Quick-set post concrete is convenient and holds up fine in stable ground. In heavy clay, a standard mixed concrete with a larger aggregate gives you better resistance to soil movement over time, since it cures harder and won’t crumble as readily at the edges.
- Drainage aggregate at the bottom. Gravel at the base of the hole before pouring gives water a route away from the footing and reduces the soil heave that triggers movement.
- Post set or post first. Setting the post on a pre-poured footing is stronger than dropping a post into wet concrete, but it’s slower. Both work if the depth and mix are right.
What you can’t do is guess at the depth. In Tustin’s clay, a footing that barely clears the sod layer won’t survive two wet seasons. When a post fails from footing problems, we excavate the full footing, check the drainage pattern, and re-pour at depth. That’s the only repair that holds.
Why Wood Rails Fail at the Hardware First
The wood almost never rots before the hardware gives. Wood fence rails do their worst failing right at the nail or screw, where the grain gets punctured. Water gets in along the fastener, the grain opens up, and the fastener loses bite long before the wood itself shows rot. That’s why a fence can look sound from ten feet away and rattle like a loose ladder when you push it.
Three things go wrong at that connection:
- Fastener withdrawal. Screws and nails work loose as the wood expands and contracts with humidity. Over a few years, the fastener sits in a slightly wider hole and holds almost nothing.
- Grain splitting. Fasteners driven too close to the rail end split the grain. The split widens with moisture cycling and opens a direct channel for water.
- Galvanic corrosion. In coastal-influenced Tustin, salt air and moisture accelerate corrosion on some fastener types. Corroded fasteners lose clamping force quickly.
Reinforcement doesn’t always require replacing the rail. A structural bracket spanning the post face and the rail end, or a properly sized lag screw with a washer driven into fresh wood at the post, restores the connection. When the rail end itself is split or rotted, a sistered short rail along the post face buys years of service without tearing the whole run apart. Get the repair wrong and the rail pulls out of the post entirely on the next Santa Ana wind event, which is exactly the failure we get called out for most in Tustin.
If the repair work starts to look bigger than a spot fix, upgrading to thicker-gauge hardware and better lumber makes sense. When we quote fence installation in Tustin, we spec fasteners and brackets for the local climate, not just for the cheapest line on a bid.
Gate Sag: Tension Rods, Anti-Sag Kits, and When the Post Has to Come Out
A sagging gate has three classic causes: hinge strain, frame racking, and post movement on the hinge side. Each repair is genuinely different, and the third requires more work than most homeowners expect.
The tension rod fix. For a wood frame gate that’s sagging but not twisting at the post, a turnbuckle or tension rod running from the top hinge corner to the bottom latch corner restores the diagonal. This is a legitimate permanent fix for gates that never had a diagonal brace (most don’t). It works because it takes the load off the frame joints and puts it on a straight tension member.
The anti-sag kit limitation. Anti-sag kits for chain-link and vinyl gates usually work by pulling the frame back to square with a cable. They’re effective for gate frames that flexed, but they do nothing for a hinge-side post that’s moving. If the post moves when you push the gate open and closed, no kit will save it. The sag comes right back.
When the post has to come out. If the hinge-side post has moved more than about half an inch out of plumb, or if the concrete around the base shows cracking and movement, the gate will never close properly until that post is reset. That means excavating the footing, correcting drainage, and re-pouring at proper depth. The gate itself stays; the post goes.
Resetting a hinge post isn’t a weekend DIY job in Tustin’s clay – the excavation alone is significant, and getting the post back to plumb requires measurement and patience. If a sagging gate has been nagging at you for months, the underlying cause is usually the post, not the gate.
Rust Bleed and What It Says About Your Hardware
Rust bleeding down a post is more than cosmetic. It’s a direct read on whether the hardware’s galvanization was adequate for the environment the fence lives in. Galvanized coatings come in different weights, and a fastener with a thin coating that’s fine in dry inland climates will break down quickly in Tustin’s coastal-influenced humidity and marine air.
What rust bleed tells you, stage by stage:
- First rust at the head of the fastener. The coating was marginal for the environment. Fasteners may still be structurally sound, but plan for replacement within a couple of years.
- Rust streaks running down the wood. The fastener or bracket is actively corroding, water is carrying iron oxide down the surface, and the connection is likely starting to weaken.
- Rust at the joint between the bracket and the wood. The fastener has probably lost some clamping force already. Check the rail by hand for movement.
- Rust that stains surrounding surfaces. This is advanced corrosion and means the hardware is at the end of its service life.
The fix isn’t to paint over the rust – that traps moisture and accelerates the corrosion underneath. Replace the fasteners and brackets with hot-dip galvanized or stainless hardware appropriate for the local environment. If the rust bleed shows the original install used hardware below that standard, upgrading the full hardware package on that fence run prevents a chain of failures down the line.
Rust on the hardware is often the first sign the whole install was spec’d for a different climate. When we quote fence installation in Tustin, we spec hot-dip galvanized or stainless throughout – the rust question answers itself in ten years.
Drainage Around the Base: The Failure Nobody Checks
Water pooling at the base of a post is the quiet cause of most leans and most rot. It’s also the failure most often ignored because nothing is visible from the house side during a dry summer inspection. The physics is simple: standing water saturates the soil, the clay swells, the footing loses its grip, and the post leans. In the same wet zone, the wood at the soil line stays soaked and begins to rot from the outside in.
What to check around each post base:
- Slope away from the base. If the ground around the base sits higher than the surrounding grade, water sheds toward the post rather than away.
- Pooling after rain. Any puddle that survives a normal Tustin rain more than a few hours is a drainage problem. Winter rains here can leave standing water for days in low spots.
- Downspout and irrigation routing. A downspout that empties within a few feet of a fence line pushes water into the footing every storm. Grading usually fixes this.
- Planting interference. Ivy and creeping groundcover near the base keep moisture trapped against the wood and block evaporation.
The fix is a regrade or a shallow drainage swale along the fence line, plus a reset of any footings already loosened by water. Skirting a fence base with gravel or a small berm diverts surface water away from the post line. None of this costs much, and it prevents the lean before it starts.
Tustin sits in a clay-heavy area where seasonal expansion and contraction are aggressive, and we see drainage-triggered leans on fence lines that face south or downhill from the house. When we design a fence for a Tustin property, drainage is part of the plan from the first measurement, not an afterthought.
The same drainage thinking applies to paving right next to the fence line. If you’re planning hardscape work, look at Driveway & Pavers in Tustin to make sure water from your paving still sheds away from the fence footings.
Warranty Claim vs. Normal Wear: The Documentation That Decides It
Fence failures fall into two categories, and the line between them is paper-thin – literally. The documentation you have on installation is what determines whether a failure is a warranty repair or the homeowner’s cost. That’s why we’re obsessive about documenting installation on every fence we touch through fence installation in Tustin.
What separates a warranty claim from normal wear:
- Installation photos at every stage. Photos of the excavation, the footing depth, the concrete mix, the drainage grade, and the hardware spec make or break a claim. Without them, no contractor or manufacturer can determine what failed.
- Material receipts and brand documentation. Manufacturer warranties on lumber, hardware, and composite panels require a paper trail. Keep receipts and spec sheets with your fence installation documents.
- The contractor’s written workmanship guarantee. The Groundwork Construction Co. 730-Day Done Right Promise covers workmanship for two full years – if footing failure, hardware pull-out, or drainage mistakes show up, we make it right. That’s one of the longest workmanship guarantees in residential construction, and it’s in writing.
- A dated record of the failure. When something fails, photograph it before you touch it. Notes on date, symptoms, and visible cause preserve the claim.
Normal wear – fading, minor surface checking, hardware that’s simply reached end of life, storm damage – falls outside warranty. Footings that failed from installation mistakes, hardware that was underspec’d for the environment, and drainage that was ignored at install fall inside it. Documented installs settle claims quickly; undocumented ones turn into disputes.
If you’re wondering whether a specific failure is covered, call us at (833) 954-6066 and we’ll walk through it with you. We’ve handled hundreds of claims, and we’d rather answer that question on the phone than have you guess.
Post Material at the Soil Line: Wood, Steel, and Composite Compared
The most common failure point on any fence post is the four to six inches right at the soil line. That’s where moisture sits, where oxygen is available, and where decay organisms are active. Material choice there drives long-term durability more than the material of the rest of the post.
- Pressure-treated wood. Ground-contact rated treated wood will last a decade or more at the soil line if the rating is right. Non-ground-contact lumber in the ground-contact position rots fast, and that’s a common failure source we get called out to fix. Ask for the rating, and check it.
- Galvanized steel posts. Steel posts set in concrete and finished with hot-dip galvanizing hold up very well at the soil line. Coating quality drives longevity; marginal coatings show rust bleed within a few years.
- Composite posts. Composite is moisture-resistant, but the material at the post-to-concrete interface still needs proper drainage. Composite is a strong choice for the visible portion of the post; it still depends on a properly footed base.
- Concrete-filled steel posts. Heavy-duty, and common for high-wind areas. The steel is protected by a concrete core, and the footing does the load work.
The winning combination for Tustin’s clay-and-humidity environment is a properly rated ground-contact post, a properly footed base, and hardware that matches the climate. Any one of those three in isolation doesn’t survive. Together they do.
Common Mistakes to Avoid
- Replacing a leaning post without fixing the drainage. The new post will lean the same way within two years. Drainage correction is almost always part of the lean fix in Tustin.
- Using non-ground-contact treated lumber in the soil line. It’s cheaper on the line item and costs more on the warranty claim. The post material at the soil line is what fails first.
- Skimping on footing depth in heavy clay. Tustin’s expansive soil punishes shallow footings twice a year. Deeper footings cost more on install day and save the fence.
- Painting over rust bleed instead of replacing hardware. Paint traps moisture and speeds the corrosion underneath. Replace fasteners and brackets, don’t cover them.
- Driving fasteners too close to the rail end. This splits the grain and opens a moisture channel. Fastener spacing and placement matter as much as fastener type.
- Pulling a fence installation’s exact hardware spec from memory. Document what hardware, concrete mix, footing depth, and drainage design was used. It’s the difference between a warranty claim and a dispute.
- Assuming a sagging gate is a gate problem. If the hinge post has moved, the gate will never close right until the post is reset. Diagnose the post, not the gate.
See the difference
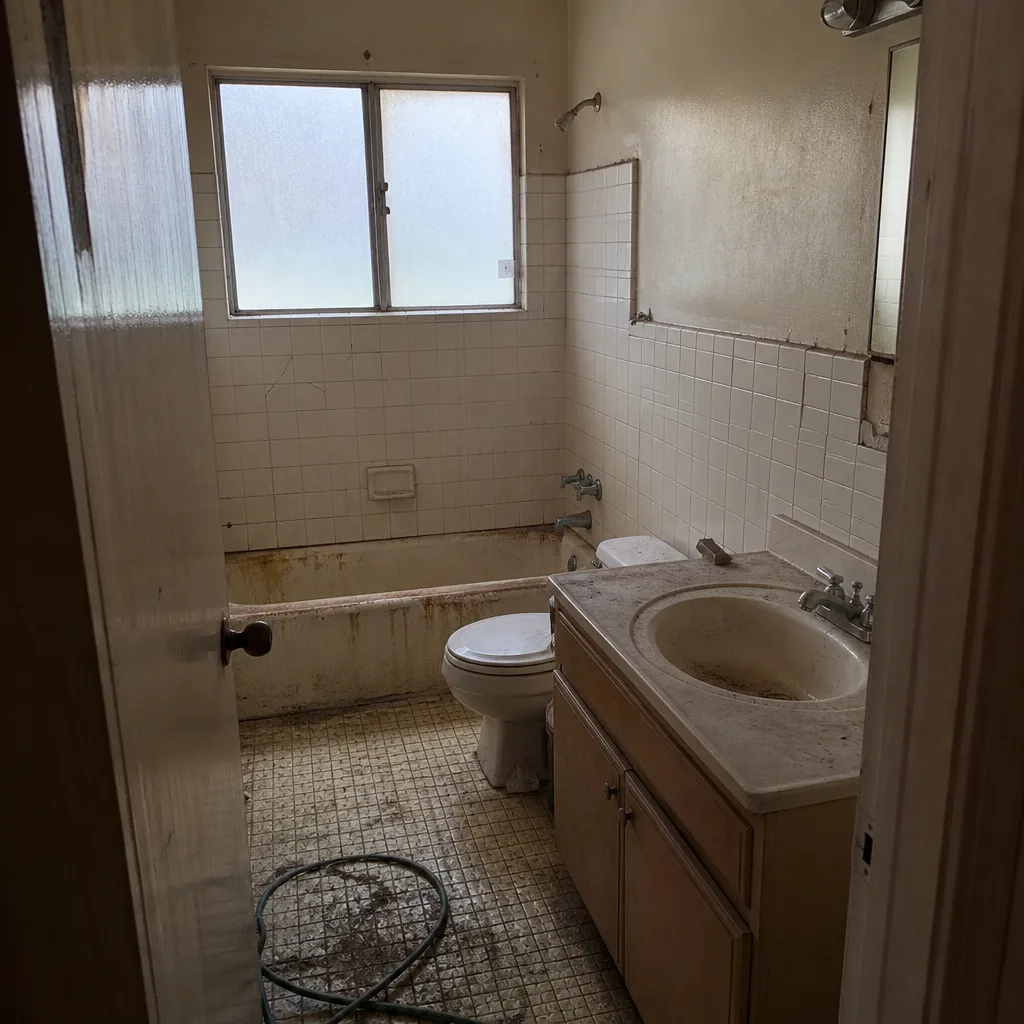 Before
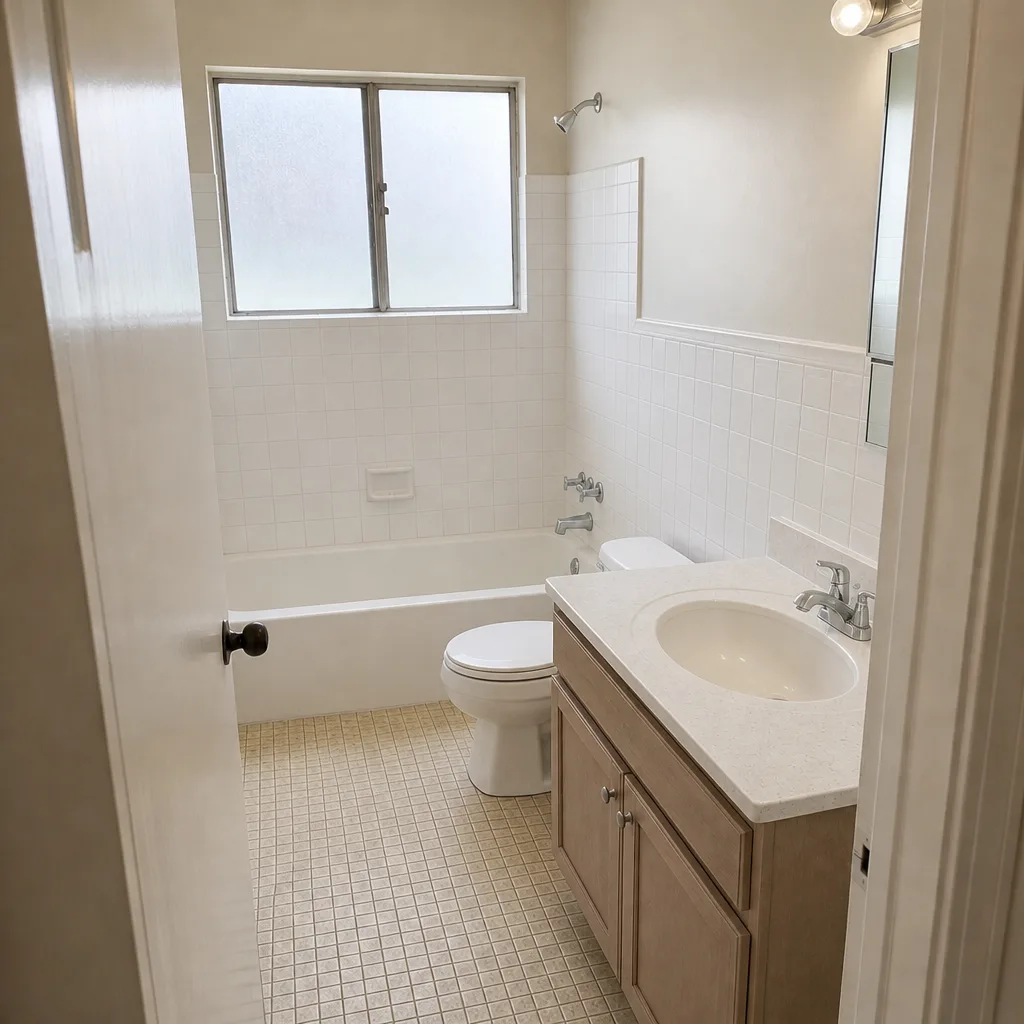 After
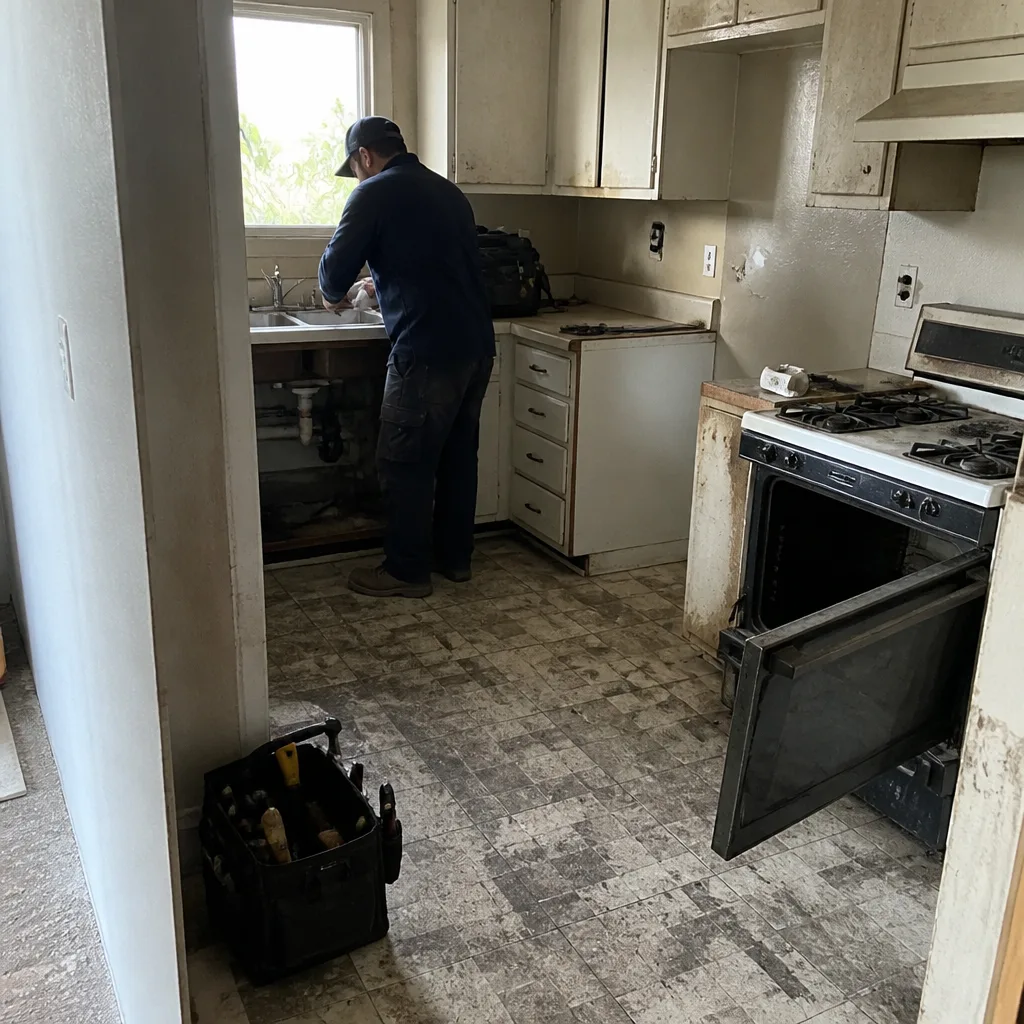 Before
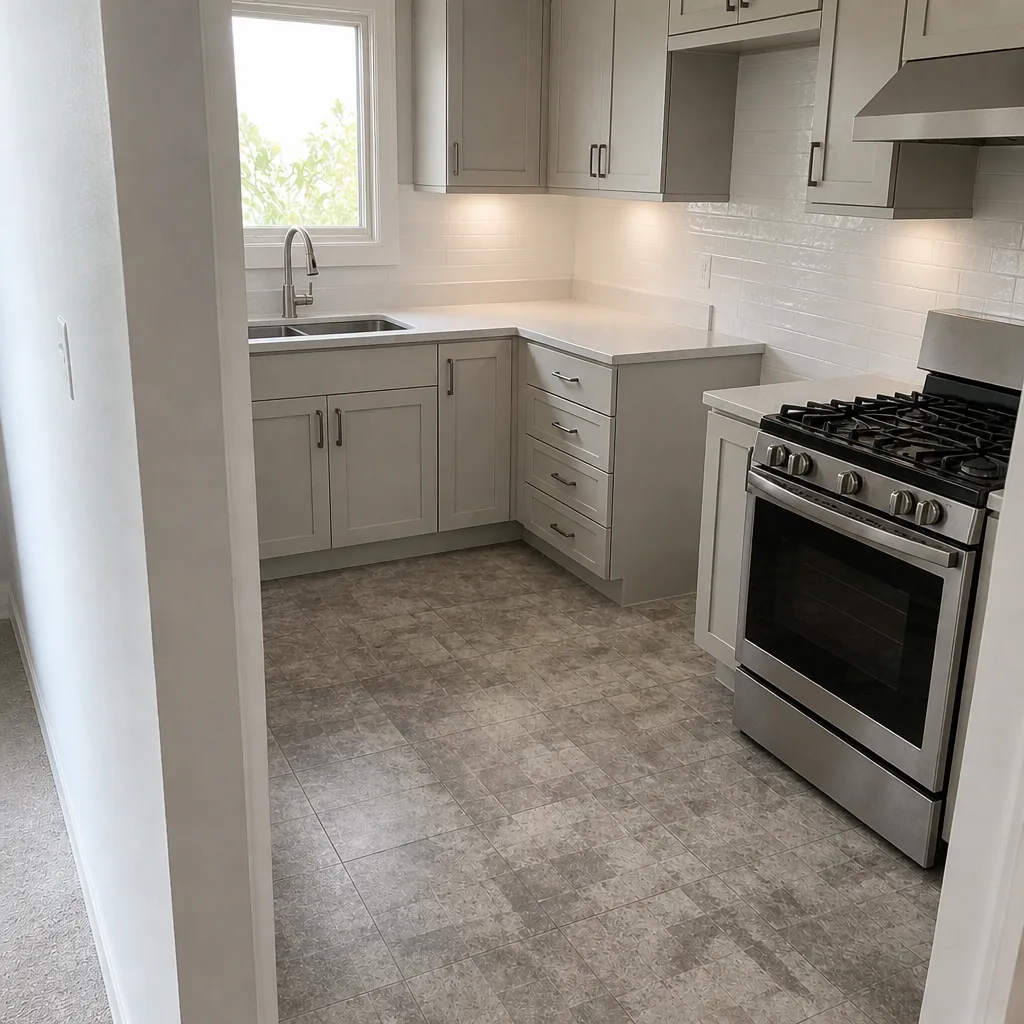 After
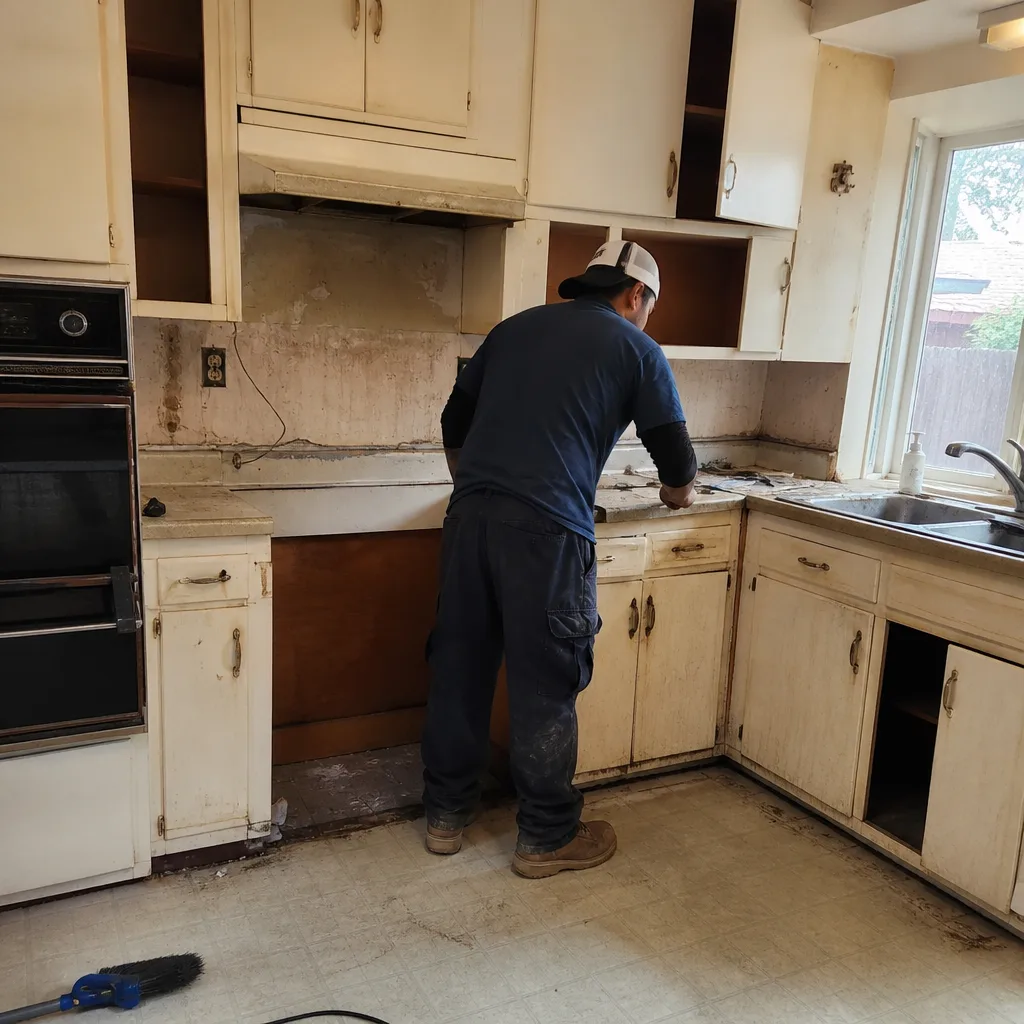 Before
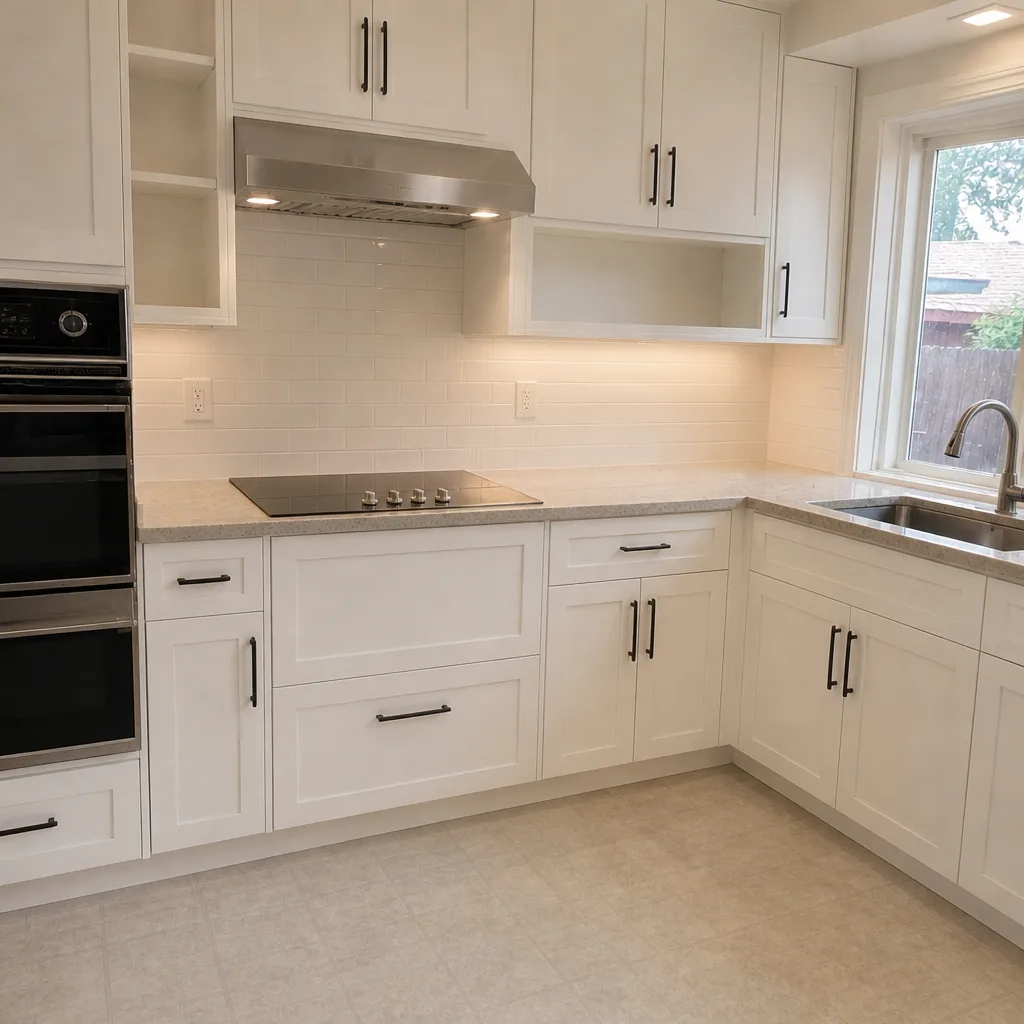 After
When to Call a Professional
Some fence problems are a weekend screwdriver fix; others aren’t, and the ones that aren’t are the ones that cost the most when they go wrong. Call a professional when a post lean has moved the post out of plumb by more than half an inch, when the footing is cracked or has separated from the post, when a gate hinge post has moved, when rust bleed shows a hardware spec that’s failing across the run, or when the failure has triggered a warranty claim you want done right the first time. Excavation and footing re-pour aren’t DIY work in Tustin’s clay.
Groundwork Construction Co. of Tustin offers free estimates in Tustin – call (833) 954-6066. Every job is backed by our 730-Day Done Right Promise, and our technicians have up to 12 years of experience with Tustin soil and Tustin weather. We answer calls with a live person, day or night, and our upfront pricing means the number you see is the number you pay.
If the fence is just one part of a broader property project, our Groundwork Construction Co. of Tustin home page covers everything we build from foundation to finish line. Homeowners planning outdoor living or a detached ADU often combine projects – see Home Additions & ADU in Tustin if that’s on your list. We also spec KraftMaid, GAF, and other verified brand partners across every trade we handle.
Frequently Asked Questions
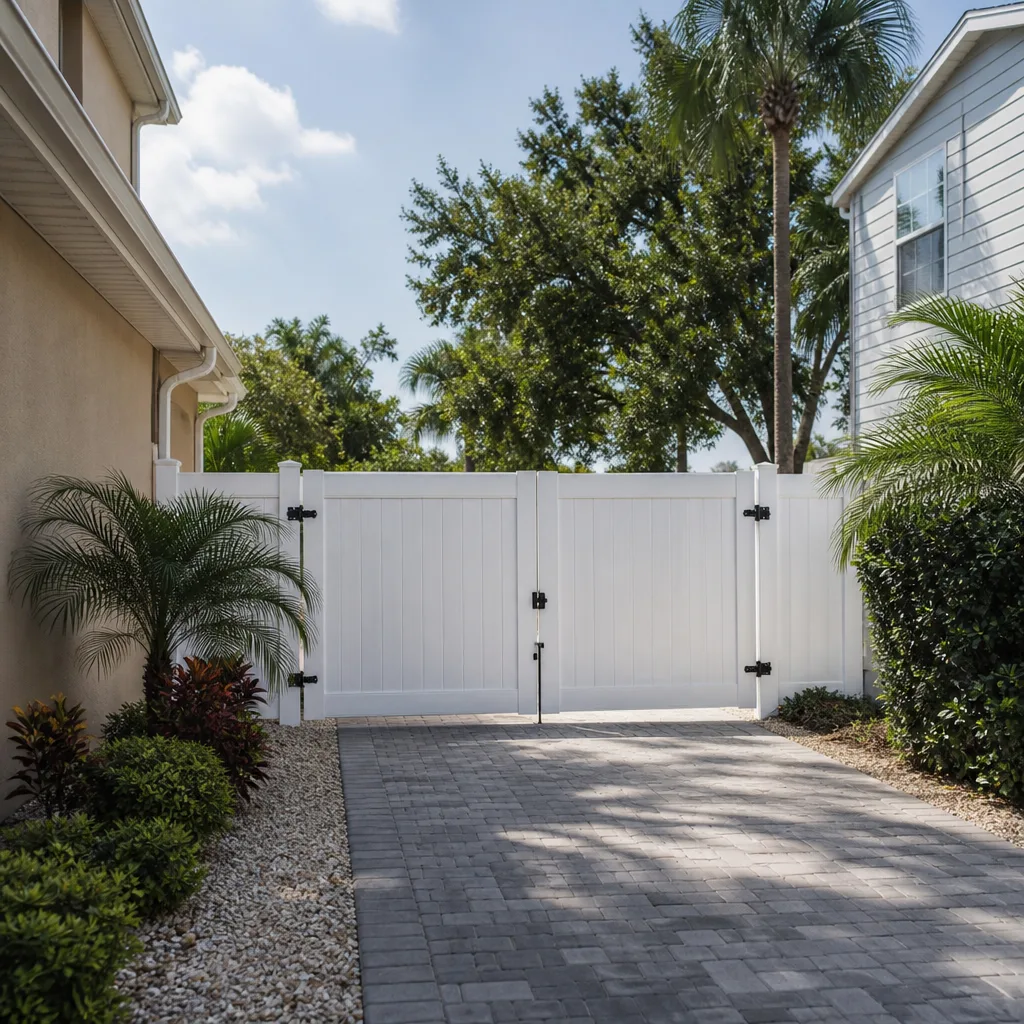
First diagnose why it’s leaning: soil movement, footing failure, or a loosened rail connection. Soil movement from Tustin’s clay calls for drainage correction plus a reset; footing failure calls for full excavation and re-pour; a connection failure is a hardware repair. Call (833) 954-6066 for a free estimate and we’ll walk through it with you.
Tustin’s expansive clay swells when it’s wet and shrinks when it dries, and a shallow footing rides that movement. Water pooling around the base amplifies the problem. Correcting drainage and resetting the footing at proper depth is the permanent fix. Call (833) 954-6066 to schedule a free estimate.
No, if the lean came from soil movement – the new post will lean the same way within two years. The post is almost never the cause of a lean; the ground is. Fix the soil and drainage, then reset the post, or the problem repeats. Call (833) 954-6066 if you want a diagnostic before you spend money on a repair.
The fastener punctures the wood grain, water enters through the puncture, and the fastener loses grip before the wood itself rots. Reinforcement with structural brackets or properly sized lag screws usually restores the connection without replacing the rail. If the rail end is split or rotted, a sistered short rail is the repair. Call (833) 954-6066 for a quote.
When the hinge-side post has moved out of plumb or the concrete around its base is cracked, the post has to be reset – no anti-sag kit will fix it. A tension rod or anti-sag kit handles gate frame problems, but not post movement. Call (833) 954-6066 and we’ll tell you which repair you’re facing.
It depends on the installation documentation. Footing failures, hardware pulled out by an install mistake, and drainage errors at install typically fall under workmanship warranty. Normal wear – fading, minor checking, storm damage, hardware at end of life – does not. The Groundwork 730-Day Done Right Promise covers workmanship for two full years in writing. Call (833) 954-6066 to review a claim.
The Bottom Line
Most fence problems trace to one of four post-installation decisions: footing depth, concrete mix, post material at the soil line, and drainage around the base. Read the failure correctly and you’ll know whether you’re looking at a spot repair or a full reset. A post leaning from clay movement needs drainage correction plus a properly footed reset. A rail that pulled from its hardware needs reinforcement, not replacement. A gate sagging from a moved hinge post needs the post reset. And a warranty claim lives or dies on the documentation from install day. Diagnose accurately, repair to the cause, and the fence will hold. Groundwork Construction Co. of Tustin is one call away for a free estimate.
Call (833) 954-6066 for a free estimate. Our team answers live, 24/7, our technicians arrive in uniform and background-checked, and every fence project we touch is backed by the 730-Day Done Right Promise – built to last, backed in writing. Upfront pricing, no surprises, and 0% financing for 18 months if you’re planning a full fence replacement.
Written by the team at Groundwork Construction Co. of Tustin.