Last updated November 17, 2026






Free written scope consultation - allowances, timeline, and change-order rules on paper before a single trade is scheduled
Driveway & Pavers Maintenance Schedule: What to Do and When
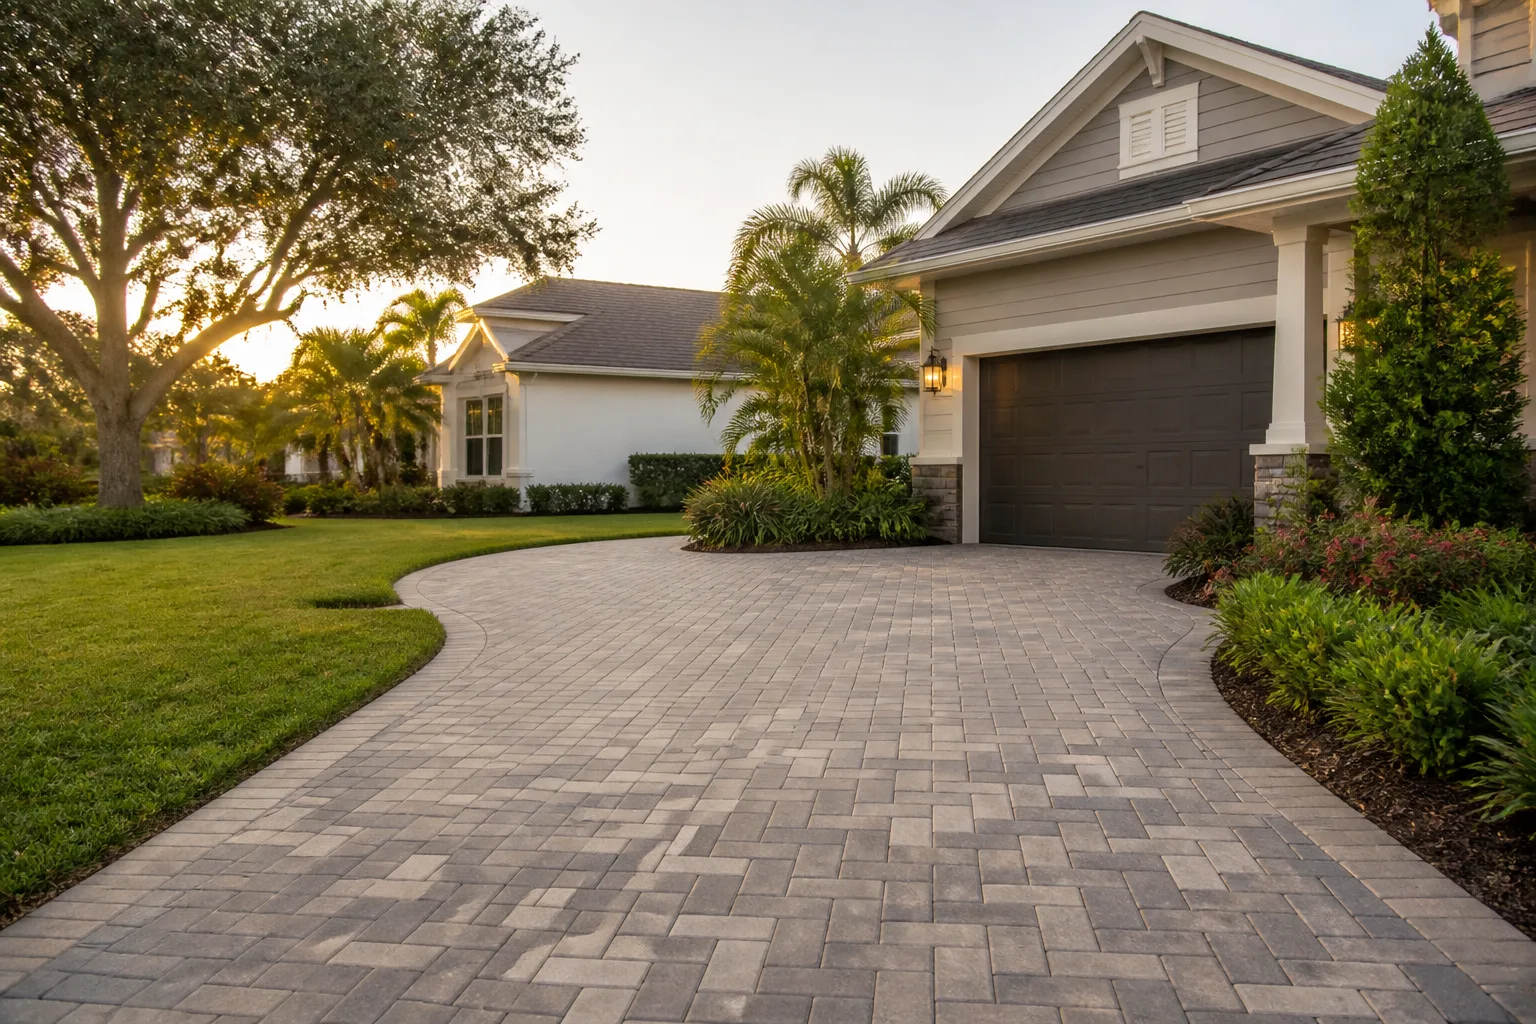
Sealing pavers too early after installation traps residual moisture in the base and accelerates joint sand erosion. Most homeowners who seal at 30 days don’t find out until year two, when the sand is gone and the edges are washing out. We’ve watched this happen across Tustin more times than we’d like. The good news is that a paver driveway maintained at the right intervals will outlast a neglected one by roughly 15 years. This schedule tells you exactly what to do, in what month, and why the timing matters here in Southern California.
Quick Answer
The right schedule for a Southern California paver driveway is: inspect joints every spring, top up sand in late spring, clear debris before the first fall rains in October, seal every three to five years when the water-bead test fails, and document condition with photos every year. Timing matters because Santa Ana winds, the October-through-March rainy season, and peak UV months all stress pavers in different ways, and doing the wrong task at the wrong time makes problems worse.
Styles & brands we work with
- Kitchen remodeling
- Bathroom remodeling
- Home additions & ADU
- Roofing
- Windows & doors
- Driveway & pavers
- Fence
Table of Contents
- Why a Southern California Schedule Is Different
- The Month-by-Month Tustin Maintenance Calendar
- Joint Sand Replenishment: Settling vs. Real Erosion
- Sealing: Why 3 – 5 Years Is Not a Fixed Number
- Cleaning Products That Chemically Degrade Pavers
- Documenting Condition Year by Year
- Stain and Damage Response by Season
- Common Mistakes to Avoid
Why a Southern California Schedule Is Different
Most paver maintenance schedules you’ll find online are written for climates with four clear seasons, freezing winters, and long wet springs. That’s not Tustin. Here we’re dealing with mild wet winters, long dry summers, and the annual disruption of Santa Ana winds in fall and early winter. The maintenance calendar has to follow that rhythm, not a Midwestern one.
Santa Ana winds pull humidity out of the air fast and drive fine dust into every open joint. By the time the first real rain arrives in October or November, those dust-filled joints act like tiny drains that anything can wash through. The result in Tustin is a specific kind of damage: sand loss concentrated along the driveway edges and low spots, which then widen the following spring. We see it most in exposed driveways on the eastern side of the city, where wind exposure runs higher.
The rainy season runs roughly October through March, with most of the heavy soaking coming in January and February. That’s your wet window for checking drainage, watching for puddling, and clearing debris. The rest of the year is dry-season maintenance: UV protection, joint sand top-ups, and surface cleaning.
Peak UV months from May through September do two things. They fade old sealant and they bake in stains that get ignored during the dry season. A paver driveway in Tustin that goes unsealed for too many summers will chalk noticeably on the south-facing sections.
Tile and concrete pavers also sit on a base that expands and contracts with our temperature swings. The base is what actually holds the driveway together, and every maintenance decision has to respect it. That’s why sealing too early is such a costly mistake on new installs. If you’re still choosing a paver system, our Driveway & Pavers in Tustin page walks through base prep and paver selection.
The Month-by-Month Tustin Maintenance Calendar
Here’s the schedule we recommend for a paver driveway in Tustin. Months are a guide, not a rulebook, so shift things a week or two if the weather tells you to. The point is the sequence.
January – February: Wet-Season Inspection
- Walk the driveway during or right after rain and note where water pools or flows fast.
- Check joints near the edges for sand loss. Wet joints show erosion more clearly than dry ones.
- Clear gutters, downspouts, and any swales so runoff doesn’t cross the driveway.
- Photograph anything that looks off. This is your rainy-season damage baseline.
March – April: Post-Rain Repair Window
- Top up joint sand anywhere it has dropped below the chamfer (the beveled edge of the paver).
- Re-level any sand that has washed out from low spots, but only after the base underneath is verified dry and stable.
- Inspect for hairline cracks in concrete pavers, which can widen during the winter wet season.
May – June: Pre-Summer Cleaning and Sealer Assessment
- Deep-clean the surface before UV season peaks, using a gentle cleaner (more on products below).
- Run the water-bead test in three or four spots to decide whether you actually need to reseal this year.
- If you’re sealing, do it after at least 48 hours of dry weather and before the hottest part of July.
July – September: Dry-Season Watch
- Spot-clean stains before they bake in. Oil stains are the most common offender this time of year.
- Watch for fading in full-sun sections, especially on south- and west-facing parts of the driveway.
- Don’t overwater adjacent landscaping onto the pavers. Constant drip at the base edge softens the joint sand.
October: Pre-Rain Prep
- Clear all debris from joints and from the edges of the driveway.
- Inspect drainage paths. Make sure water exits the driveway rather than pooling at the garage slab.
- Re-top joint sand one last time before the wet season begins.
November – December: Santa Ana Wind Sweep
- Sweep the driveway after any wind event. Fine dust and debris settle into open joints.
- Check the seams at the garage apron and at any border course, which take the most wind-driven grit.
- Do a final photo set for the year so you have a clean record heading into the next cycle.
Joint Sand Replenishment: Settling vs. Real Erosion
Every paver driveway loses some joint sand over time. That’s normal settling. What matters is whether the sand loss is even and shallow (routine settling) or concentrated and deep (a drainage problem or a base problem underneath).
Normal Settling
- Sand loss is even across the whole surface.
- Lost depth is small, typically a quarter-inch or less below the paver surface.
- The pavers themselves are stable and don’t rock when you walk on them.
- A simple top-up every year keeps things in good shape.
Real Erosion
- Sand is gone in specific channels or concentrated lines.
- The pavers have shifted, tilted, or feel loose underfoot.
- Water visibly channels through the joints after rain.
- Erosion keeps coming back in the same spot year after year.
That second list is a red flag. Replacing joint sand without finding the water source underneath is throwing money at the symptom. Erosion concentrated along one edge almost always traces back to runoff from somewhere else: a downspout discharging onto the driveway, a swale that’s shifted, or a base that was never properly compacted on that side.
The Replenishment Steps
- Clean the joints with a stiff brush or a blower on low pressure. Get them dry and debris-free.
- Pour polymeric or kiln-dried joint sand across the surface and sweep it into the joints.
- Compact with a plate compactor (or hand tamper on small areas) so sand settles properly.
- Add a second pass of sand if the joints still look shallow.
- Sweep off the excess and lightly mist the surface so polymeric sand activates.
For pavers with narrow joints, you may need a finer sand or a sand-and-seal approach. In our experience across Tustin, a polymeric joint sand holds up best against our wet-dry cycling, but only if the joints are truly clean before it goes in. If you’re seeing shifting pavers or repeated sand loss in one spot, that’s a structural sign, not a maintenance one, and it’s worth a professional look.
Sealing: Why 3 – 5 Years Is Not a Fixed Number
You’ve probably read that you should reseal pavers every three to five years. That range isn’t wrong, but it’s too generic to actually use. Sealer life depends on sun exposure, foot and vehicle traffic, the sealer product, and how much UV the paver gets. A shaded paver walkway and a full-sun driveway in Tustin might both need different reseal intervals even if they were sealed the same day.
So skip the calendar math when it comes to sealing and use the water-bead test instead.
The Water-Bead Test (Do This Every Spring)
- Wait until the paver surface is dry and has been dry for at least 24 hours.
- Drip a half-cup of water onto three or four representative spots: one in full sun, one in shade, one high-traffic zone, one edge.
- Watch what happens for 30 seconds.
- If the water beads up and rolls off like on a waxed car, the sealer is still working. Wait another season.
- If the water soaks in almost immediately, or darkens the paver, the sealer is failing. Plan to reseal.
- If water beads in some spots and soaks in at others, do a partial reseal of the failing zones only.
The One Rule You Cannot Skip
Don’t seal a new paver driveway earlier than about 60 – 90 days after installation, and even then only when the base is genuinely dry. Sealing traps the residual moisture that’s still leaving the base and joint sand during those first months. When it can’t escape, it sits under the sealer, loosens the joint sand, and causes the kind of hazy white bloom you can’t clean off. Most homeowners who seal at day 30 don’t find out until year two, when the sand has washed away and the sealer has started to crack.
The right process is:
- Let the driveway sit through one full wet-dry cycle before any sealing conversation.
- Confirm with a moisture meter or the plastic-sheet test (tape a square of plastic to the pavers overnight and check for condensation underneath).
- Seal only in dry weather with no rain in the forecast for 48 hours.
- Use a breathable, water-based sealer for most residential driveways. Solvent-based sealers can trap moisture if the base is not fully dry.
If your driveway was installed years ago and has never been sealed, you don’t need to rush. Many concrete pavers hold up well unsealed for a long time. What sealing buys you is stain resistance, color richness, and joint sand retention. Those are real benefits, but they’re not emergencies. Match the sealer cycle to how the pavers actually behave, not to a number someone quoted.
Cleaning Products That Chemically Degrade Pavers
The wrong cleaner is worse than no cleaner. Concrete pavers, which are common in Tustin driveways, are alkaline by nature. Anything acidic eats them on a chemical level. It won’t happen in one wash. It happens over years of small exposures until the surface starts etching and the color goes chalky.
The pH Threshold You Need to Know
Concrete pavers sit around pH 9 to pH 11 on the surface. Any cleaner below roughly pH 6 is acidic enough to begin dissolving the cement binder that holds the paver together. That means:
Avoid on Concrete Pavers
- Muriatic acid, even diluted. It’s sold to homeowners for cleaning concrete and it will slowly destroy paver surfaces over repeated use.
- Vinegar solutions in any meaningful concentration. Fine on a rag for spot cleanup, not fine as a driveway wash.
- Citrus-based degreasers at full strength. Some are pH 3 – 4.
- Rust removers built on oxalic or phosphoric acid at full strength. Use them only on targeted spots, never as a full-surface wash.
- Bleach as a routine cleaner. It’s not acidic, but repeated bleach washes attack joint sand and can degrade polymeric sand binders.
Safe for Most Pavers
- pH-neutral paver cleaner, which is what we recommend for regular washing.
- Dawn dish soap diluted in water (a few drops per gallon) for a mild wash.
- Oxygen-based cleaners for organic stains like leaf tannin or mildew.
- Commercial paver-specific degreasers for oil spots, used as directed and rinsed thoroughly.
Before you use any cleaner on a paver driveway, spot-test it on a hidden edge. Leave it for 20 minutes, rinse, and check the color. If the paver looks lighter or chalkier after, don’t use it on the main surface. In Tustin, the biggest offender we see is homeowners reaching for muriatic acid to fix hard-water or efflorescence staining. It works short-term and hurts the pavers long-term.
If a stain isn’t responding to a pH-neutral cleaner, that’s a signal to get a professional opinion before trying anything stronger. Paver stain removal is chemistry, not elbow grease.
Documenting Condition Year by Year
This is the step almost nobody does, and it’s the one that pays off when something goes wrong. If you ever need to file a warranty claim, an insurance claim after storm damage, or a dispute with a neighbor or HOA over drainage, you need proof that the driveway was properly maintained. A photo record with dates does that in about five minutes a year.
The Annual Documentation Routine
- Pick the same day every year. We recommend late March, after the rainy season closes.
- Photograph the same six angles: full driveway from the street, full driveway from the garage, each edge, the garage apron, and any previous problem spot.
- Drop a reference object (a shoe, a tape measure marking 12 inches) next to any area where you’ve seen wear, settling, or shifting. It makes year-over-year comparison possible.
- Write one paragraph noting anything that changed: new stains, new joint sand loss, new cracks, new puddles.
- Store the photos in a cloud folder dated by year.
- Keep the maintenance receipts: sealer brand and date, joint sand brand and date, any professional work.
- If a professional service was performed, keep the invoice and warranty copy with the rest of the home records.
Why does this matter in Tustin specifically? Because a lot of homes here built in the 1990s and 2000s are now in the window where the first major driveway repairs happen. When you’re comparing repair options, or when a manufacturer files a warranty question about a paver that failed early, that photo record is what tells the story. A dated photo of the driveway looking normal last March does more than any verbal account. Our Groundwork Construction Co. of Tustin home page is a good starting point if you want to talk through what your records show.
Stain and Damage Response by Season
Not all stains are equal, and not all seasons are equal for dealing with them. Here’s what we recommend, matched to when it happens.
Oil and Grease (Mostly Summer)
Blot immediately with an absorbent material like cat litter or cornstarch and give it time. Rushing to a strong cleaner usually drives the stain deeper into the paver pore. Once absorbed, use a paver-safe degreaser, let it sit for the directed time, and rinse. Summer heat bakes oil in fast, so the sooner you treat it the better the result.
Leaf Tannin and Organic Staining (Fall)
Leaf tannins leave brown patches that get worse if they sit through rain. Clear leaves promptly and use an oxygen-based cleaner on any brown patches before the rainy season sets in. In Tustin, the sweet gum and sycamore drops in late fall are the usual culprit.
Efflorescence (Wet Season)
That white, powdery haze that shows up on pavers during wet months is efflorescence: mineral salts migrating out of the base and drying on the surface. It’s normal, it’s not structural damage, and it usually clears on its own when the pavers dry. Use a paver-specific efflorescence remover only if it persists into dry weather. Don’t reach for muriatic acid, which is the mistake we see most in Tustin.
Rust Staining (Year-Round)
Rust usually comes from metal furniture, a downspout, or iron in the base. Deal with the source first. Then use a spot rust remover on just the affected paver, not across the whole surface, since most rust removers are acidic.
Physical Damage
Chipped, cracked, or shifted pavers are a physical repair, not a cleaning issue. Two cracked pavers in a high-traffic zone are usually replaceable one at a time, but three or more in the same area suggest a base problem. That’s where a professional look earns its keep.
If you have an adjacent wood or vinyl fence around the driveway that takes a beating during a bad wind season, our Fence Installation in Tustin page has guidance on post-wind inspections, since the two structures share drainage and exposure.
Common Mistakes to Avoid
- Sealing too early after installation. Sealing within 30 days traps base moisture and destroys joint sand within two years. Wait through one full wet-dry cycle and confirm the base is dry before any sealer goes down.
- Cleaning with muriatic acid. It’s sold for concrete and it’s the fastest way to chalk the surface of a paver driveway in Tustin. Concrete pavers are alkaline, and acid eats the binder that holds them together.
- Replacing joint sand without finding the water source. If erosion keeps coming back in the same spot, the joint sand isn’t the problem, the drainage is. Fix the runoff path first.
- Trusting a fixed sealer schedule over the water-bead test. “Every three years” sounds clean and misses the point. Some driveways in Tustin need sealing at two years, others comfortably go five. Test the actual surface.
- Assuming efflorescence is damage. White haze in the wet season is normal mineral migration and often clears on its own. Reacting to it with strong cleaners makes it worse.
- Skipping the annual photo record. Maintenance documentation is the difference between a clean warranty claim and a losing argument, and it takes about five minutes a year.
- Ignoring Santa Ana wind debris. Wind-driven dust settled into open joints is the leading cause of accelerated sand loss we see on Tustin driveways that otherwise look well-kept. A sweep after each wind event matters more than people realize.
When to Call a Professional
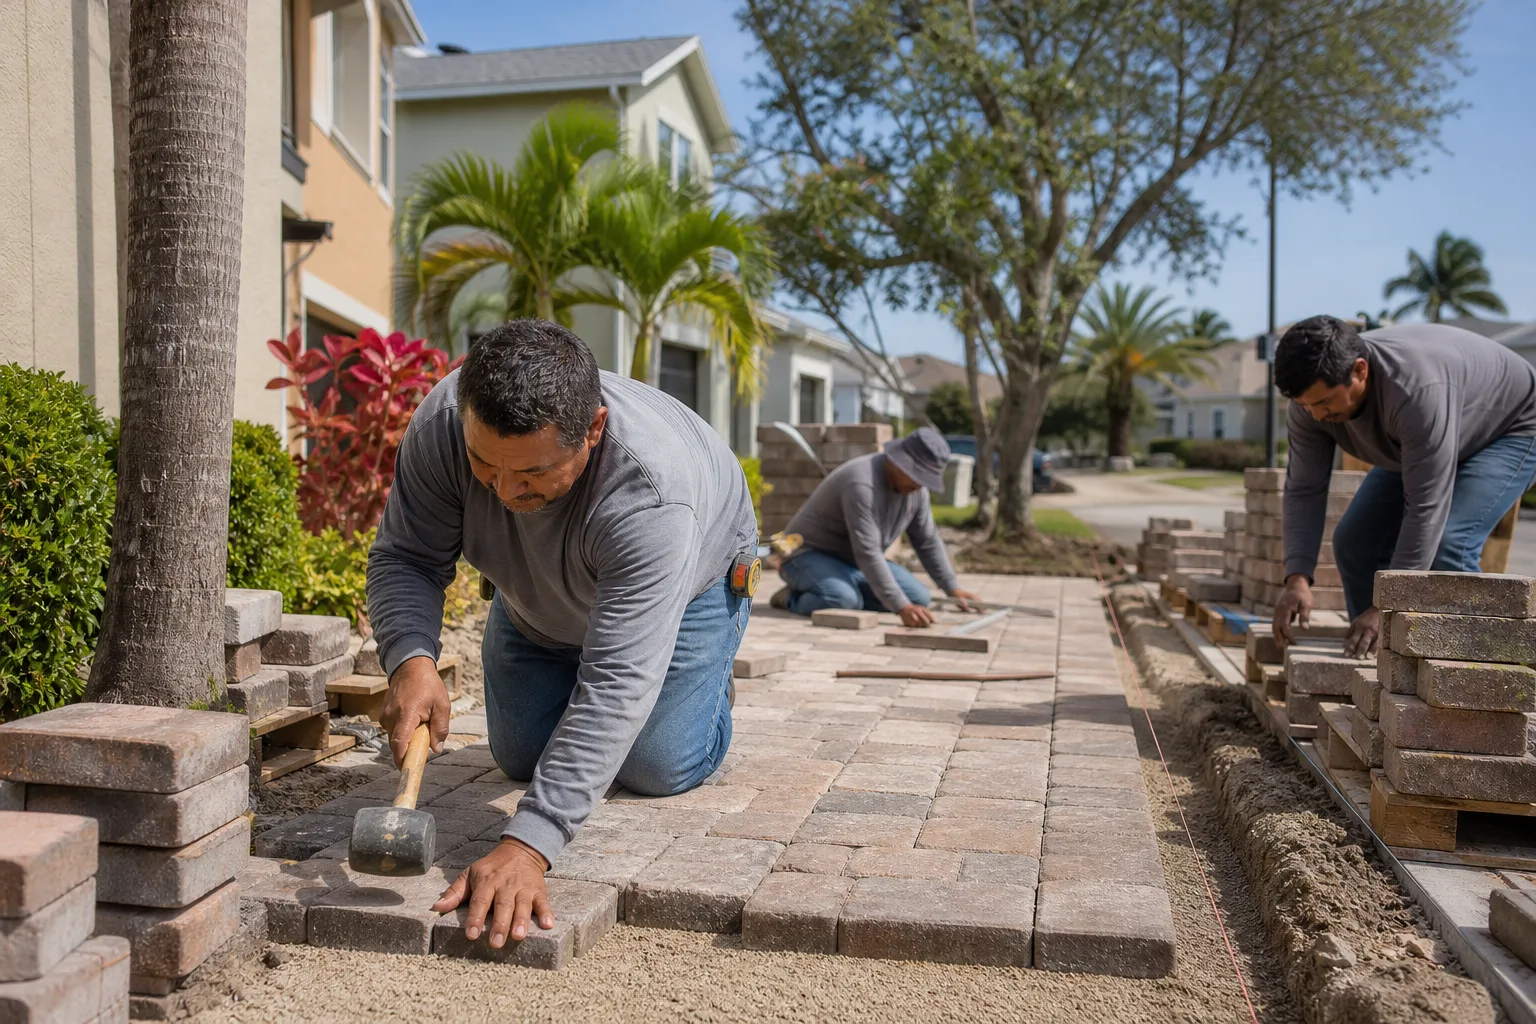
Some of this schedule belongs in your hands. The recurring stuff – sweeping, spot cleaning, the water-bead test, the annual photos – is work you can do and should do because it saves you thousands over a decade. What you shouldn’t do is handle the jobs that require knowing what’s happening under the surface.
Call a professional if any of the following shows up: pavers that rock or shift when you walk on them, repeated sand loss in the same spot after two top-ups, standing water that lingers more than a few hours after rain, cracks that keep widening, or a base that feels soft or dips visibly at the edges. If you’re dealing with full replacement or a driveway that was never properly built in the first place, calling before problems compound is the cheaper move. The same goes if you’re planning an ADU or addition where the driveway needs to be integrated with new drainage; our Home Additions & ADU in Tustin team handles the site planning side.
Groundwork Construction Co. of Tustin offers free estimates in Tustin – call (833) 954-6066. Our technicians have up to 12 years of experience, all projects are covered by our 730-Day Done Right Promise, and we’re happy to look at whatever your maintenance records are telling you.
See the difference
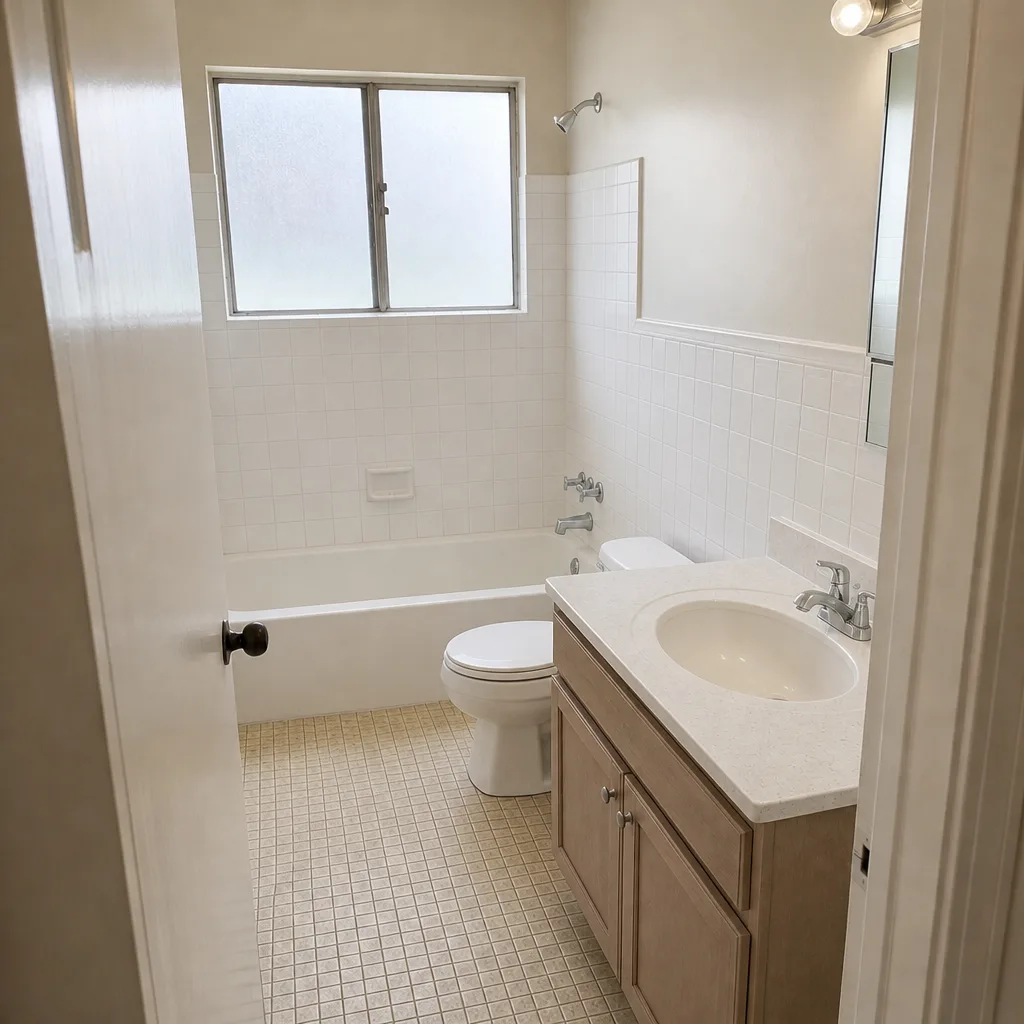
 Before
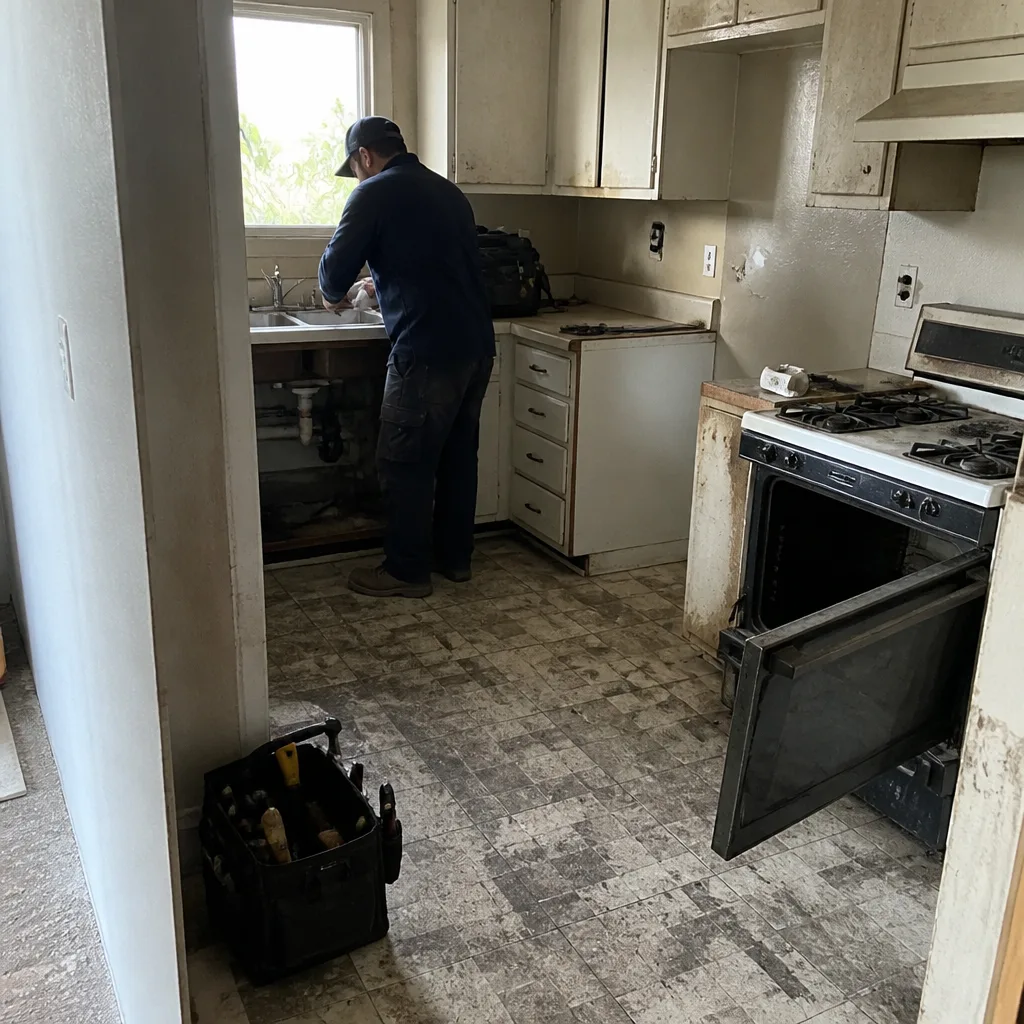
 After
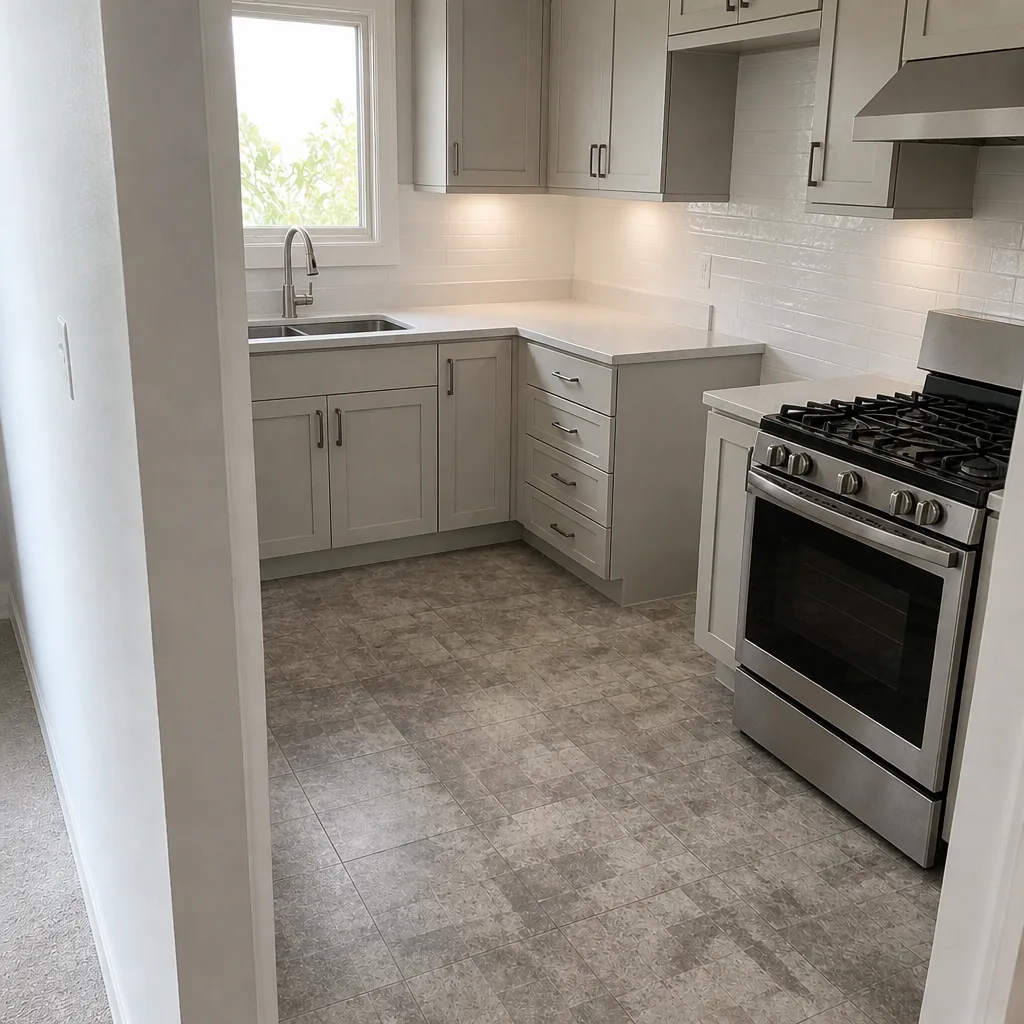
 Before
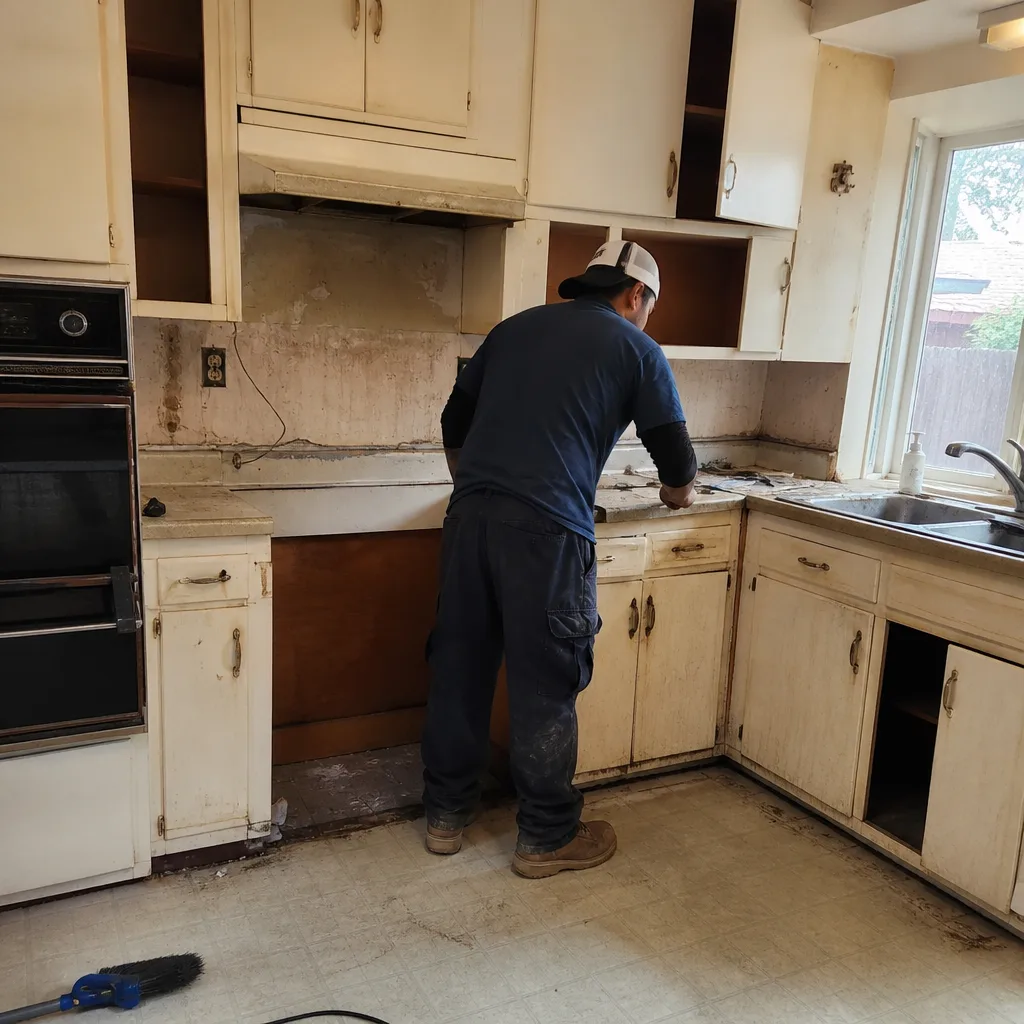
 After
 Before
 After
Frequently Asked Questions
Use the water-bead test, not a fixed calendar. If water beads up and rolls off, the sealer is still doing its job and you can wait another season. If water soaks into the pavers within a few seconds, it’s time to reseal. For most Tustin driveways in full sun, that lands somewhere between three and five years, but full-sun and heavy-traffic driveways may need it closer to the two- to three-year mark.
Call (833) 954-6066 for a free estimate if you want a professional opinion on timing.
Mid-May through June is the best window in Tustin – warm enough for the sealer to cure properly, dry enough for a 48-hour weather window, and before the intense UV of August bakes it in. October is also workable if you can catch a dry week before the rainy season starts. Avoid July and August when the surface gets too hot during the day, and avoid any week with rain in the forecast.
Normal settling is even, shallow, and the pavers stay stable. Real erosion is concentrated along an edge, a low spot, or a channel, and the pavers around it often shift or rock. If the same spot keeps losing sand after two top-ups, the water is coming from somewhere and finding the source is more useful than replacing the sand. That’s a job for a professional.
Call (833) 954-6066 to schedule a free estimate in Tustin.
No. Concrete pavers sit around pH 9 to pH 11 and muriatic acid is far below the pH 6 threshold that starts dissolving the cement binder. It may clean the surface short-term but it degrades the paver chemistry over repeated use. Stick with pH-neutral paver cleaners, and spot-test anything new on a hidden edge before using it across the driveway.
Yes, and it’s the cheapest piece of the schedule. A dated photo set of six standard angles plus a one-paragraph written note every March is the difference between a clean warranty or insurance claim and a losing argument. Keep the folder in a cloud account and include sealer and sand receipts with it. The documentation itself takes about five minutes a year.
In our experience, yes – a maintained paver driveway consistently outlives a neglected one by roughly 15 years in this climate. The maintenance schedule doesn’t stop the pavers from aging, it stops small problems (sand loss, moisture trapped under sealer, unchecked erosion) from becoming expensive ones. That’s the whole game, and most of the tasks take less than an hour a year.
Call (833) 954-6066 for a free estimate in Tustin.
The Bottom Line

Driveway maintenance in Tustin is a schedule, not a weekend project. The calendar is built around Santa Ana winds in the fall, the rainy window from December through March, and peak UV from May through September. Get the joint sand right before the wet season and inspect it after. Test the sealer with the water-bead test each spring, not a fixed three-year clock. Keep all cleaning products above pH 6, which rules out the muriatic acid most homeowners reach for. And take five minutes a year to document the driveway with photos – it’s the cheapest insurance policy you’ll ever buy for your pavers. Stick with the schedule and you’ll be driving on the same pavers for decades, not repairing them.
Written by the team at Groundwork Construction Co. of Tustin.
Ready for a Free Estimate?
Call Groundwork Construction Co. of Tustin at (833) 954-6066 for a free project estimate and design consult. Every project we take on is covered by our 730-Day Done Right Promise, calls are answered by a live person around the clock, and every technician who shows up is background-checked and in uniform. Upfront pricing, no surprises, and a written guarantee that means what it says. Whether it’s resurfacing, joint sand, drainage correction, or a full driveway replacement, we’ll walk you through it in plain language and give you a number up front. Built to last, backed in writing – from foundation to finish line.