
Last updated November 17, 2026








Free written scope consultation - allowances, timeline, and change-order rules on paper before a single trade is scheduled
Windows & Doors Troubleshooting: Common Problems and How to Fix Them
A drafty window is not always a window problem. In roughly 40% of the cases we diagnose, the air infiltration source is the installation interface – the frame-to-rough-opening gap, not the window unit itself. Replacing the glass or sash fixes nothing. This guide walks you through a symptom-first diagnostic approach so you can trace drafts, condensation, sticking, rattling, and water intrusion to their actual origin before you spend a dollar. We’ll cover the three failure layers (hardware, frame, installation), why seasonal sticking and year-round sticking demand completely different fixes, and which quick homeowner patches are worth doing versus which ones mask a worsening problem. Written from Tustin, where our dry summers and occasional winter rain events create a specific set of window and door stresses.
Quick Answer
Most window and door problems have three possible causes – hardware failure, frame failure, or installation-interface failure – and the right repair depends entirely on which layer has failed. Diagnosing the symptom before calling a professional saves money and prevents the wrong repair on the right problem. In Tustin and surrounding Orange County neighborhoods, we see installation-interface failures most often in tract homes built between the 1970s and 1990s, where original frame gaps were never properly sealed or have degraded after decades of thermal movement.
Styles & brands we work with
- Kitchen remodeling
- Bathroom remodeling
- Home additions & ADU
- Roofing
- Windows & doors
- Driveway & pavers
- Fence
Table of Contents
- The Symptom-First Diagnostic Tree: Where’s It Actually Coming From?
- Drafts and Air Infiltration: Window vs. Wall
- Three Kinds of Condensation That Look Identical
- Doors That Stick Seasonally vs. Year-Round
- Hardware, Frame, or Installation: Which Layer Failed?
- Water Intrusion: Where’s It Entering?
- Quick Fixes Worth Doing vs. Patches That Backfire
- When Diagnosis Says “Replace” Instead of “Repair”
The Symptom-First Diagnostic Tree: Where’s It Actually Coming From?
Before you call anyone, you need to answer one question: which of the three layers is failing? A window or door is a system with three stacked layers, and each one has a different repair language and a different price tag. Misdiagnosing the layer is the most expensive mistake in this category – a homeowner replaces glass on a frame problem, or reseals a frame on an installation problem, and the symptom returns within a season. In Tustin, where the average home has seen temperatures swing from the low 40s in January to 100-plus in September, thermal movement is the engine behind most layer failures.
Trace the symptom in this order:
- Start at the glass and sash. Is the fogging, draft, or stress inside the sealed glass unit itself, or at the perimeter where sash meets frame?
- Move to the frame-to-wall interface. Run your hand slowly along the interior trim edge with a candle flame or smoke pencil on a windy day. If the flame flickers at the trim line, the gap is at the rough-opening interface – not the sash.
- Check the hardware layer last. Locks, hinges, rollers, weatherstripping, and closers all wear out on known timelines and usually announce themselves with a specific physical symptom (rattle, sag, grind).
- Cross-check with weather. Note whether the symptom appears on windy days (air), rainy days (water), humid days (condensation), or hot afternoons (movement). The weather correlation tells you which layer is stressed.
The pattern of symptoms matters too. Drafts that appear only on windy days and at the frame edge point to installation. Drafts that appear on calm days and around the sash point to weatherstripping or sash alignment. Fogging between panes is a glass-seal problem, full stop. Fogging on the interior surface is a humidity problem in the home, not the window. Rattling under wind is almost always hardware or sash clearance. Sticking in summer but not winter is wood movement from humidity; sticking year-round is settling, hinge wear, or rough-opening misfit.
Once you identify the layer, the rest of this guide tells you what to do about it. If your diagnosis points toward a larger structural issue – a door that’s become hard to close next to a floor that’s dropped, or a window that’s visibly out of square – it’s worth having a professional look at the broader home envelope before you commit to a window repair. Our team handles home envelope and construction work in Tustin and can tell you whether the problem is the opening or the structure around it.
Drafts and Air Infiltration: Window vs. Wall
A draft near a window is not proof the window is leaking air. In our Tustin-area work, roughly four in ten of the cases we’re called to as “drafty windows” turn out to have air infiltration at the frame-to-rough-opening gap – the installation interface – where the window unit meets the wall cavity. Replacing the unit does nothing. The gap that needs sealing is between the frame and the wall, not between the sash and the frame. This distinction saves homeowners thousands of dollars on replacement windows that don’t fix the problem.
The diagnostic test is simple. On a breezy day, light a candle or use a smoke pencil and move it slowly:
- Along the interior trim perimeter. Flickering here means the infiltration is behind the trim – installation interface.
- Around the sash edges and glazing bead. Flickering at the sash means weatherstripping, glazing, or sash alignment – a window-level fix.
- At the window frame corners. Flickering at the corners specifically often points to a failed corner seal, common in older aluminum units but rare in modern vinyl or wood.
- At the meeting rail (double-hung windows). A consistent draft here means the sash lock isn’t drawing tight – usually a hardware adjustment.
Installation-interface draft fixes involve removing interior trim, checking the foam or sealant at the rough opening, and re-sealing properly. This is real carpentry, not a caulk-and-pray job. In Tustin’s dry, hot climate, spray-foam sealants applied incorrectly can cure brittle and fail within a few years – a detail worth knowing before you accept a quick-fix turnaround. We’ve seen plenty of homes where a handyman sealed the interior trim line with clear caulk and called it done. That conceals the draft into the wall cavity without fixing the infiltration, and later makes the proper repair more work. If your draft traces back to the rough opening, get a written scope that describes exactly how the gap will be sealed, not just that “sealing” is included.
Three Kinds of Condensation That Look Identical
Condensation is the symptom most often misdiagnosed by homeowners and by well-meaning handymen. Three distinct problems look almost identical at the glass, and each one has a completely different fix. Treating the wrong kind wastes money and often damages the window in the process. Here’s how to tell them apart.
Fogged double-pane glass (failed seal). If the fog, haze, or water droplets are between the two panes of a sealed glass unit, the glass seal has failed. This is a glass-only fix – the frame, window opening, and installation are fine. You replace the insulated glass unit (IGU) or the sash, not the whole window. In our experience across Tustin, IGU failure tends to happen most on south- and west-facing windows after 10 to 20 years of UV load, and on units installed during the 1980s and 1990s with earlier sealant formulations.
Frame condensation (moisture management problem). Fog or frost on the interior surface of the window frame, particularly at the bottom corners, means the frame is running cold enough to condense interior humidity. In Tustin this is uncommon because outside dew points are low, but it happens in homes with high interior humidity – a bathroom or kitchen window, or a window near an indoor water source. The fix is usually ventilation and drainage at the window: check that the weep holes at the sill are open (they get painted over or clogged with dust constantly), and confirm the interior humidity isn’t running above 50%.
Interior surface condensation (humidity issue). Fog on the room-side glass – across the whole pane, not one edge – means home humidity is too high for the outdoor temperature. The window is not the problem; the moisture in the air is. The fix is mechanical: better bath fans, a kitchen range hood vented outside, or a whole-home dehumidifier. Replacing the window without addressing humidity does nothing.
Homeowners in Tustin who call about “sweating windows” almost always have one of these three, and our first step is a short diagnostic call to sort out which before we send anyone. That said, the wrong diagnosis on any of the three wastes real money – if you’re not sure, it’s worth a professional look before you spend on replacement glass.
Doors That Stick Seasonally vs. Year-Round
A door that sticks in summer but swings free in winter has a wood-movement problem. A door that sticks every month of the year has an installation, settling, or hinge problem. These two symptoms demand completely different solutions, and treating seasonal sticking like year-round sticking (or vice versa) is a waste of money and often makes the problem worse.
Seasonal sticking – wood movement. Wood doors and wood jambs absorb and release moisture with the seasons. During humid periods, wood swells; during dry periods, it shrinks. In Tustin, our dry climate means doors tend to swell less than in coastal markets, but monsoon-season humidity spikes and winter rain weeks still produce measurable movement in wood doors – typically 1/32 to 1/16 inch across the width. If your door only sticks in specific months, the fix is adjustment of hinges and strike plate to accommodate the movement range, not planing the door. Planing a door that only sticks in August makes it loose every other month of the year.
Year-round sticking – settling or hinge wear. If the door sticks in the same spot all year, the fix depends on which surfaces are binding:
- Top of the door (sticking at the head jamb). Usually indicates hinge wear pulling the door out of square, or the opening itself has settled at the head. Aged hinges and loose screws are common causes.
- Bottom of the door (sticking on the threshold). Usually hinge wear, hinge sag, or threshold shift. If the door swings free but drags on the threshold, check hinge screws first.
- Latch side (sticking against the strike jamb). Often a settling issue – the frame is out of square or the wall has moved. Look for cracks in the drywall above the corners of the door frame.
- Hinge side (binding on the hinge jamb). Usually door warpage, an over-tightened hinge screw, or a misaligned hinge pocket.
Interior doors that stick year-round in Tustin homes built before 1990 often have foundation-settling involvement – the Orange County clay soils are notorious for this. A door that sticks in one spot, plus cracks above the door corners, plus a noticeable slope in the adjacent floor is a foundation diagnostic, not a door repair. If you see that pattern, get a structural assessment before anyone starts planing the door. The repair scope for a real door issue is small; the repair scope for the same symptom driven by settling is much larger, and getting the order right matters. If the diagnosis points toward structural or framing work, that’s a conversation for a full-scope contractor – our team handles home additions and ADU framing in Tustin and can look at the door opening in context with the surrounding structure.
Hardware, Frame, or Installation: Which Layer Failed?
Every window and door is a three-layer system, and each layer has a different repair language and a different typical cost. Sorting the symptom into the correct layer is the single highest-leverage step in the whole diagnostic process. Here’s how to tell them apart with tests you can run in ten minutes.
Layer 1 – Hardware. This is the smallest repair ticket and the most commonly misdiagnosed as something bigger. Symptoms of hardware failure:
- Rattling in wind – usually weatherstripping, sash locks, or strike plates
- Grinding or binding when operating a window or turning a knob
- Door sagging at the latch side – hinge wear
- Latch not catching – strike plate misalignment
- Roller binding on sliding windows or patio doors – debris or wheel wear
Test: if the symptom resolves with the window closed and locked (for rattles), or if the door lifts and swings freely when the hinge pin is removed (for sag), the layer is hardware.
Layer 2 – Frame or sash. The middle layer. Symptoms of frame or sash failure:
- Sash won’t stay in place (balance failure)
- Glass loose in the frame (glazing failure)
- Fog between panes (IGU seal failure)
- Frame out of square – visible light gap at corners, sash not aligning to frame
- Rotted sill or bottom rail (wood windows, particularly on west or south exposure)
Test: if the symptom persists after hardware adjustment and is visible in the sash or frame itself, the layer is frame. This layer is where the “repair vs. replace” decision is made. A single failed sash or IGU is usually a repair; a whole unit out of square with multiple sash failures is usually a replacement, especially if the unit is over 20 years old.
Layer 3 – Installation interface. The gap between the frame and the rough opening in the wall. Symptoms of installation-layer failure:
- Draft that traces to the trim line, not the sash
- Water intrusion at the window perimeter during driving rain
- Visible gaps or compressed insulation behind interior trim when removed
- Mold or discoloration on interior drywall adjacent to the window, especially at the top corners
- Window visibly canted or tilted relative to the wall
Test: remove a section of interior trim at one window corner and look at the rough opening. If you see voids, compressed insulation, or dry sealant, the layer is installation. This is the layer most often missed in quick repairs – the “caulk the trim” fix that hides the symptom without solving the draft or water entry.
For Tustin homeowners, Layer 3 is the layer that ages most in our climate. The combination of hot-dry summers and occasional winter rain events accelerates sealant aging and thermal movement. Original installation details from the 1980s and 1990s “builder-track” homes are now 30-plus years old and often the primary failure point. Our technicians have up to 12 years of experience diagnosing each layer and giving you an honest read on which one needs the work – repair bills on the wrong layer are the most common reason we get called back to fix someone else’s job.
Water Intrusion: Where’s It Entering?
Water intrusion around a window or door has about six possible entry points, and they look the same on the interior wall (staining, bubbling paint, mold) regardless of which one is the source. Diagnosing the entry before anyone starts work is critical because a repair aimed at the wrong entry point drives the water into the wall cavity where the damage compounds invisibly. In Tustin, most water intrusion calls come from winter storm events, and tracing the source requires thinking about where the water is coming from first – above, below, or beside the opening.
Trace the source in this order:
- Above the opening. Look at the roof, flashing above the header, and any exterior sealant line above the window head. Most window-perimeter leaks in our experience start above and run down, showing up as interior stains below the entry point.
- At the head flashing. The metal flashing above the window head is the first line of defense. Failed sealant, missing flashing, or flashing bent upward instead of turned out creates a channel for water.
- At the sill pan. The sill underneath the window should shed water out. If the sill is flat, has no weep slope, or lacks a sill pan, water coming down the glass finds its way into the sill and into the wall.
- At the jamb trim. Exterior trim joints and sealant lines along the sides. Failed sealant at the trim-to-wall interface lets wind-driven rain in.
- At the frame-to-rough-opening gap. If water gets behind the trim at any of the joints above, it reaches the rough-opening gap. This is the deepest entry point and often the slowest to show up on the interior.
- At the adjacent wall penetrations. Sometimes the entry is elsewhere (a missing caulk joint three feet away, a piece of failed exterior stucco above, a nail pop) and the window is where the water surfaces.
Exterior envelope repairs are not always a window contractor’s job – sometimes the entry is the stucco above the window head, which is a structural waterproofing repair, not a window repair. If the diagnosis points above the window, the repair scope expands. Our team handles exterior envelope and fencing work around Tustin homes and can assess whether the entry point is the window itself or the surrounding wall assembly, and put together a scope that addresses the source rather than the symptom.
Quick Fixes Worth Doing vs. Patches That Backfire
Some homeowner fixes are genuinely worth doing and save a service call. Others are cosmetic patches that mask a worsening problem, complicate the eventual professional repair, and can push a small repair into a replacement. Here’s the honest list.
Worth doing on your own:
- Adjust the strike plate on a door that won’t latch. Loosening the strike screws, nudging the plate a millimeter, and re-tightening fixes about a third of “door won’t close” calls.
- Clear the weep holes at the window sill (exterior). A toothpick or short piece of wire clears the drainage slots. This prevents sill condensation and water pooling and is completely safe to do.
- Tighten or replace hinge screws on a sagging door. If the screws spin freely in stripped holes, a longer screw in the top hinge and a golf tee-and-glue repair on the middle screw usually buys you a proper adjustment window.
- Replace weatherstripping on a leaky exterior door. Hardware-layer fix, cheap, effective, and doesn’t risk damage to the door or frame.
- Open the sash and clean the tracks on a sliding window or patio door. Twenty percent of “won’t slide” calls resolve with a vacuum and a light spray of silicone (not petroleum lubricant).
Patches that backfire – don’t do these:
- Caulking the interior trim line to hide a draft. This conceals infiltration into the wall cavity, doesn’t fix the installation-interface gap, and makes the eventual professional repair harder to scope and more expensive.
- Painting over water stains to “check later whether it comes back.” You won’t be able to tell whether the leak persists, and the moisture sustains the underlying problem.
- Spray foam in a spot that will need to come out later. Expanding spray foam in the wrong gap can bow the frame, trap moisture, and turn a reseal job into a full replacement.
- Planing a door that only sticks seasonally. Fixes nothing long-term and makes the door loose the rest of the year.
- Replacing the IGU to fix interior surface condensation. The glass is fine; you have a humidity problem. The new glass will fog the same way.
- Adding shims under a hinge to compensate for a settling problem. Buys weeks, then the door sticks worse, and the underlying settling continues.
If you’re unsure whether a symptom is worth a homeowner fix or a professional look, call before you touch anything that involves the trim, the exterior, or the rough-opening interface. A fifteen-minute diagnostic call is free, and it’s saved several Tustin homeowners from a repair that made the next one bigger.
When Diagnosis Says “Replace” Instead of “Repair”
Repair is usually the better answer – it’s cheaper, faster, and preserves the original installation interface. But some diagnoses genuinely point to replacement, and forcing a repair on a replacement case throws money after the wrong outcome. The threshold isn’t age alone; it’s the number of failed layers and the state of the installation interface.
Replacement is usually the right call when:
- Two or more layers have failed simultaneously. A window with a failed seal (frame layer) and interior trim mold (installation layer) is a replacement case in most instances.
- The unit is over 20 years old and the installation interface is compromised. Resealing a 25-year-old unit is a stopgap; the opening, flashing, and sill pan should be rebuilt, which is essentially a replacement scope.
- The window is visibly out of square or canted. A frame that’s lost its geometry means the rough opening has shifted. That’s a replacement with rough-opening repair, not a repair.
- Rotted sill or bottom rail on a wood window. Once rot reaches the sill plate and bottom rail, the repair scope exceeds a glass or sash fix. Wood window replacement with modern materials (fiberglass or aluminum-clad) is often the better long-term decision in our climate.
- The existing unit is old enough that its energy performance is part of the symptom. If the window is cold, drafts trace to multiple layers, and the unit predates the 1990s, replacement is often justified for comfort and energy reasons – worth considering alongside any repair.
When replacement is the right call, hardware and brand choices matter. We install windows from brands including Andersen and Marvin when the goal is long-term performance, and our window and door installs are covered by our 730-Day Done Right Promise – if it’s not done right, we make it right. That guarantee matters most on replacement jobs, where the installation interface is opened up and rebuilt; the workmanship behind the trim line is exactly what needs to be covered. In Tustin, where thermal movement stresses installation interfaces more than in coastal markets, the difference between a careful install and a fast one shows up within the second summer.
Full-scope home improvement work isn’t limited to windows. If a door replacement is happening alongside a larger project – a new patio door leading to an outdoor space, an exterior refresh, or a home addition – our team coordinates the trades so the openings and surrounding work are done in the right order. See our driveway and paver work in Tustin for example of how exterior projects come together with envelope work, and Groundwork Construction Co. of Tustin for the full range of services.
Common Mistakes to Avoid
- Replacing windows before diagnosing the installation interface. Roughly four in ten of the “drafty window” complaints we see have infiltration at the rough-opening gap, not the unit. New windows fix nothing if the gap behind the trim is still open.
- Confusing interior surface condensation with a failed glass seal. Fog on the room-side glass is a humidity problem in the home. Fog between the panes is a glass seal problem. They look similar and get treated as the same problem constantly, wastefully.
- Planing a door that only sticks seasonally. Planing the door to free it during the humid weeks makes it loose and drafty the other ten months. Seasonal sticking is fixed at hinges and strike, not at the door edge.
- Caulking over interior trim lines to hide draft. This is the most common homeowner patch we see in Tustin homes. It traps the infiltration into the wall cavity, hides the actual failure point, and makes the professional repair larger.
- Ignoring the weep holes. Painted-over or clogged weep holes at the exterior sill cause water backup into the sill pan and eventually the wall. A toothpick clears them in thirty seconds. Do it once a year before the winter rains.
- Treating door sticking as a door problem when it’s a settling problem. When the door sticks in one spot, the drywall shows cracks above the corners, and the adjacent floor has a slope, you have a foundation question, not a door question. Planing the door makes the symptom worse and delays the real repair.
- Accepting a repair scope that doesn’t name the layer. A quote for “seal windows” that doesn’t specify whether it addresses hardware, frame, or installation interface is a red flag. Ask which layer is being addressed and how, and get it in writing.
See the difference
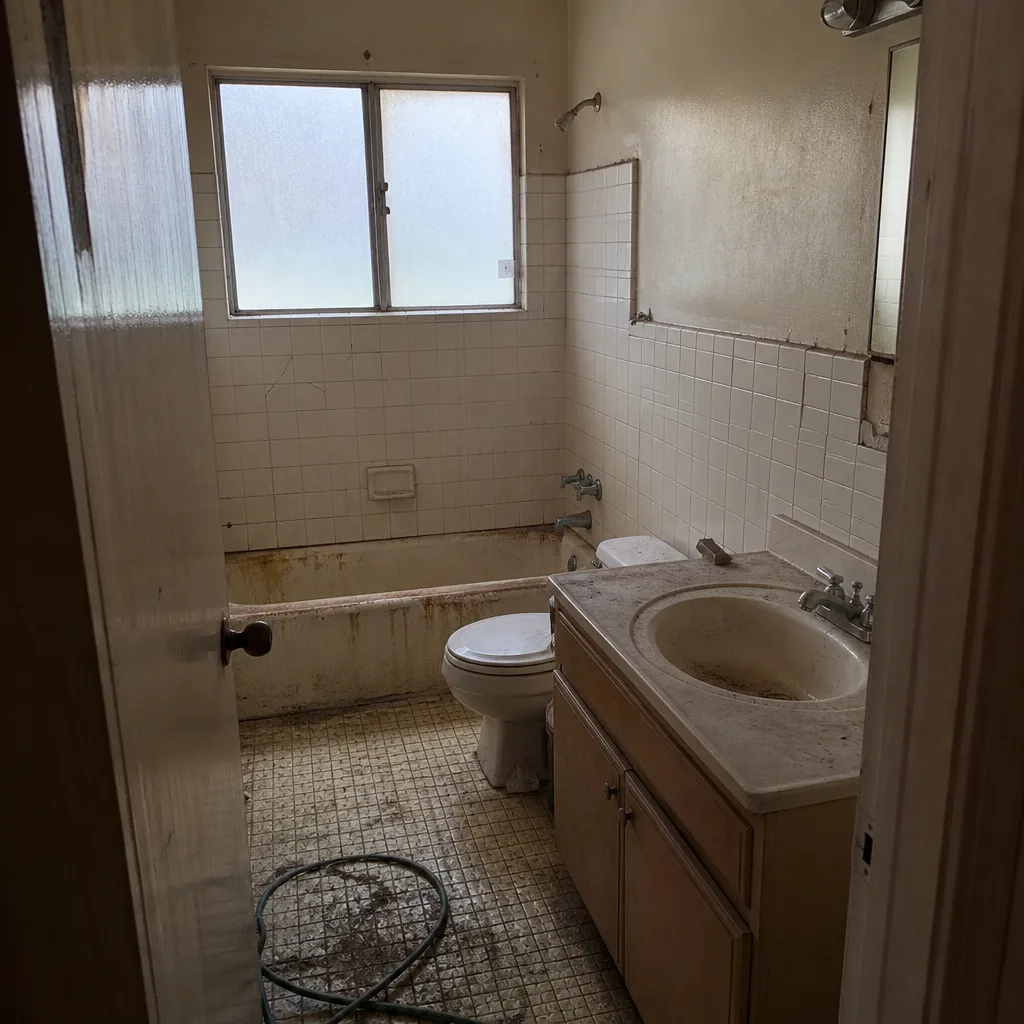 Before
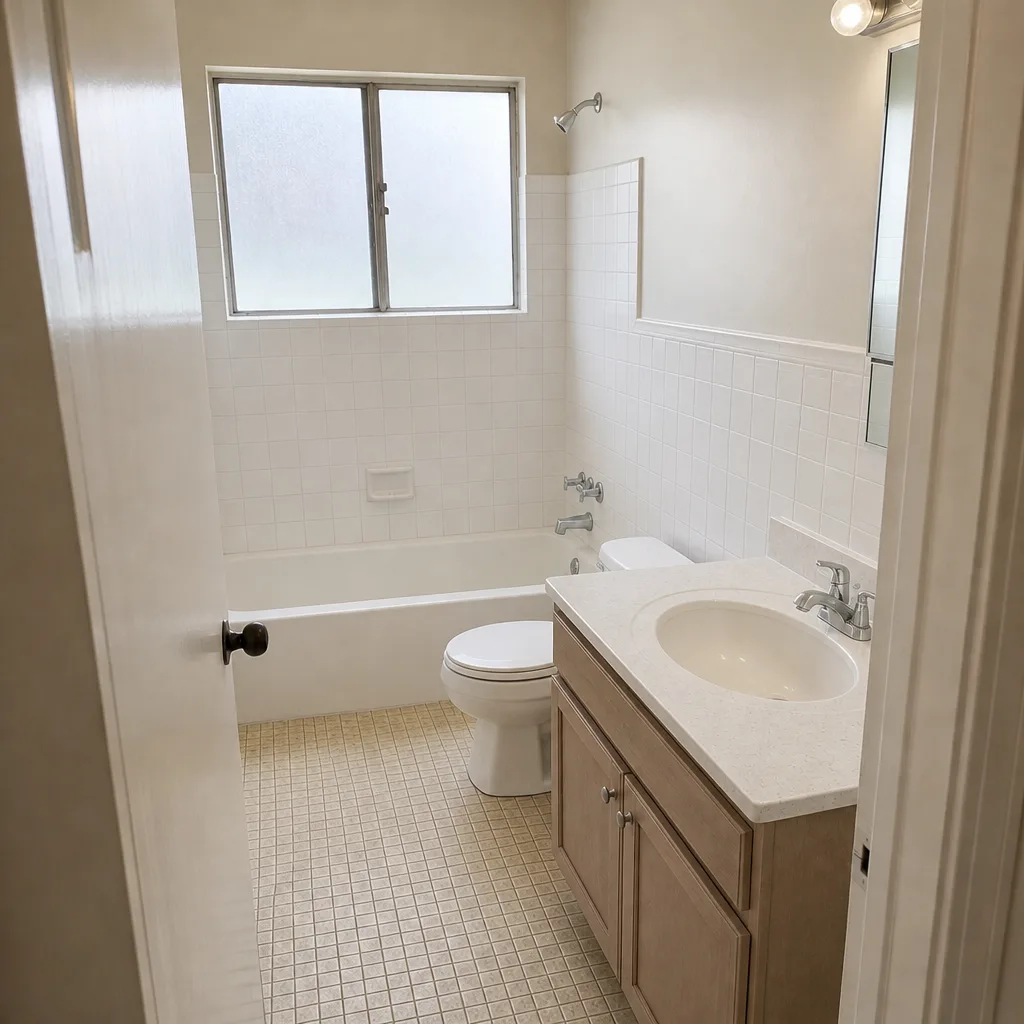 After
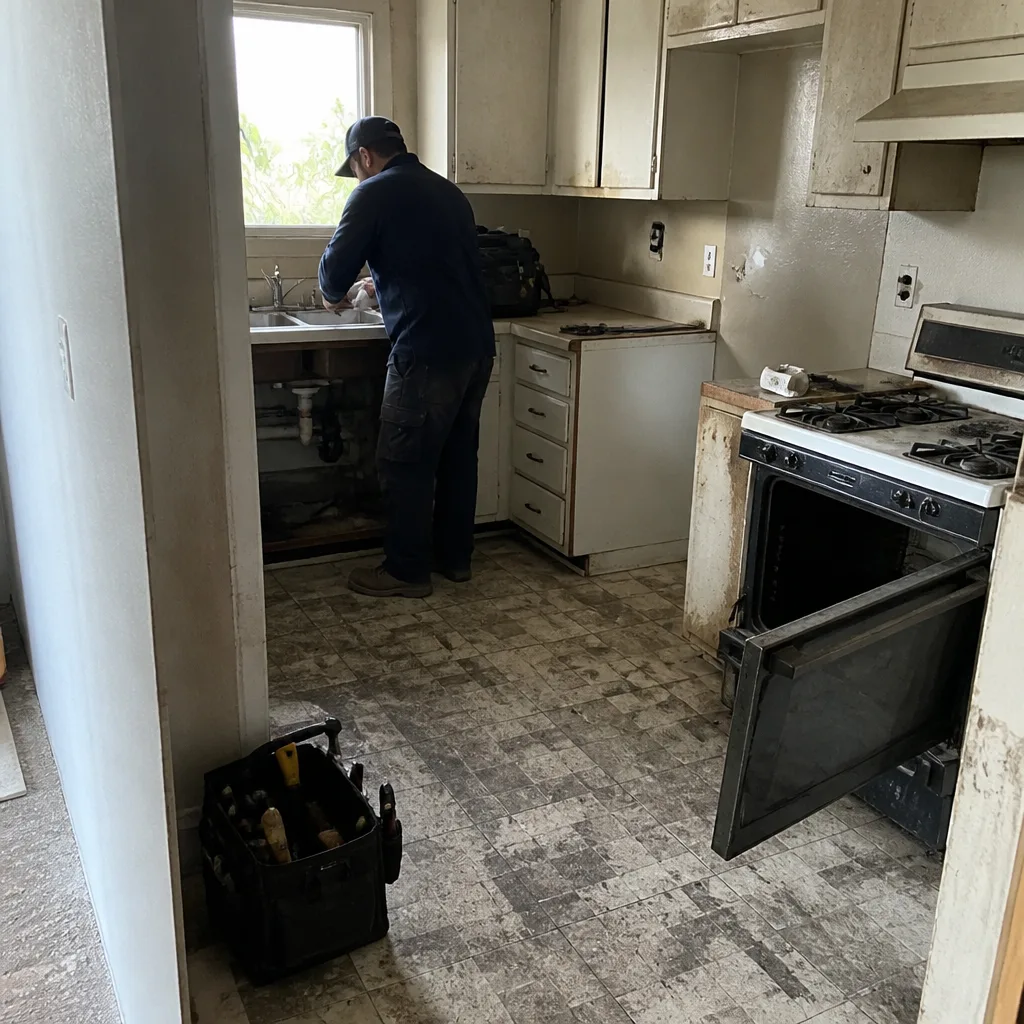 Before
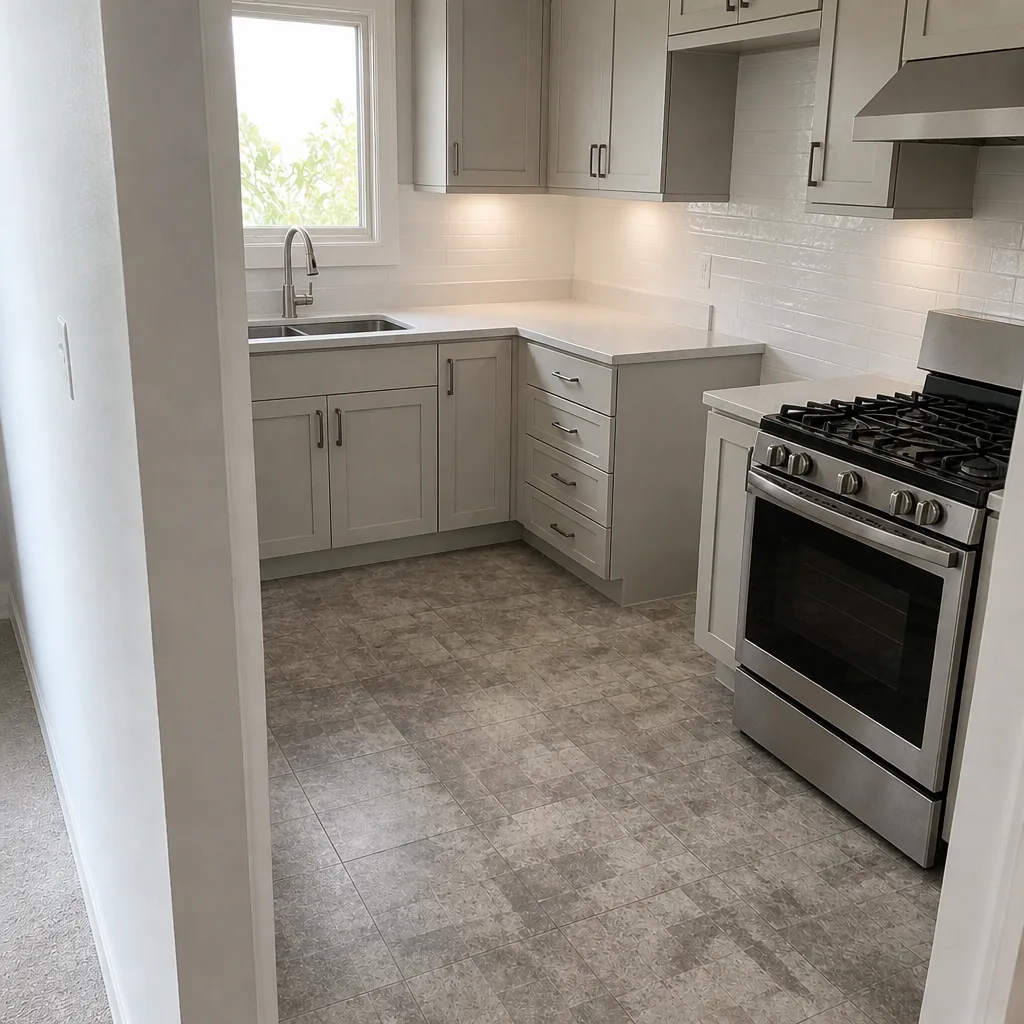 After
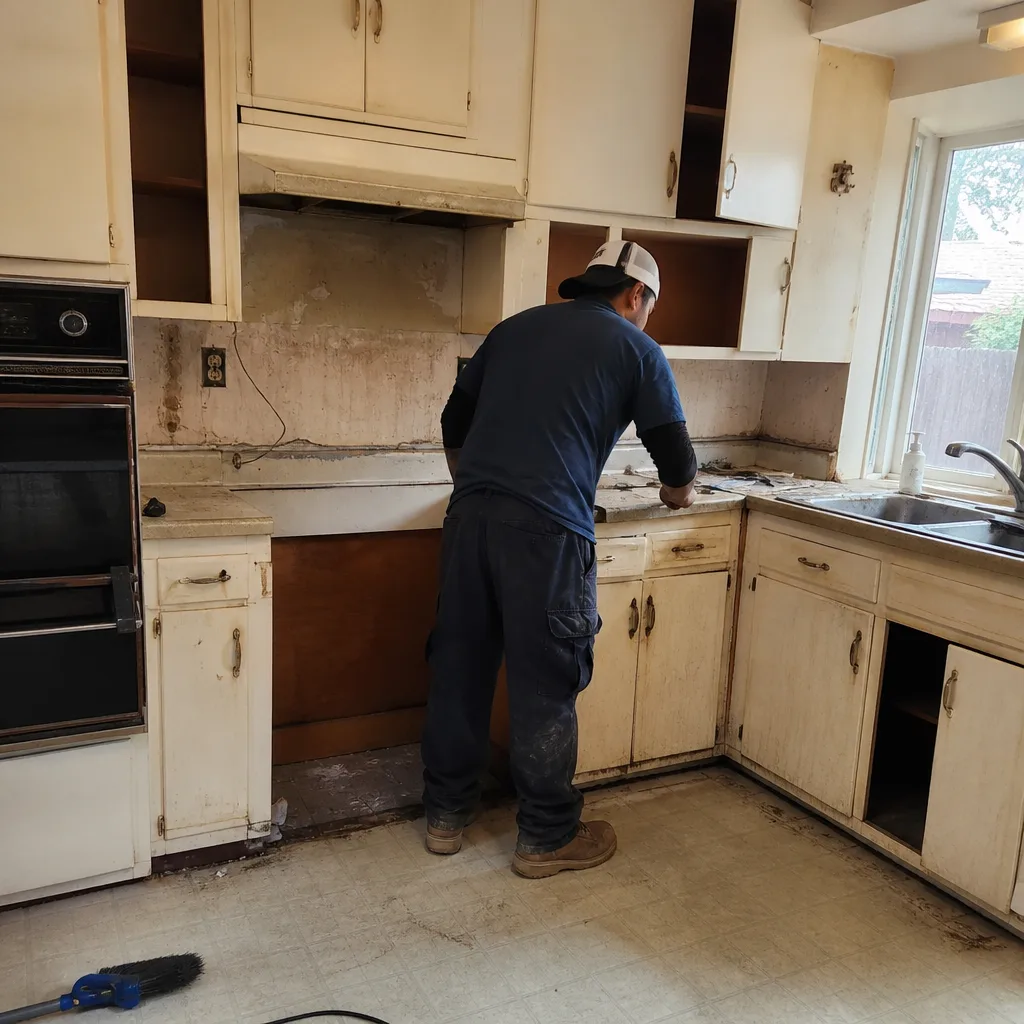 Before
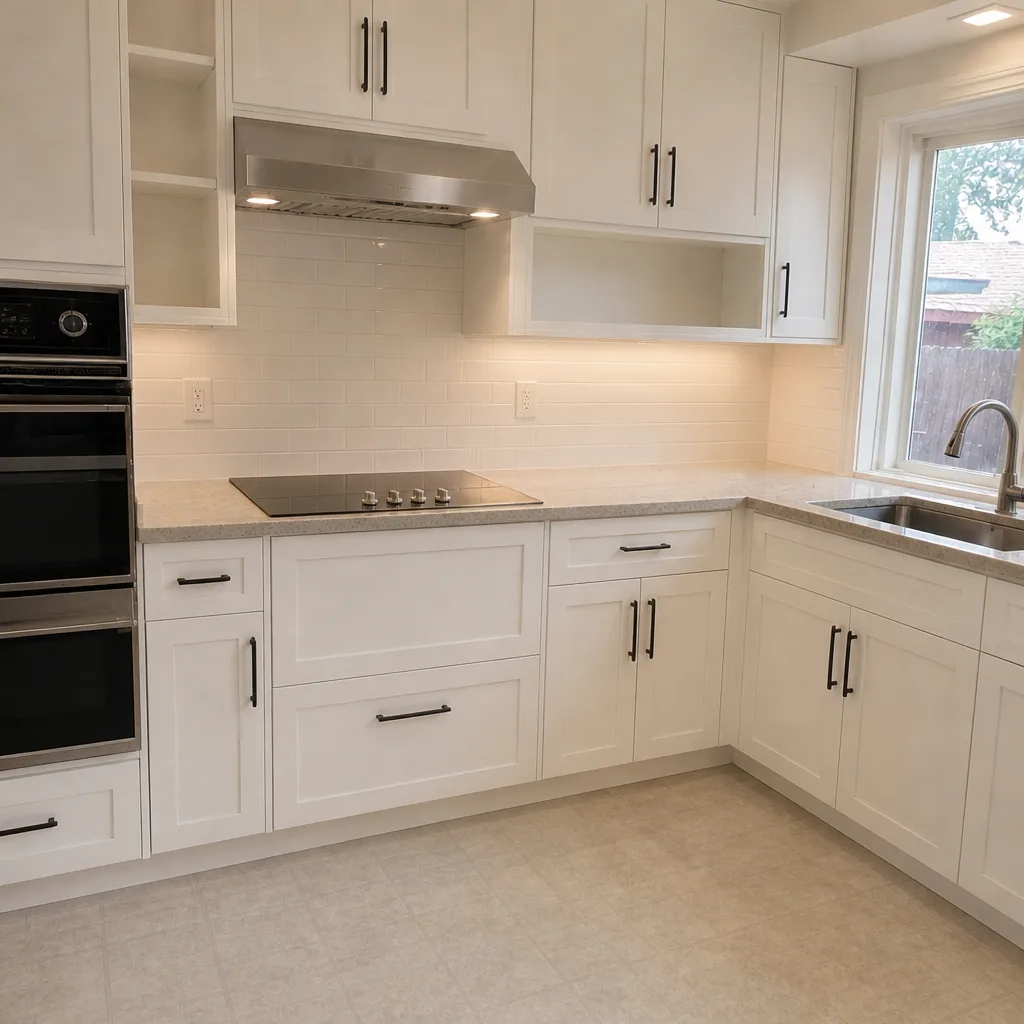 After
When to Call a Professional
Call a professional when the symptom traces to the installation interface – visible draft at the interior trim line, water intrusion at the perimeter during driving rain, or a window that’s canted in the wall. Call when a door sticks year-round and the surrounding drywall shows cracks, or when the sill has visible rot. Call when you have more than one failed layer on the same unit, or when the home is over 25 years old and the window or door is original. And call before you start removing interior trim to check for a draft, because that’s a job that turns a small diagnostic into a repair when done without the right tools or replacement materials on hand.
Groundwork Construction Co. of Tustin offers free estimates in Tustin and throughout our service area. Our technicians are background-checked and uniformed, our pricing is upfront with no surprises, and every job is covered by our 730-Day Done Right Promise. Call (833) 954-6066 – a live person answers, day or night. And if you’re planning a bigger envelope project alongside your window and door work, our team can put together a scope that covers home additions and ADU work in Tustin and full-scope construction from foundation to finish line.
Frequently Asked Questions

Window repair in Tustin typically runs $180 to $450 for hardware or weatherstripping fixes, $250 to $600 for a failed insulated glass unit (IGU) replacement, and $400 to $900 for installation-interface reseal work (removing trim, resealing the rough-opening gap, and re-trimming). Replacement of an existing unit runs $650 to $1,800 per window depending on size, frame material, and whether the rough opening needs repair. Call (833) 954-6066 for an exact quote – estimates are free and itemized in writing.
A door that sticks only in summer has a wood-movement problem – the wood has absorbed ambient humidity and swelled 1/32 to 1/16 inch across its width. The right fix is hinge and strike plate adjustment to accommodate that range, not planing the door. Planing a seasonally sticking door makes it loose and drafty the other ten months. If the door sticks year-round, the cause is usually settling or hinge wear, and the repair is different.
Fog between the panes of a double-pane window is a failed IGU seal, and while it’s not a safety issue, it does reduce the window’s insulating value and can get worse with each thermal cycle. The repair is glass-only – replacing the insulated glass unit or the sash, not the whole window. In our experience across Tustin, west- and south-facing windows tend to fail first, usually somewhere between 12 and 20 years after installation.
Replacement of a window or door in the same opening generally does not require a building permit in most California jurisdictions, but exterior door replacements that change the opening dimensions, egress doors on bedrooms, and window replacements that change egress or fire-rated openings typically do. Requirements vary by city and by scope, and the Tustin Building Division is the authoritative source for your specific project. Ask any contractor you hire whether their scope includes permit pulls where required, and require it in writing.
Air leaks trace to the installation interface (frame-to-rough-opening gap) or to hardware (weatherstripping, sash locks), while water leaks almost always trace to the exterior envelope above or beside the window – head flashing, sill pan, jamb sealant joints, or wall penetrations near the window. Water leaks are significantly more serious because they cause wall-cavity damage that isn’t visible from the interior until it’s extensive. If you’re seeing water stains at the interior trim after rain, don’t wait for a repair cycle; get a diagnostic first.
Most hardware and weatherstripping fixes are handled in a single visit, and IGU replacements are typically one-visit jobs after the glass unit is ordered. Interior installation-interface repairs (removing and reinstalling trim, resealing the rough-opening gap) may require two visits when trim replacement is needed. Call (833) 954-6066 to describe the symptom and get a realistic time window before you schedule.
The Bottom Line
Most window and door problems resolve cleanly once you correctly diagnose which of the three layers has failed. Drafts that trace to the trim line mean the installation interface, not the window. Fog between panes means glass seal failure; fog on the room-side surface means humidity. Seasonal door sticking means wood movement; year-round sticking means settling or hinge wear. Quick fixes that adjust hardware, clear weep holes, or replace weatherstripping are worth doing. Patches that caulk over interior trim or planing a seasonal door make the eventual repair larger. When the diagnosis points to the installation interface or to multiple failed layers, get a professional scope that names the layer being repaired and puts the workmanship in writing – that’s what the 730-Day Done Right Promise is designed for. Call (833) 954-6066 for a free estimate in Tustin.
Written by the team at Groundwork Construction Co. of Tustin.