Last updated November 17, 2026







Free written scope consultation - allowances, timeline, and change-order rules on paper before a single trade is scheduled
Bathroom Remodeling Troubleshooting: Common Problems and How to Fix Them
The average bathroom water damage claim runs around $11,000 to remediate. In nearly every case we’ve walked into, the moisture pathway was created during the remodel itself – by an installer who either didn’t know better or didn’t expect you to notice for a few years. Bathroom failures rarely arrive as one catastrophic event. They accumulate through small shortcuts: a skipped flood test, a tile set over a moving substrate, a fan ducted into the attic instead of outside. Each one looks minor on the day the crew packs up. Two to five years later, the bill arrives. This guide covers how to diagnose the failures Tustin homeowners call us about most, what each one actually costs to fix, and how to tell a cosmetic problem from a structural one before you tear anything out.
Quick Answer
Most bathroom remodel problems trace back to five sources: tile and grout failures from substrate movement, shower pan leaks from untested liners, fixture height mismatches from bad rough-in coordination, ventilation systems that don’t move enough air, and punch-list disputes that were never documented properly. Diagnosing which one you’re facing takes an hour of testing, not a demolition crew. The fix ranges from a $40 tube of sealant to a $6,000 subfloor replacement depending on which failure you’ve got.
Styles & brands we work with
- Kitchen remodeling
- Bathroom remodeling
- Home additions & ADU
- Roofing
- Windows & doors
- Driveway & pavers
- Fence
Table of Contents
- Tile and Grout Failures: Diagnosing What’s Actually Moving
- The 24-Hour Flood Test Every Homeowner Should Know
- Vanity and Toilet Rough-In Problems
- Ventilation Failures That Look Like Cleaning Problems
- Water Damage: Reading the Signs Before Demo
- Punch-List Disputes and California Warranty Law
- When the Remodel Goes Wrong: Triage Order
Tile and Grout Failures: Diagnosing What’s Actually Moving
Not all tile cracks mean the same thing, and the difference between them is thousands of dollars. We’ve seen homeowners spend $4,000 on a full re-tile when a $200 regrout would have solved the problem. We’ve also seen the opposite: a homeowner patch a hairline crack for two years while the substrate underneath rotted through to the joists.
Here’s how to tell them apart. Press your thumb firmly against the tile on either side of the crack and push. If the tile feels solid with zero flex, you’re likely looking at one of the two benign failures below. If there’s any give at all, stop reading and call someone – you have a substrate problem.
Type 1: Grout Shrinkage (Cosmetic)
Grout shrinks as it cures. On a large floor, that shrinkage shows up as hairline cracks that follow the grout lines themselves, usually within the first six months. Same width all the way along, no tile movement, no water staining. The fix is scraping out the affected joints and regrouting with an unsanded or epoxy grout. Cost in Tustin: roughly $150 to $400 depending on square footage.
Type 2: Normal Settling (Monitor)
New construction and older homes both settle. A crack that appears at an outside corner or along a single grout line, appears once, and doesn’t grow is almost always the framing doing what framing does. Photograph it, date the photo, check it again in 90 days. If it hasn’t changed, leave it alone.
Type 3: Substrate Failure (Structural)
This is the one that costs real money. The tells:
- Cracks that run across the tile faces, not just the grout joints
- One tile noticeably higher or lower than its neighbors (“lippage”)
- A hollow sound when you tap the tile with a coin or screwdriver handle
- Cracks that reappear within weeks of any repair
- Any soft spot in the floor when you walk on it
Substrate failure in Southern California bathrooms almost always traces to one of three causes: tile set over drywall instead of cement backer board, tile set directly over plywood with no uncoupling membrane, or a floor that was never structurally rated for the tile’s weight. The repair means removing tile, removing the failed substrate, correcting the framing, and rebuilding. In Tustin, that runs $3,500 to $9,000 for a typical 50-square-foot bathroom floor. There’s no shortcut. Patching tile over a moving substrate is throwing money at a problem that will return.
If you’re considering a full rebuild, our Groundwork Construction Co. of Tustin home page outlines the full-scope process we run.
The 24-Hour Flood Test Every Homeowner Should Know
A shower pan liner is a sheet of waterproof membrane installed under the shower floor tile before any tile goes down. If the liner is torn, improperly sealed at the drain, or missing a pre-slope, water leaks into the subfloor every time someone showers. The damage is invisible until the subfloor is compromised, the ceiling below is stained, or mold has colonized the joist cavity.
The good news: you can test for a failing liner before it becomes a subfloor replacement. The test takes 24 hours and costs nothing. Do this on any new construction or remodel before the shower goes into daily use.
How to Perform a 24-Hour Flood Test
- Stop the drain. Use a test plug (a rubber inflatable stopper) dropped into the drain opening and inflated to seal. These cost about $15 at any hardware store.
- Fill with water. Fill the shower pan with water to a depth of at least 2 inches, or up to the top of the curb – whichever is lower. Use a bucket, not the showerhead, so you can control the fill.
- Mark the water line. Use a pencil, sharpie, or piece of tape to mark the water level on the tile or curb.
- Wait 24 hours. Don’t shower in it. Don’t touch it. Just wait.
- Check the mark. If the water is at the same level after 24 hours, the liner holds. If it’s dropped more than a quarter inch, you have a leak somewhere – the drain seal, a corner seam, or the liner itself.
- Look below. If you have access to the ceiling below the shower (basement, crawl, or a ceiling access panel), shine a flashlight up at the subfloor and joists during the test. Any moisture, staining, or drip – however small – is a failure.
What Results Mean
A quarter-inch loss over 24 hours is normal evaporation. Anything more is a leak. A visible drip below is a leak regardless of how the water level reads. A slow drop that stops overnight usually points to the drain seal – the neoprene gasket under the drain strainer – which is a $40 fix if caught now. A drop that continues steadily points to the liner itself, which means removing the shower floor tile to reach it. Catching that during the remodel costs a few hundred dollars. Catching it two years later after a joist has rotted costs $4,000 to $8,000 in Tustin, because you’re into a subfloor replacement, a new liner, new tile, and possibly new structural framing.
This test is standard practice for a proper bathroom remodel. If a contractor resists performing it, that’s the first reason to find a different contractor.
Vanity and Toilet Rough-In Problems
Rough-in is the distance from the finished back wall to the centerline of the drain or supply line – the measurements a plumber sets before the walls close. When rough-in dimensions don’t match the fixture that finally gets installed, you get a set of symptoms that look like plumbing problems but are actually coordination problems. Two trades – the plumber and the flooring installer – were each doing their job correctly but never talked to each other.
Symptom: The Rocking Toilet
A toilet rocking on the floor is almost never a broken toilet. It’s one of these:
- Wrong rough-in: A 10-inch rough-in toilet installed on a 12-inch rough-in flange leaves a gap between the toilet’s back and the wall, and if shims were used to close the gap, the toilet rocks. Toilets come in 10-inch, 12-inch, and 14-inch rough-in configurations. The dimension matters.
- Uneven floor: The flooring installer set the tile with an uneven bed around the flange, or skipped the mortar under a specific tile. The toilet sits on high and low points. Rocking is the result.
- Failed wax ring: A rocking toilet compresses and decompresses the wax ring every time weight shifts on it. A year of rocking and the wax seal has failed. That’s when the subfloor gets wet.
Diagnose it by removing the toilet and inspecting the flange. If the flange sits above the tile, you have a plumbing rough-in issue. If the flange sits below the tile, the flooring installer raised the floor above the flange and the toilet can’t seal properly. In Tustin, we see the second problem far more often – a new tile floor installed without accounting for the flange height.
Symptom: The Slow Drain
A sink that drains slowly after a remodel is usually one of three things: a P-trap that doesn’t align with the new vanity drain location (so the installer forced the joint, creating a low spot where water sits), a vent stack that got blocked or disconnected during demo, or a P-trap that’s too shallow due to the vanity cabinet cutting into the space below the drain. The first symptom is easy – re-clocking the P-trap. The second is a diagnosis job. The third means the vanity was selected without checking the trap clearance.
Symptom: The Rocking Vanity
A freestanding vanity that rocks means the floor wasn’t level before install. It’s a flooring issue, not a plumbing issue. The fix: shim it, seal it, and move on – or, if the vanity is heavy stone-top, reinstall it after leveling the floor. We see this most often in older Tustin homes – pre-1960 construction up the slopes of Panorama Heights and along the older streets near Old Town have floors that have settled unevenly for decades.
Ventilation Failures That Look Like Cleaning Problems
If mold and mildew keep returning to the same corner of your shower within weeks of cleaning, you don’t have a cleaning problem. You have an airflow problem. Surface treatments, vinegar, bleach, “mold-resistant” grout, and better Squeegees won’t fix it, because the moisture isn’t coming from the surface – it’s being re-deposited from humid air every time someone showers.
Bathroom exhaust fans are rated in CFM – cubic feet per minute. The standard for a bathroom under 100 square feet is 1 CFM per square foot. A 60-square-foot bathroom needs a 60 CFM fan at minimum, ideally with some headroom. But CFM ratings assume the fan is ducted correctly. Most bathroom fan failures we see in Tustin have nothing to do with fan capacity and everything to do with what’s connected to the fan.
The Three Ventilation Failures We See Most
- The attic dump. The fan exhausts directly into the attic space. Humidity goes into the attic, condenses on the roof sheathing in winter, and eventually saturates the insulation. The bathroom itself doesn’t clear because the air is just moving into another enclosed space. This one is technically against code, but we still find it in older Tustin homes regularly.
- The flex duct pretzel. The exhaust duct is corrugated flexible duct that was routed with too many bends, or crushed during install. Every bend costs airflow. A 110 CFM fan attached to 20 feet of flex duct with three 90-degree turns moves less than 40 CFM at the wall. The fan sounds like it’s working. It isn’t.
- The undersized fan on a large bathroom. A 110-square-foot primary bathroom with a 50 CFM builder-grade fan will never clear the humidity. The fix isn’t a bigger fan; it’s a properly sized fan plus a timer switch, so the fan runs for 20 minutes after the shower and actually clears the room.
How to Test Your Fan
This is a quick test. Hold a single square of toilet paper up against the fan grille while it runs. A properly working fan will hold the paper firmly against the grille. A fan that can barely pull the paper, or drops it, is underperforming. To check where the duct goes, look at the roof or wall from outside and confirm the vent termination has a flapper and isn’t stuck closed. In Tustin, vent termination on the roof is common – which means the wind around the hills near Tustin Ranch can sometimes force the flapper shut and the fan quietly fails without anyone noticing.
The fix for all three failures is duct rerouting to a proper exterior termination with a short, smooth run. In Tustin, this runs $250 to $600 depending on attic access and where the exhaust terminates. It’s one of the best-value fixes in the entire bathroom, because it stops mold at the source rather than treating the symptom.
Water Damage: Reading the Signs Before Demo
Water damage in a bathroom is progressive. The earlier you catch it, the cheaper. Here’s how to identify where you are in the timeline.
Stage 1: Surface Moisture (Fix: $0 – $100)
Bleach the mold, seal the grout, install a fan timer. The wall behind the shower is dry, the subfloor is solid, and the tile hasn’t moved. This is the window you want to catch. Grout sealer and reasonable ventilation almost entirely prevent progression past this stage.
Stage 2: Wet Substrate, No Structural Damage (Fix: $800 – $2,500)
The subfloor immediately beneath the shower or toilet is damp. There’s staining on the subfloor or joists but no rot. The ceiling below the shower in the room below might have a faint water stain. Caught here, the fix is drying the assembly, replacing the affected subfloor section, and correcting the source (usually a shower pan liner or a failed wax ring).
Stage 3: Structural Rot (Fix: $4,000 – $12,000)
The subfloor has rotted through in spots. The joists underneath show softness or discoloration. The ceiling below has visible sagging or crumbling drywall. You’re into a full reconstruction of the affected floor area, potentially replacing joists, definitely replacing subfloor, and potentially addressing framing that the tile was originally set onto. This is where most insurance claims land and where the “$11,000 average” figure comes from.
The tells between stages are simple: press down hard on the floor around the shower and toilet – if it flexes, you’re at Stage 2 at minimum. Shine a flashlight at the ceiling from below – any staining, any at all, means water got through. Pull the toilet and inspect the flange – rusted flange or soft subfloor is Stage 2. Walk on the floor in a bare foot – soft sections or a “spongy” feel underfoot is Stage 3.
Punch-List Disputes and California Warranty Law
A punch list is the list of items that need correction before you accept the work. A dispute over punch list items is a normal part of construction – what matters is how you handle it. California law is actually strong on homeowner protection here, but the strength depends entirely on the documentation you’ve got when the call comes.
What to Document (Before You Call Anyone)
- Every written communication. Emails, texts, change orders, the original contract. Save them all. If a dispute goes to the Contractors State License Board (CSLB), written communication carries the weight.
- Photographs with dates. Take a photo of every defect on day one. Take another at 30 days. A crack that grew from 1/16 inch to 1/4 inch in 30 days is evidence. A single photograph proves nothing except that a crack existed.
- Your written notice to the contractor. California Business and Professions Code Section 7159 governs home improvement contracts – you have an obligation to notify the contractor in writing of any defect and give them a reasonable opportunity to cure. Do this in writing, with a specific deadline.
- Canceled checks and receipts. Payment proof establishes the value of your claim and your standing.
What the Contractor’s Warranty Actually Covers
California requires licensed contractors to stand behind their workmanship, but the specific remedies depend on the contract and the code timeline. Standard warranties run one year on workmanship in most contracts. Longer warranties – including the 730-Day Done Right Promise that Groundwork Construction Co. of Tustin offers on our own work – are contractual commitments on top of the legal minimum. Check your contract for the exact warranty language before you escalate, because the timeline matters.
When to Escalate to the CSLB
The CSLB complaint process is appropriate when:
- The contractor failed to respond to your written notice within a reasonable time
- The contractor disputed the defect and refuses to repair
- The contractor is unlicensed (this is a separate and more serious issue)
- The defect involves safety or structural integrity
- The dollar amount exceeds what makes sense to recover through small claims court
Filing a CSLB complaint is free and the process is online. The CSLB can require the contractor to appear, can suspend a license, and can order restitution through the Contractors State License Bond. For most homeowners, a well-documented written notice to the contractor resolves the issue without needing the CSLB at all – because the contractor knows the process exists and doesn’t want the complaint on their record.
One caution: don’t withhold payment entirely on a punch-list dispute. Pay what’s undisputed, hold back what’s disputed, and document the reason. Withholding the entire balance can be treated as a breach of contract on your side, regardless of the original issue.
When the Remodel Goes Wrong: Triage Order
If you’re reading this mid-disaster, the order you handle things determines the final bill. Here’s the priority order we run on any bathroom remediation project in Tustin.
Step 1: Stop the Water
Shut off the water supply to the bathroom first. Every minute of active water intrusion adds to the damage. If the leak is ongoing – a failed supply line, an active shower pan failure – shut it off at the fixture supply valves, then at the main if needed. This costs nothing and buys you time to make good decisions.
Step 2: Determine Scope With Moisture Meter
Don’t tear anything out yet. Call a moisture detection specialist or a contractor who will bring a moisture meter and a thermal camera. The meter tells you which walls and floor areas are wet, which means you demo only the affected portions rather than the entire bathroom. In Tustin, we see plenty of bathroom remodels that started as full demo when the moisture was limited to a 2-square-foot area under a failed shower drain.
Step 3: Document Everything
Photograph and video every affected area before demo. Get the moisture readings photographed with the meter visible. If you’re going to involve insurance, this documentation is the difference between a paid claim and a denied one.
Step 4: Identify the Source Before You Rebuild
Never rebuild before finding the source. This is the single most expensive mistake homeowners make. A subfloor that got replaced because a wax ring failed is a subfloor that will fail again if the flange underneath is still wrong. Find the source, correct the source, then rebuild.
Step 5: Rebuild With Correct Materials
Tile set over drywall, missing uncoupling membranes, and undersized ventilation are the three root causes we see most in Tustin bathroom failures. A rebuild is the last time you want to repeat one of those three. If your bathroom is a full rebuild, our Home Additions & ADU in Tustin service often coordinates with bathroom projects when the scope extends to full interior restructure.
Common Mistakes to Avoid
- Skipping the 24-hour flood test. Insist on it. If a contractor won’t perform one, that’s the first red flag. This single test prevents more water damage than any other intervention in a bathroom remodel.
- Setting tile over drywall in wet areas. Drywall in a shower is not a waterproof substrate, no matter how much sealer gets rolled over the top of the tile. Cement backer board, uncoupling membrane, and proper waterproofing are not optional – they’re code in Tustin now, and the failure mode is expensive.
- Reusing old supply lines during a remodel. A supply line is a $10 piece of rubber or braided steel that fails silently. Every remodel should replace every supply line. It’s the cheapest insurance in the bathroom.
- Ignoring bathroom fan CFM sizing. A larger fan isn’t always better – fan size should match the room and the duct run. Oversized fans can be noisy and underperform on short duct runs; undersized fans don’t clear the humidity. Match the fan to the room and the duct, not to the price tag.
- Choosing a toilet before checking the rough-in. Measure the rough-in – from the finished wall to the center of the drain flange – before you shop. A 12-inch rough-in house and a 10-inch toilet is a permanent rocking problem.
- Skipping the certification check. Verify license, insurance, and bond through the CSLB website before hiring. It takes five minutes and prevents nine-tenths of the disputes we get called to resolve.
- Paying in full before the punch list is closed. Hold a reasonable retention – typically 10% – until every punch list item is corrected and inspected. Standard practice, and it aligns incentives. On projects like our Fence Installation in Tustin service, we hold to the same retention structure: closed punch list, then final payment.
See the difference
 Before
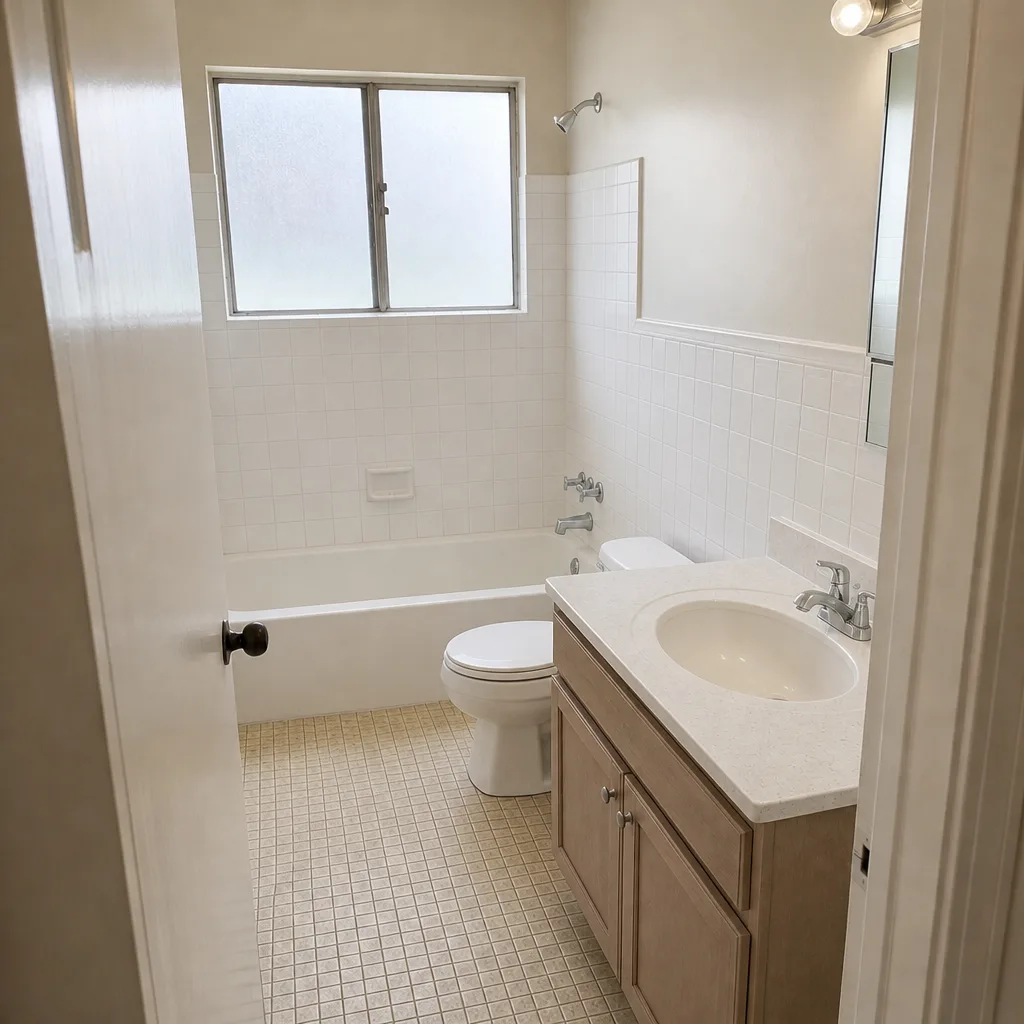 After
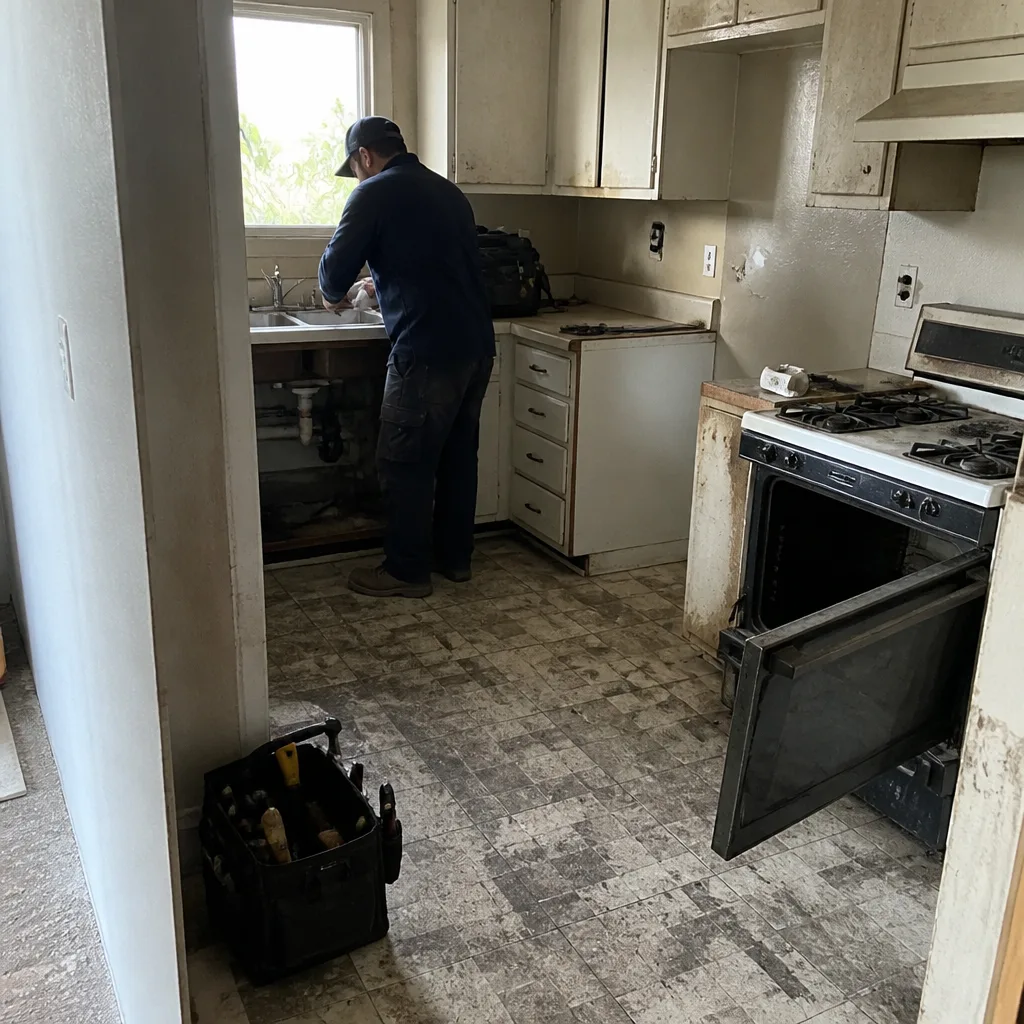 Before
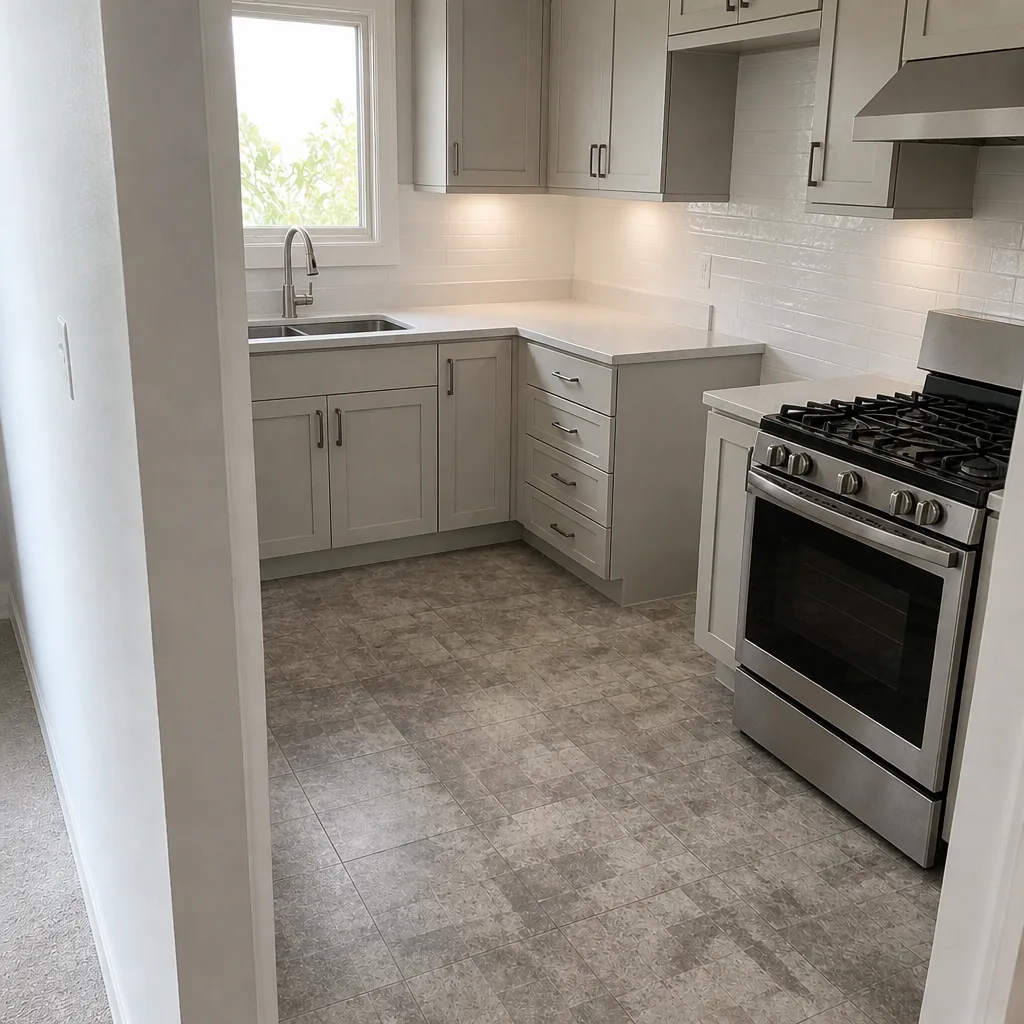 After
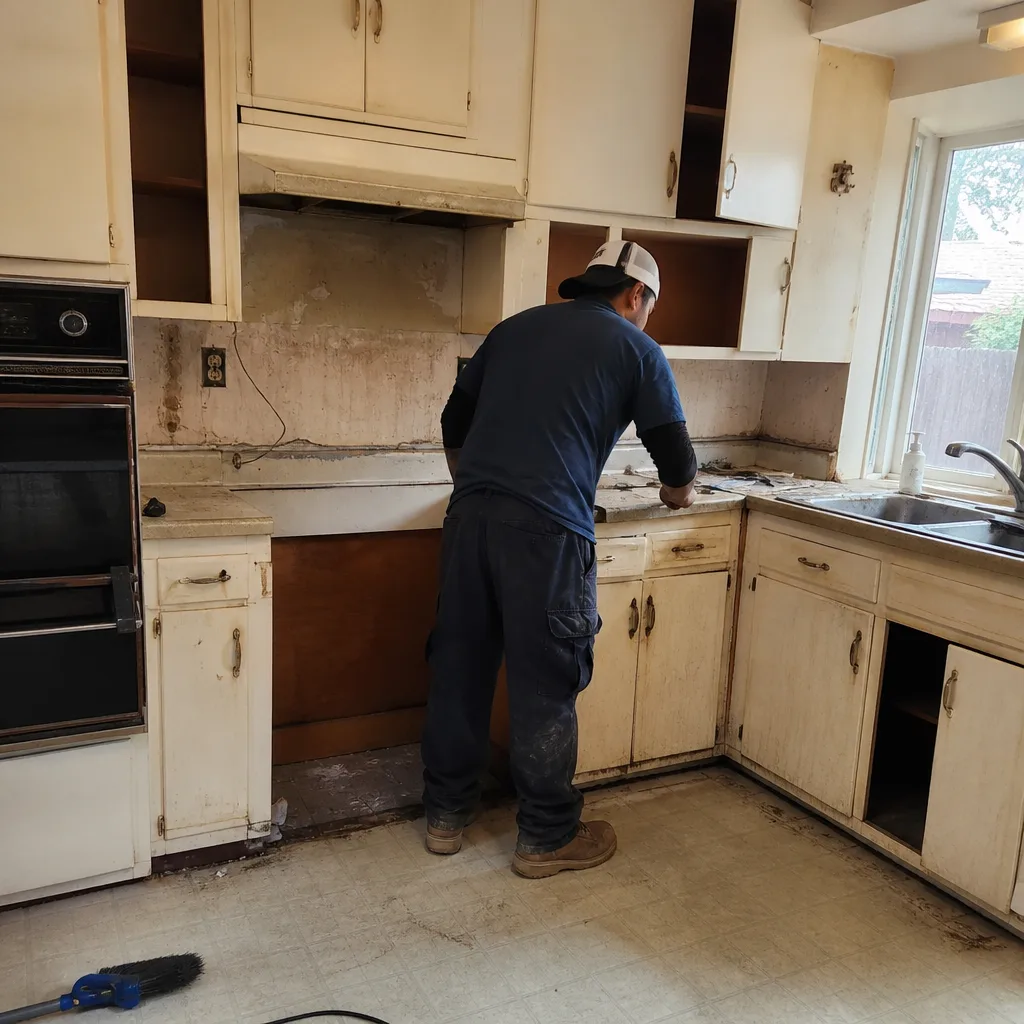 Before
 After
When to Call a Professional
Some bathroom problems are genuinely DIY-able – resealing grout, replacing a fan timer switch, re-hanging a shower door. Others are not. Call a professional when: you see tile movement or hear hollow tile when you tap it, you get any moisture reading under the shower pan liner, you smell persistent mildew that returns within three weeks of cleaning, your toilet rocks or fails to flush fully, you have staining or sagging on the ceiling below the bathroom, or your contractor won’t provide a written scope for the fix. Structural rot and waterproofing failures are not weekend projects – they’re the exact scenarios where a small mistake costs thousands later.
Groundwork Construction Co. of Tustin offers free estimates for bathroom troubleshooting throughout Tustin and the surrounding area. We bring a moisture meter, we tell you what the actual scope is, and we put the fix in writing. Call (833) 954-6066 to schedule a free estimate – and every project we complete is backed by the 730-Day Done Right Promise.
Frequently Asked Questions
Diagnostic and repair costs in Tustin range from about $150 for a straightforward regrout up to $12,000 or more for full structural remediation of a failed shower pan and subfloor. Typical repairs land between $800 and $4,000. The biggest cost variable is how deep the moisture has penetrated – surface-level repairs are cheap, structural rot is expensive. Call (833) 954-6066 for a free on-site estimate – we’ll tell you which tier you’re in before we quote the work.
Yes, moisture readings taken with a pin-type or pinless meter at the subfloor from the ceiling below, or at the pan edges from the shower side, will show elevated moisture if the shower pan is failing. A reading above 18% wood moisture content means active moisture intrusion. Combined with the 24-hour flood test, moisture readings give you a definitive diagnosis. Any contractor who diagnoses a pan leak without either test is guessing.
A standard bathroom exhaust fan lasts 8 to 12 years of normal operation. In Tustin, the fans last closer to the shorter end of that range, because the residential humidity range and the temperature swings we see on the hills around Tustin Ranch drive more runtime than in drier climates. If your fan is more than 10 years old and hasn’t been cleaned properly, replace it – the CFM loss from dust buildup is significant.
Water damage mitigation alone typically doesn’t require a permit – drying and replacing drywall is not permitted work. But any structural repair, any replacement of the shower pan liner, any new plumbing rough-in, and any electrical work requires a permit in Tustin. If a contractor tells you a permit isn’t needed for a shower pan replacement, that’s incorrect – it’s a permitted repair under California plumbing code.
Usually yes, if the cause is the wax ring or simple shimming. Remove the toilet, inspect the flange and the subfloor directly around the flange, replace the wax ring with a new one, and shim the toilet body if the floor is uneven. If the flange sits below the finished tile or is cracked or rusted, that’s a plumbing rough-in problem that needs a plumber. Do not try to repair a rusted or broken flange with anything other than a flange repair kit – the flange is what holds the wax seal, and a compromised flange fails eventually.
Mold returns within weeks of cleaning when the underlying moisture source was never addressed. Cleaning removes the visible spores; it doesn’t change the humidity levels that cause them to regrow. If you’re seeing regrowth in the same corner within three to four weeks, the fix is ventilation – fan CFM capacity, duct routing, and fan runtime after showers. That’s a $250 to $600 fix in Tustin, and it works when cleaning alone never will.
The Bottom Line
Bathroom remodel failures are almost never a single mistake. They’re accumulations: a missing flood test, a tile set over drywall, a fan ducted into an attic. Each shortcut looks manageable at the time it’s made. Two years later, they combine into a $4,000 subfloor replacement, a black mold discovery behind the shower, or an insurance claim that doesn’t cover as much as the homeowner expected. The good news is that these failures are all detectable early, they’re all fixable, and they’re all preventable with the right contractor. Test the shower pan. Check the substrate. Diagnose ventilation before you clean the mold again. If the diagnosis gets past surface-level, call a professional who will bring a moisture meter and put the scope in writing. Our teams have handled these exact problems across Tustin for years, and if the bathroom project needs to extend to a full scope renovation, we’re one of the few teams in the area that handles it end to end. Our team at Groundwork Construction Co. of Tustin is here to walk you through it. Visit our Driveway & Pavers in Tustin page for our related exterior work, or call to schedule your free estimate. All work is backed by the 730-Day Done Right Promise, all calls are answered by a live person 24/7, and upfront pricing means the number you see is the number you pay. Plus, projects over $10,000 qualify for our $1,000 Off promotion, and 0% financing for 18 months is available.
Written by the team at Groundwork Construction Co. of Tustin.