Last updated November 17, 2026


Free written scope consultation - allowances, timeline, and change-order rules on paper before a single trade is scheduled
DIY vs Professional Fence Installation: What’s Safe to Do Yourself
Most DIY fence failures show up in the first 18 months, and they almost never start above ground. The boards look great, the rails are straight, the gate swings clean. Then a post leans. Then a section racks sideways. When we dig out a failed homeowner footing, nine times out of ten the concrete was mixed too wet and poured into a hole that was too narrow to hold load under soil pressure. That’s the whole story. Everything above grade is manageable for a careful homeowner; everything below grade needs knowledge most tutorials skip. This guide draws the line clearly: what you can safely tackle, the post-setting variables pros control with equipment you probably don’t own, and the Tustin permit and property line rules that decide whether a fence is an asset or a future problem.
Quick Answer
Panel replacement, staining, sealing, hardware swaps, and minor rail repairs are all safe and realistic DIY jobs. Setting new fence posts is not – not if you want the fence to survive seasonal soil movement without leaning. Post footings require correct diameter, correct concrete mix, correct water ratio, and proper compaction, and hand-mixed jobs in Tustin frequently fail because the mix is too wet. If your project means new posts in the ground, that’s the point where a professional installer earns their cost.
Styles & brands we work with
- Kitchen remodeling
- Bathroom remodeling
- Home additions & ADU
- Roofing
- Windows & doors
- Driveway & pavers
- Fence
Table of Contents
- What a Capable DIYer Can Realistically Handle
- The Post-Setting Variables Professionals Control
- California Property Line Law and the 6-Inch Trap
- Tustin Permit Requirements by Fence Height and Location
- Honest Cost Comparison: DIY vs Professional Installed
- Material Choices That Hold Up in Tustin’s Climate
- The DIY Steps That Are Actually Safe to Follow
- Common Mistakes to Avoid
What a Capable DIYer Can Realistically Handle
If you own a level, a drill, and a decent circular saw, a surprising amount of fence work is genuinely within reach. The line we draw isn’t about toughness or skill – it’s about whether the work is above grade or below it. Anything that touches existing, sound posts is fair game. Anything that requires a new hole in the ground is where the risk curve steepens.
Safe DIY fence work
- Panel replacement on existing solid posts. If your posts are plumb and solid, swapping pickets or a full panel is a weekend job. Pop the rails, install new boards, rehang. No footing risk.
- Staining and sealing. Tustin’s dry summers and occasional Santa Ana winds strip finish faster than most of the country expects. Re-staining every 2-3 years is the single best thing you can do to stretch a fence’s life, and it’s entirely DIY-friendly.
- Hardware swaps. Hinges, latches, gate handles, post caps. Fifteen-minute jobs, low risk.
- Minor rail repairs. A cracked rail or a sagging section is fixable with screws, a bracket, and possibly a small sister board. If the post is sound, the repair is sound.
- Gate adjustments. Sagging gates are usually a hinge or latch problem, not a post problem. Adjust first, replace second.
Jobs to leave to a professional
- Setting new posts in any soil
- Removing and replacing a full fence line
- Any fence over 6 feet tall (also triggers permitting)
- Fences on a slope, near a property line, or adjacent to a retaining wall
- Any fence that will define or defend a property boundary
The Post-Setting Variables Professionals Control
Here’s what most DIY fence tutorials quietly assume you already know: how deep, how wide, how wet, and how compacted. Getting any of those four wrong doesn’t fail on install day. It fails 12-24 months later – which is exactly why DIY posts look great in the beginning and lean later.
1. Hole depth relative to frost line and soil type
Tustin doesn’t have a frost problem, but we do have expansive clay soils in areas like North Tustin and along the foothills. Clay swells and shrinks with seasonal moisture, and that movement pushes and pulls on post footings. Standard guidance is one-third of the post’s above-ground height buried, plus 6 inches for gravel drainage. In clay-heavy Tustin yards, we frequently go deeper than code minimum because the soil demands it.
2. Footing diameter consistency
A footing that’s 10 inches at the top and 8 inches at the bottom doesn’t hold load the way a 10-inch cylinder does. Pros use a post-hole digger sized to the spec, check diameter at the bottom before pouring, and bell the bottom slightly to resist uplift. Homeowners digging by hand almost never verify this – and you can’t fix it after the concrete sets.
3. Water-to-concrete ratio
This is the failure we see most in Tustin. Fast-set concrete like Quikrete or Sakrete has a specific water ratio printed on the bag, and mixing “by eye” reliably produces a mix that’s too wet. Wet mix is weak mix. Weak mix cracks under soil pressure. Cracks let water in. Two winters later, the post is leaning. A pro measures water in a bucket, not from a hose.
4. Post driver compaction
A gas or pneumatic post driver seats a post with consistent, even compaction that hand tamping can’t match. It also lets a pro feel when the post hits a rock or a root and stop before cracking the wood. When you’re setting 15 or 20 posts, that consistency matters more than any single post.
5. Gravel base and drainage
Six inches of gravel at the bottom of the hole keeps the post end out of standing water. Skip this and the bottom of the post rots from the inside out – the single most common reason a “solid” post fails at year ten. It’s a five-dollar detail most homeowners never hear about.
California Property Line Law and the 6-Inch Trap
Here’s the part of DIY fence installation that no YouTube tutorial covers and that has quietly cost California homeowners real money: adverse possession. If you build a fence even 6 inches inside your neighbor’s property line – or they build one inside yours – and that fence stays there for the statutory period, the neighbor may eventually have a legal claim to the land on their side. California’s adverse possession statute requires five years of open, notorious, hostile, and continuous possession, plus payment of property taxes on the disputed strip. That last element is what usually defeats a claim. But the legal fight itself costs money, and the neighbor relationship may never recover.
The practical fix is simple and free: before you set a single post, pull your property line from your title report or the county assessor’s map, and confirm on the ground. If you’re replacing a fence that sits exactly on the line, that’s the ideal scenario – document it with photos and a written acknowledgment signed by the neighbor. If the existing fence is 6 inches off, decide on purpose whether to keep it there, move it to the line, or leave it with a signed boundary agreement.
This is where a licensed installer earns trust beyond the physical work. We’ve walked plenty of Tustin property lines with homeowners before the first post goes in. It’s a conversation, not a contract.
Tustin Permit Requirements by Fence Height and Location
Tustin follows the California Building Code with local amendments, and the permit thresholds are specific. Getting this wrong means the city can require you to tear the fence out and rebuild it – which turns a DIY weekend into a full professional job plus permit fees.
When a permit is generally not required in Tustin
- Fences 6 feet tall or shorter in a rear or side yard
- Fences 3 feet tall or shorter in a front yard setback
- Repairs to an existing fence that don’t affect structural posts or footing
When a building permit is typically required
- Any fence over 6 feet tall (measured from finish grade)
- Fences on a retaining wall, or acting as a barrier to a pool or spa (pool barriers have their own code section and often require inspection)
- Fences in a front yard setback that exceed the front yard allowance
- Fences in a designated historic district or HOA-governed community where separate architectural approval is required
What does the inspection cover? A Tustin building inspector checks post depth and footing embedment, structural bracing at corners and gates (the “H” bracing or diagonal bracing that keeps a long run from racking), material specifications against the approved plan, and pool barrier height and self-latching hardware if applicable. They’re looking at the things you can’t easily see after the fence is finished – which is exactly why the inspection exists.
Check the current Tustin Municipal Code or call the city’s Building Division before you start. Requirements shift, and a five-minute phone call is cheaper than a re-do. If permits aren’t your thing, ask about permit pull and inspection as part of the scope on any Fence Installation in Tustin project – we handle it end to end.
Honest Cost Comparison: DIY vs Professional Installed
The DIY pitch sounds great until you add up the second trip to the hardware store and the redo. Here’s the real math, framed as ranges, not fixed prices, because Tustin fence costs vary by material, height, and yard access.
DIY material and tool cost (per 100 linear feet, standard wood privacy fence)
- Materials: $1,800-$3,200 depending on wood grade and panel style
- Concrete: $120-$250 (about 10-15 bags of Quikrete or Sakrete)
- Post-hole digger / auger rental: $60-$140 per day
- Post driver rental (if used): $80-$150 per day
- Additional tools (level, string line, fasteners, blade): $100-$250
- Permit fee if required: $150-$400
- Dumpster / debris removal: $150-$350
DIY total, assuming no redo: $2,460-$4,740. That’s the best case.
The redo rate that changes the math
In our experience, roughly one in three DIY fence projects in Tustin ends up redoing at least one or two post footings within three years. A single failed post redo – digging out the concrete, resetting, resetting the panel – runs $200-$450 in materials and a full weekend of labor. Two or three failed posts later, you’ve spent pro-level money on a DIY fence with no warranty, no documentation, and no permit trail.
Professional installed cost
A professionally installed wood privacy fence in Tustin typically runs $35-$65 per linear foot installed, which translates to $3,500-$6,500 for 100 linear feet. That number includes materials, permits, footings, cleanup, and a written workmanship guarantee. The gap between DIY best-case and professional is real – usually 20-40% – and it’s the honest number to weigh against the redo risk, your weekend hours, and the missing warranty.
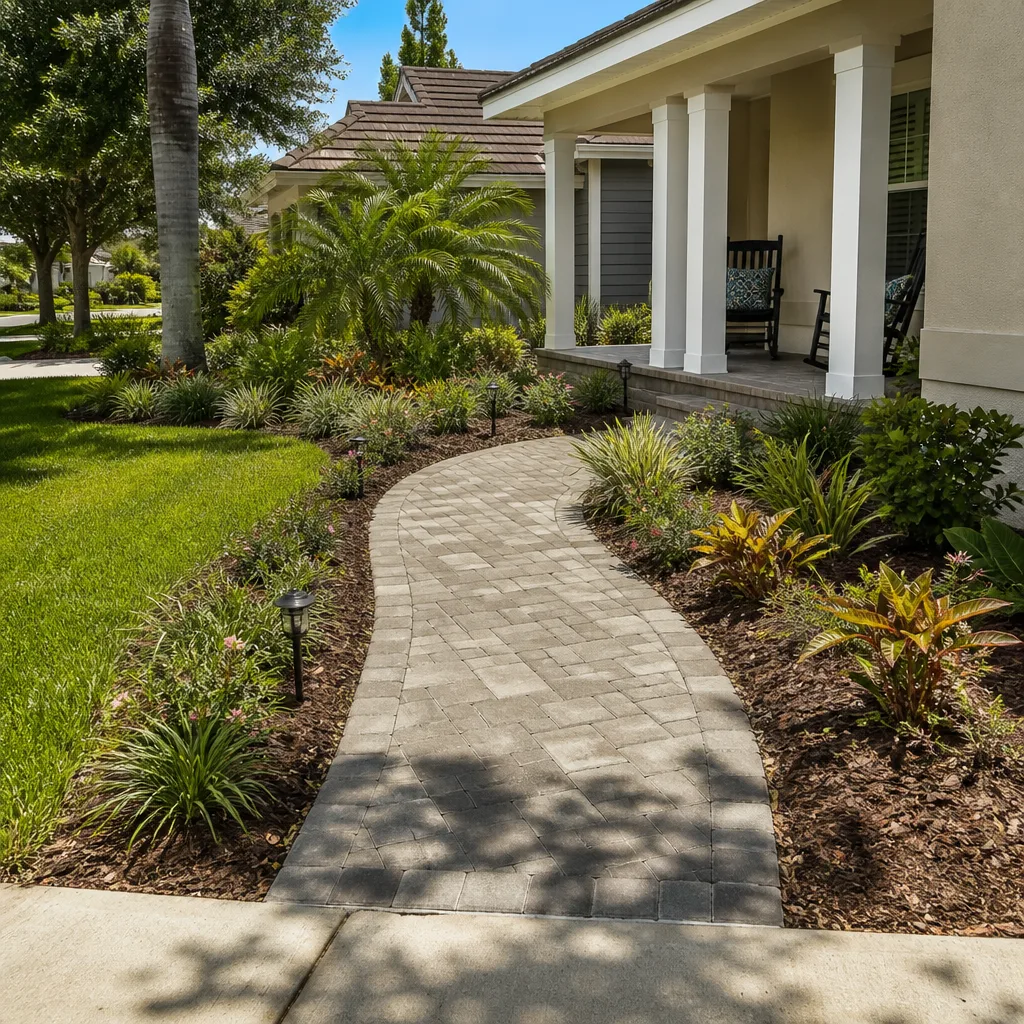
Material upgrade changes the math too. Composite and vinyl fences install at higher per-foot cost but with far lower maintenance. If you’re comparing Driveway & Pavers in Tustin alongside a new fence, we quote both in the same visit so you can see the full yard as one project instead of two disconnected line items.
Material Choices That Hold Up in Tustin’s Climate
Tustin sits in that inland stretch of Orange County where temperatures run hotter than the coast and the air stays dry through most of the year. That matters for fence material. We see cedar fences dry-check and cup within three seasons without finish on them. Vinyl can go chalky on south-facing runs. And composite panels need proper expansion gaps or they oil-can in summer heat.
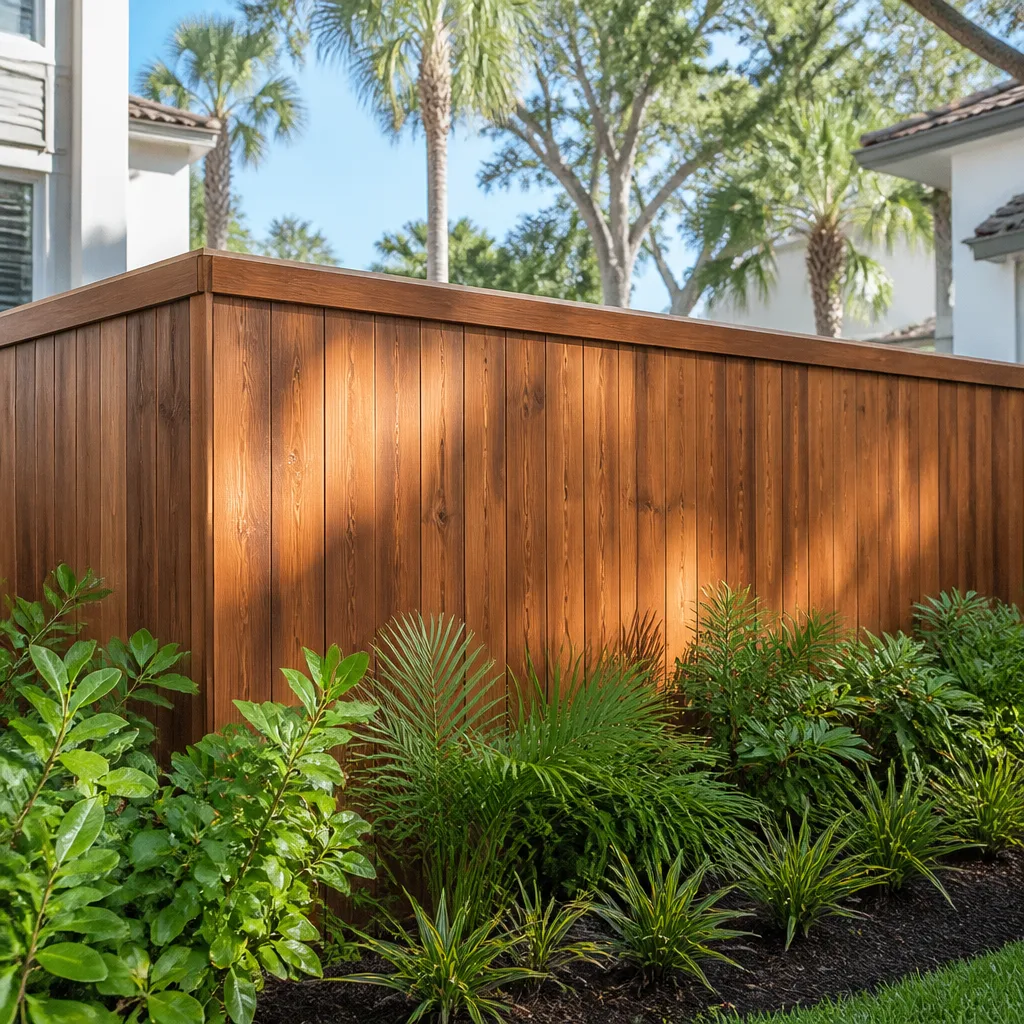
- Cedar or redwood privacy fence: The most traditional Tustin choice, and the easiest to repair. Budget a re-stain every 2-3 years and rotate your planter beds so the bottom boards can dry.
- Composite: Outlasts wood significantly, holds color better, and doesn’t need staining. Worth the upcharge on long runs facing afternoon sun.
- Vinyl: Zero maintenance, but choose a UV-stabilized brand, not budget panels. Cheap vinyl in Tustin’s sun dulls within a few summers.
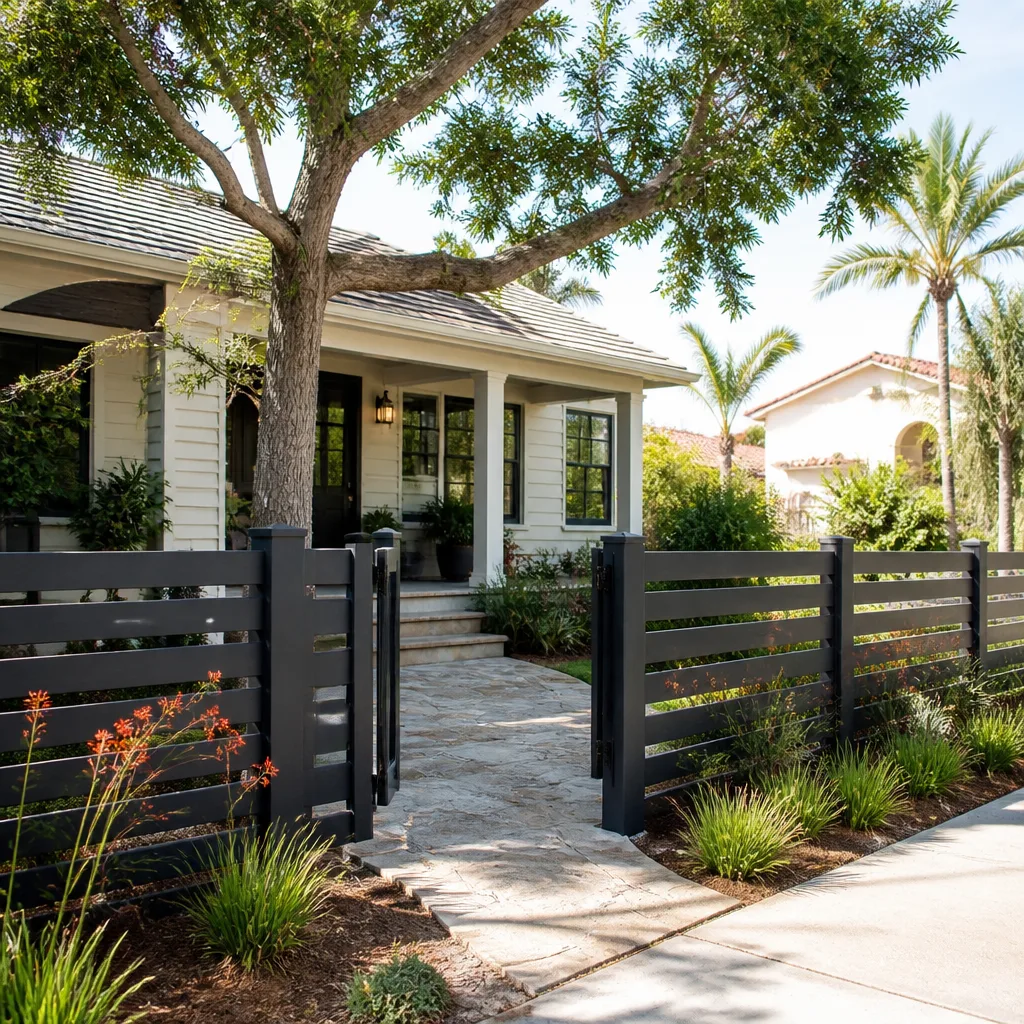
- Wrought iron or aluminum: Ideal for front-yard fences facing Tustin’s HOA standards. Needs posts set correctly in concrete just like wood – metal posts sway in weak footings too.
The material matters less than the installation. A $60-per-foot composite fence on a bad footing fails just as fast as a $35-per-foot cedar fence on a bad footing.
The DIY Steps That Are Actually Safe to Follow
If your project stays above grade, here’s the process to follow.
- Confirm the posts are sound. Push hard on each post at chest height. Any wiggle more than a half inch means the post is failing and belongs in the “call a pro” column.
- Photograph the existing fence. Take wide shots and close-ups of every post, rail, and boundary corner. If a neighbor later disputes the line or the fence style, you have documentation.
- Order the right panel material. Match the existing panel width (usually 8 feet) and picket spacing. Off-the-shelf panels rarely match custom widths, so measure before you order.
- Remove old boards and check the rails. If the horizontal rails are sound, keep them and swap only the pickets. If a rail is warped, replace it.
- Attach panels with the correct fasteners. Use exterior-rated screws, not nails, and leave a small gap between boards for wood movement.
- Check gate alignment after install. Open and close every gate repeatedly. If it drags, adjust the hinges before assuming the post is failing.
- Apply finish. On Tustin’s dry summer wood, stain or seal within two weeks of install. Don’t apply on a day over 90 degrees or when the wood is wet.
What this list intentionally omits: pouring footings, setting posts, pulling permits, and any job near a property line. Those are the tasks that cost real money when they fail.
A note on safety
Fence work involves digging near buried utilities, working on ladders, and running power tools. Call 811 (the free utility locator service) before any digging – even a shallow post hole. If your fence runs near power lines or gas meters, call a professional. The savings from a DIY job in those areas isn’t worth the risk.
Common Mistakes to Avoid
- Mixing concrete by eye. Bag concrete like Quikrete or Sakrete has a printed water ratio for a reason. Wet mix weakens the footing; measure the water, don’t guess. This one mistake causes more leaning posts in Tustin than any other.
- Setting posts too shallow. One-third of above-ground height is the minimum, not the target. In Tustin’s clay soil areas – North Tustin, parts of Old Town – go deeper to fight seasonal soil movement.
- Building 6 inches inside the property line without documentation. Small encroachment plus five years of unaddressed use is how an adverse possession claim starts. Get a signed boundary acknowledgment and photograph the line before post one goes in.
- Skipping the permit because “it’s just a fence.” Fences over 6 feet tall, pool barriers, and front setback fences all trigger Tustin permitting. If you skip it and later sell, a buyer’s inspector may flag unpermitted work.
- Ignoring HOA architectural rules. Tustin has plenty of HOA-governed neighborhoods where the fence style, height, and color are dictated. Approval before install beats a fine after.
- Finishing new wood too early. Fresh wood with high moisture won’t absorb stain properly. Wait for the surface to dry, and don’t stain when the boards are hot from direct sun.
- Not burying drainage gravel. Skip the 6 inches of gravel at the bottom of the hole and the post rots from the ground up – the most common failure on fences that otherwise look fine.
See the difference
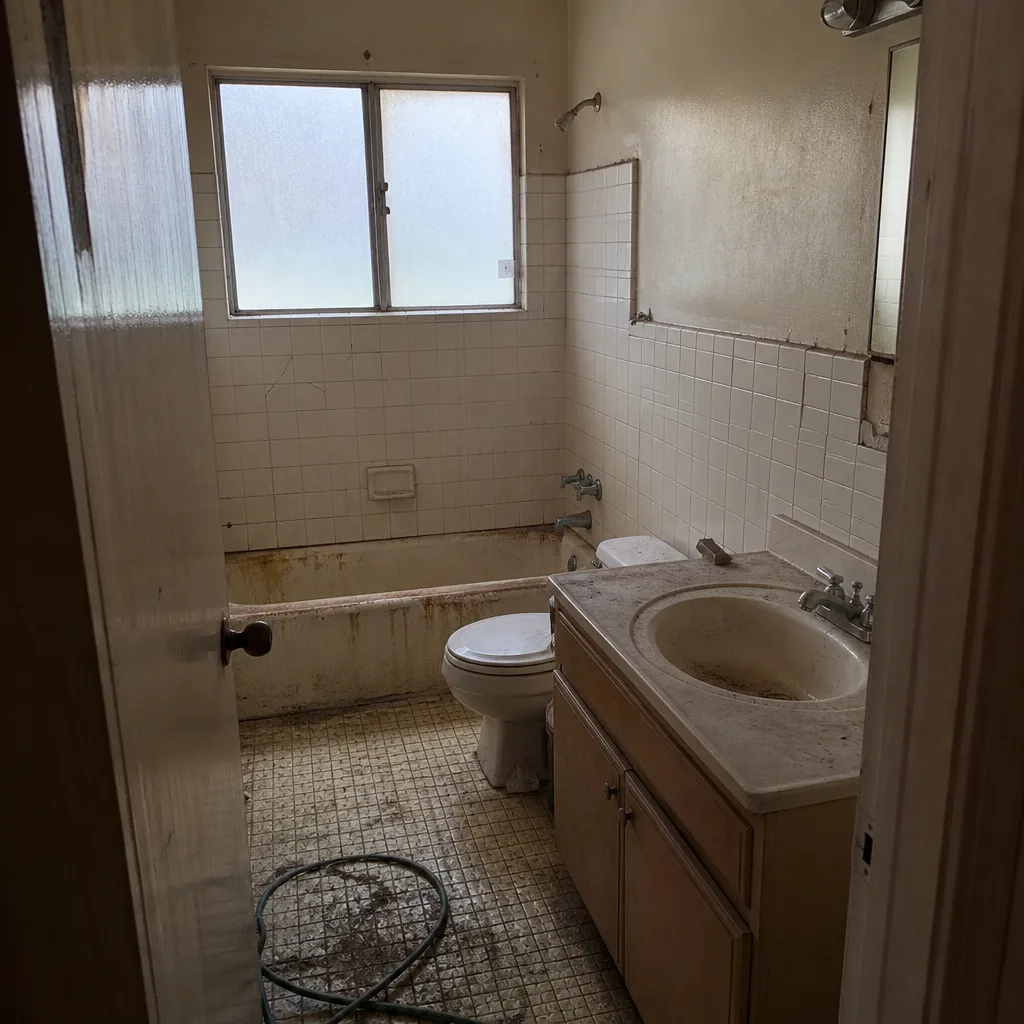 Before
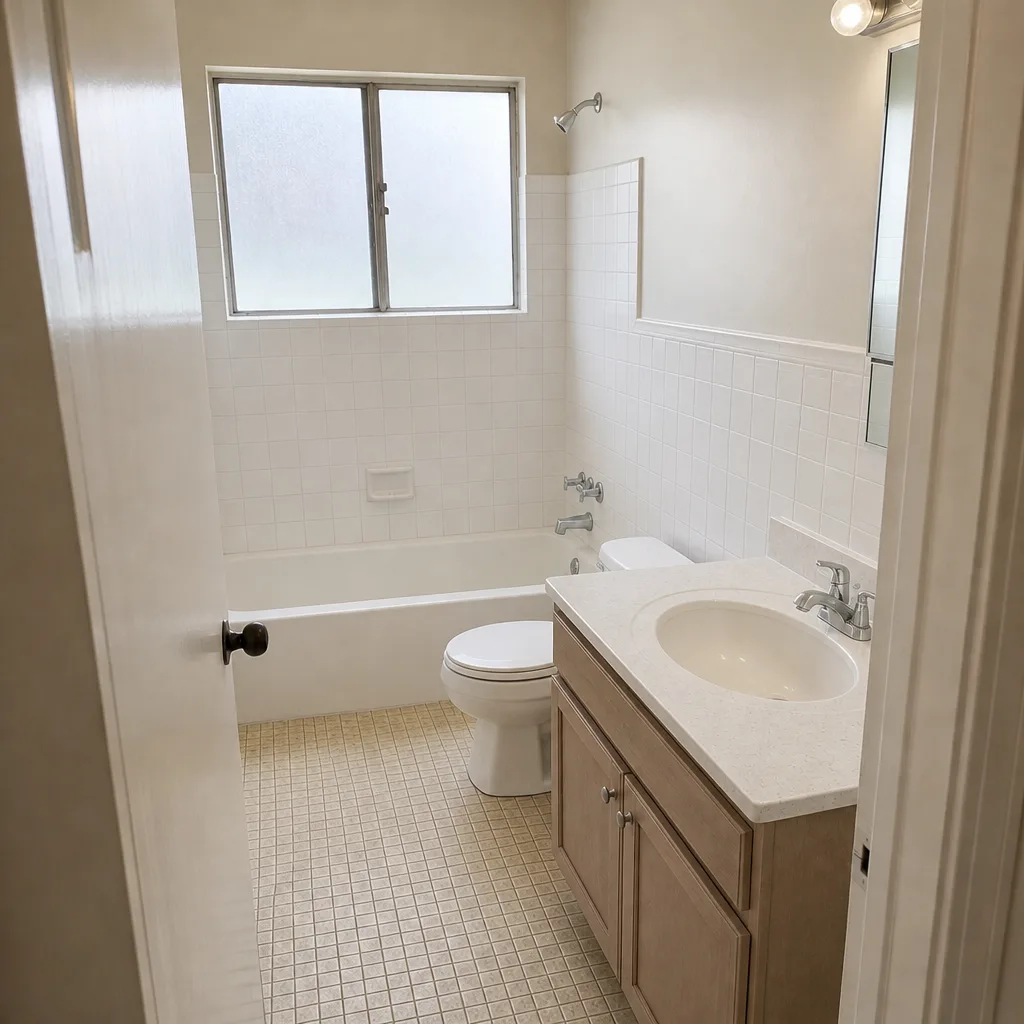 After
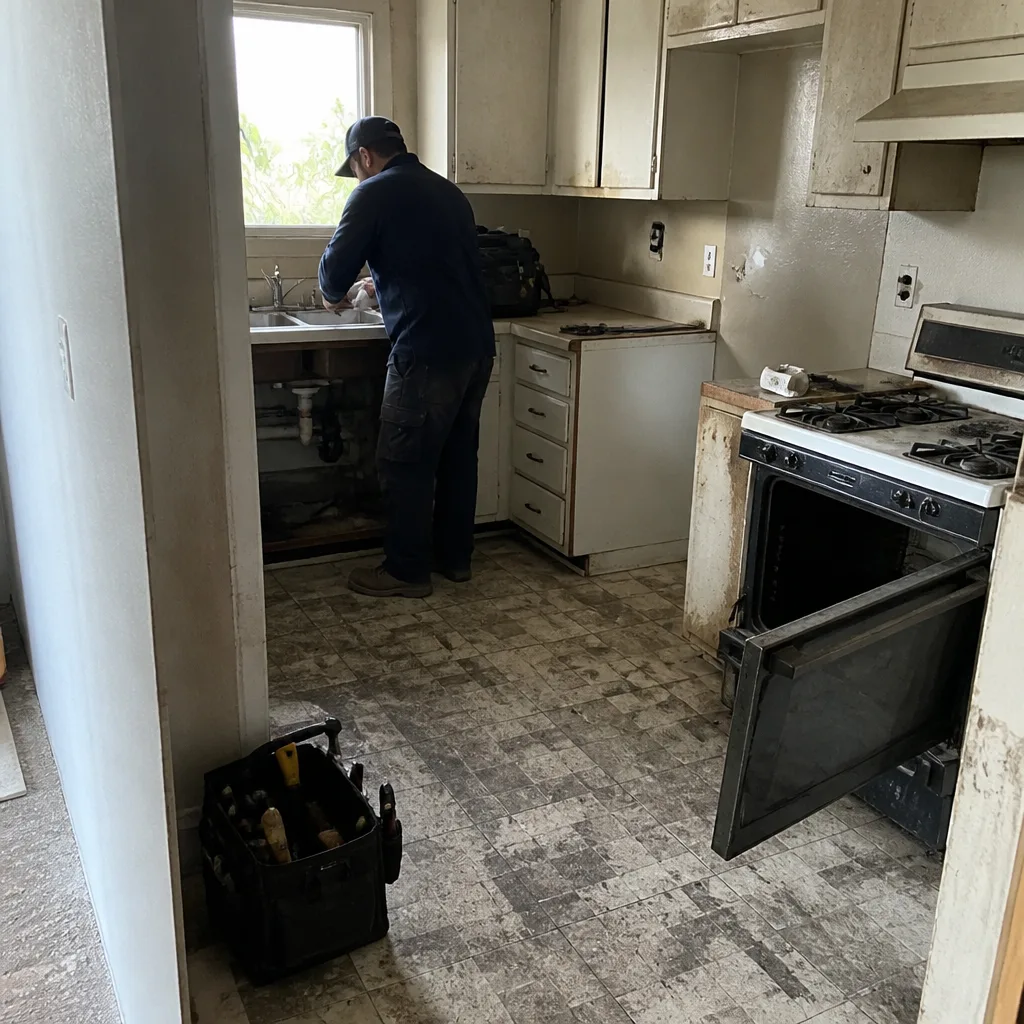 Before
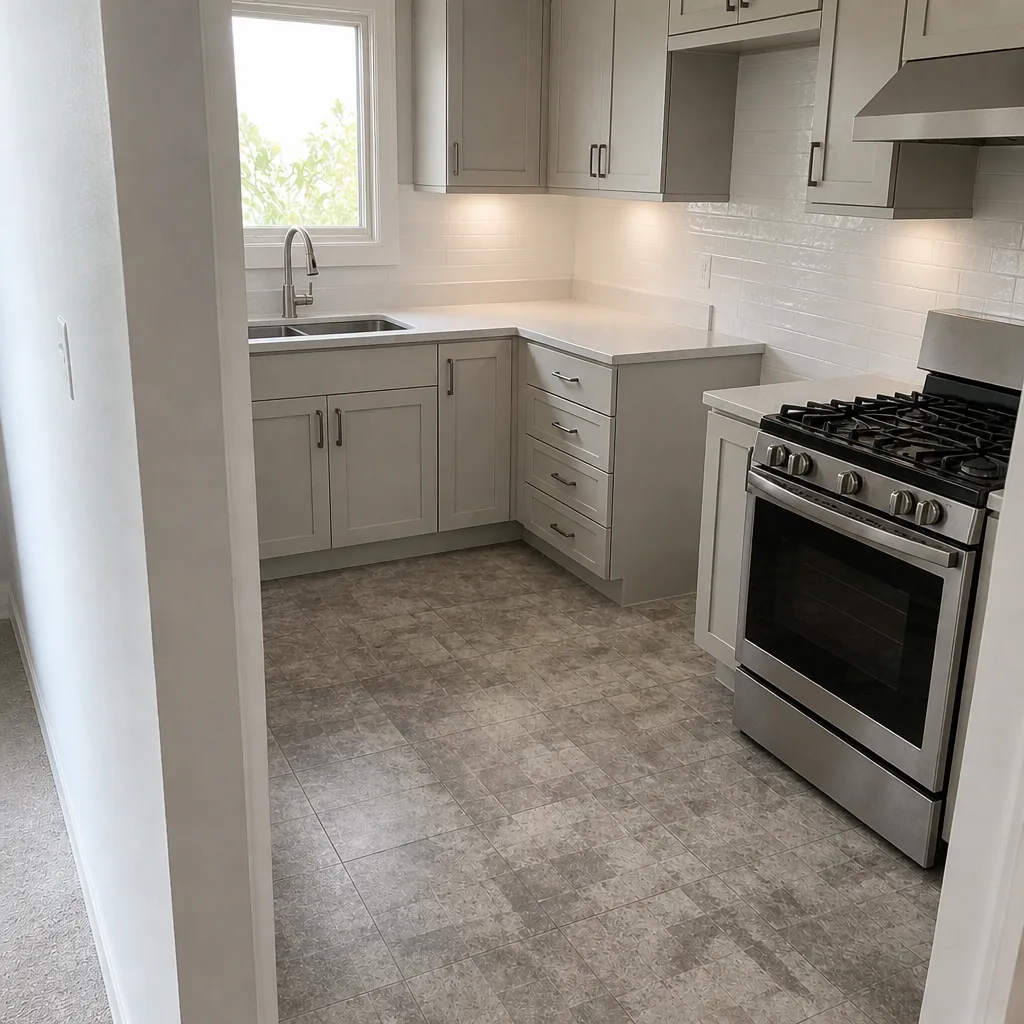 After
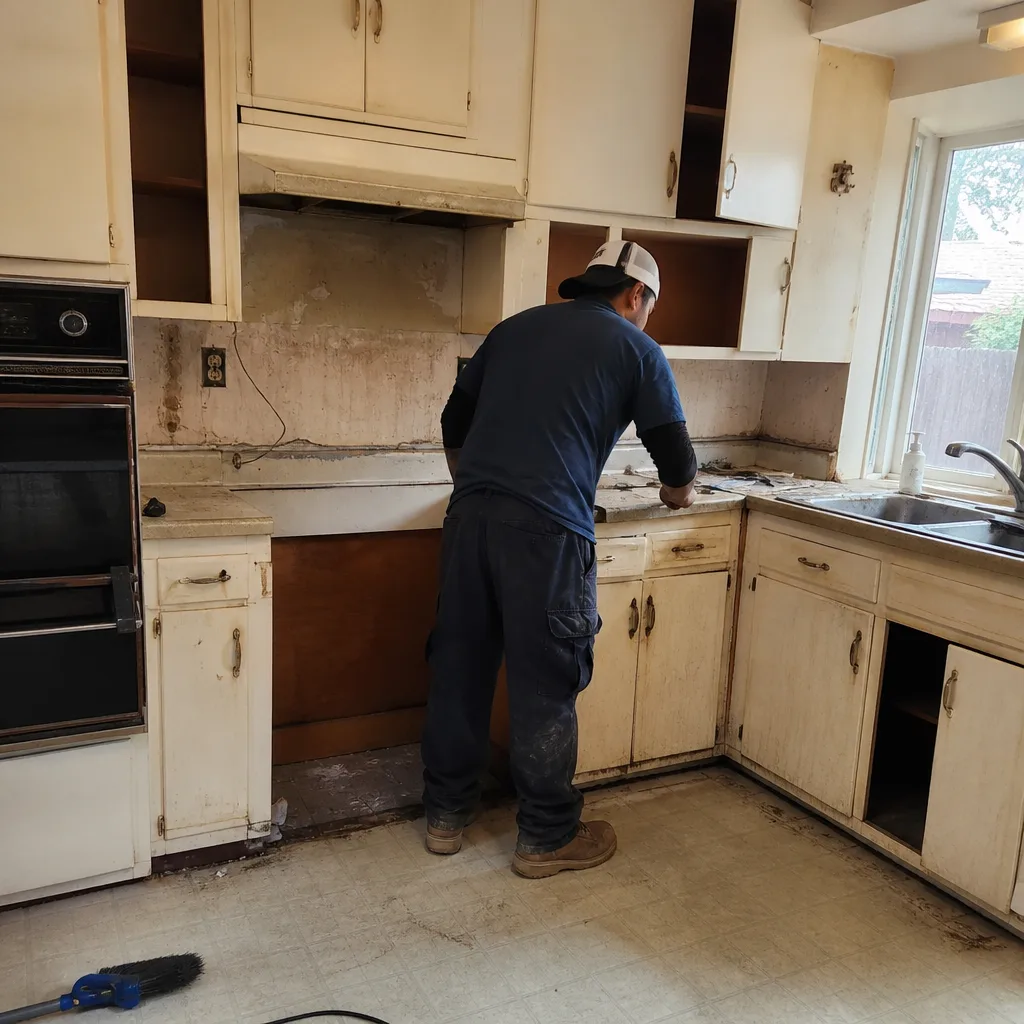 Before
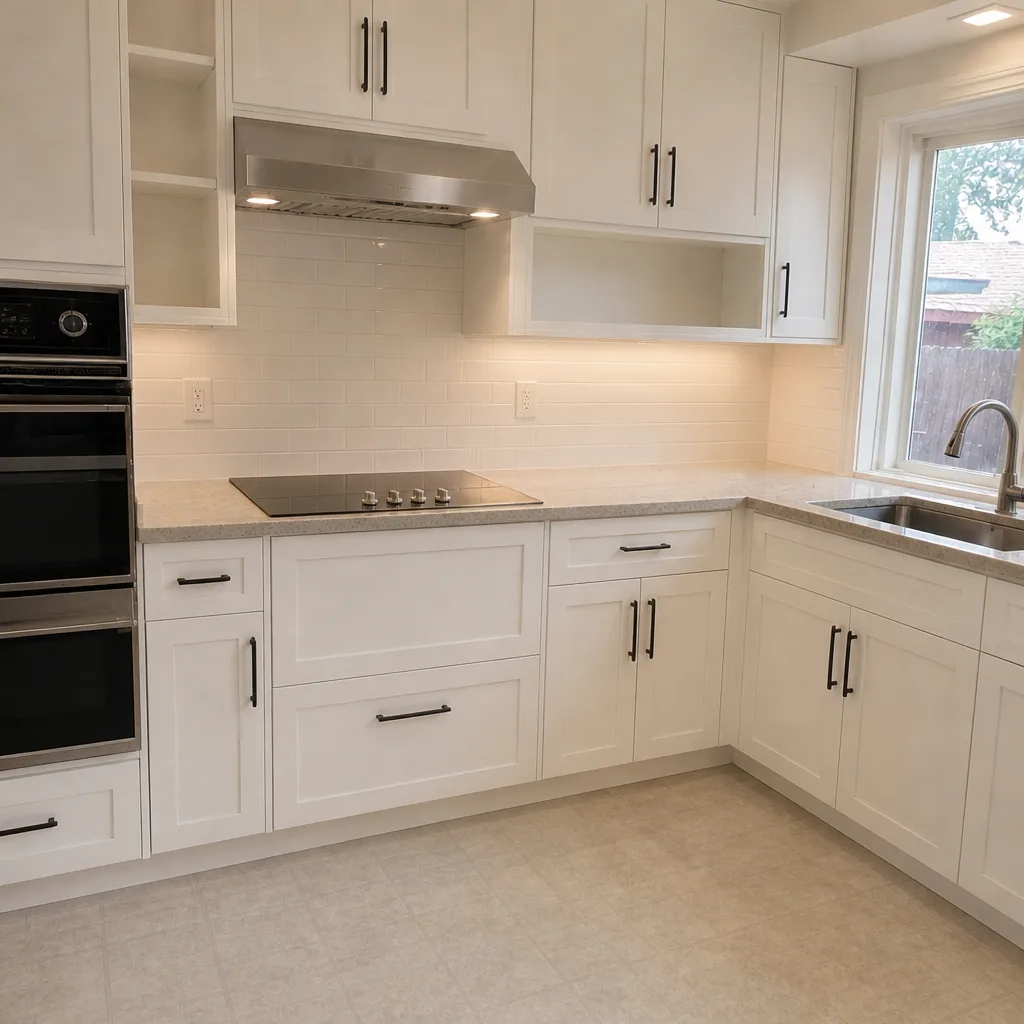 After
When to Call a Professional
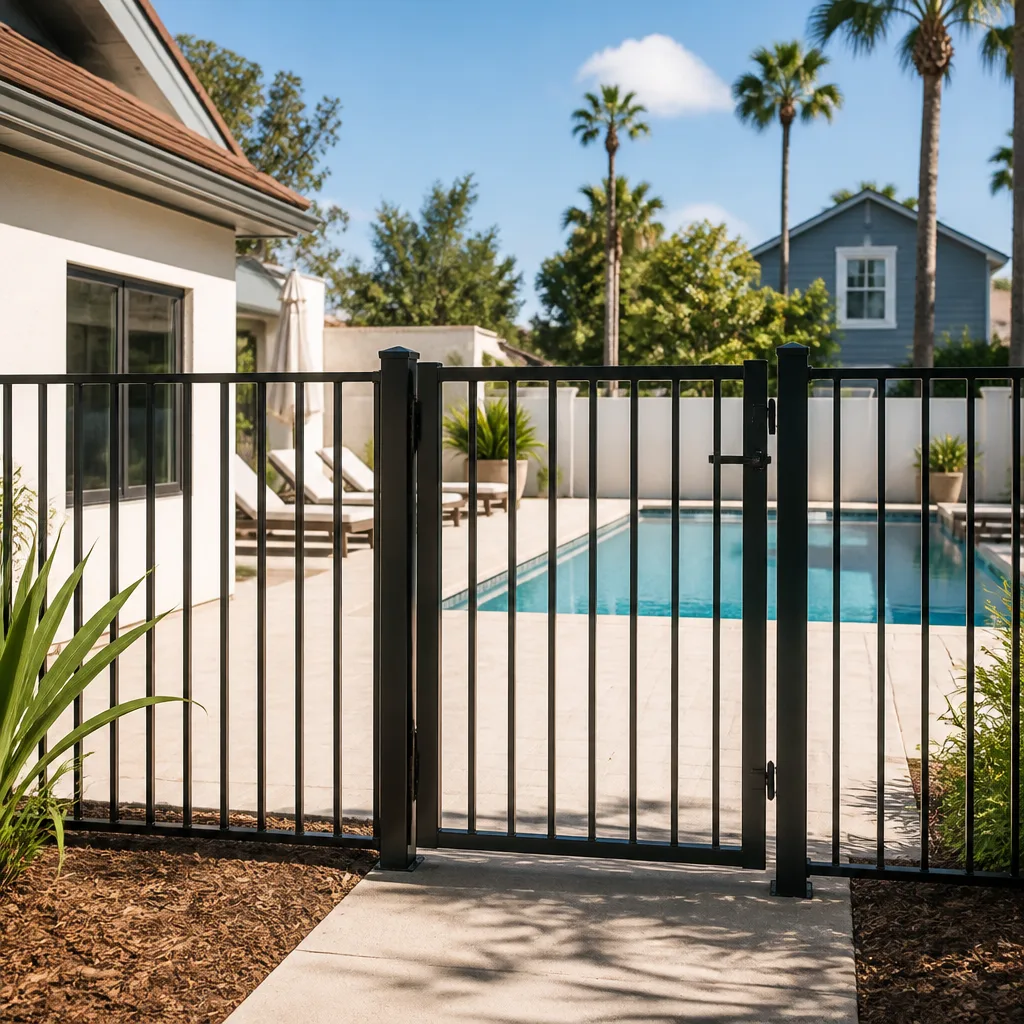
Call a professional installer for any of the following: new posts in the ground, any fence project involving a property line dispute, fences over 6 feet tall, pool barriers, front-yard fences in Tustin’s HOA communities, fences on a slope or against a retaining wall, and any fence located within 10 feet of buried utilities. Same-day replacement of a full fence line is also a professional job, even if it’s “just” a wood privacy fence over the same footprint.
A failed post is not a DIY repair after the fact. Redoing one means digging out set concrete, resetting the post, and re-paneling the section – which is the actual work you tried to avoid on install day. It’s cheaper to install it right the first time. Groundwork Construction Co. of Tustin offers free estimates in Tustin – call (833) 954-6066.
Frequently Asked Questions
Yes, for above-grade work. Panel replacement, staining, sealing, and hardware swaps are all safe DIY jobs and don’t require permits. New post installation is where the risk climbs – footing failures are common in Tustin’s clay-heavy soils, and small mistakes don’t show up until 18-24 months in. For anything that requires digging new post holes, we recommend a professional install.
Professionally installed wood privacy fencing in Tustin runs $35-$65 per linear foot, so a 100-foot run typically lands between $3,500 and $6,500 including permits, footings, and cleanup. DIY material costs run $1,800-$3,200 for the same length before tool rental and permit fees. Call (833) 954-6066 for an exact quote – estimates are free.
Fences 6 feet or shorter in a rear or side yard generally don’t require a permit in Tustin. Fences over 6 feet, pool barriers, fences in a front-yard setback that exceed the front allowance, and fences in historic districts all do. Confirm with Tustin’s Building Division before installing – the requirement changes with height and location.
With a fixed-scope written quote, no. Prices change when scope changes – a hidden root, a buried utility line, a retaining wall discovered under the fence line. We quote the actual scope on-site, in writing, before work starts, so the number you see is the number you pay. Call (833) 954-6066 to schedule your free estimate.
Most residential wood fence installs in Tustin run 2-4 days for 100-150 linear feet, depending on material, yard access, and permit timing. Composite and vinyl go faster once the posts are set. Post-setting is the time-intensive part because the concrete has to cure before panels go up. Custom gates and complex yard layouts add a day or two.
Bad footings. In our experience, hand-mixed concrete poured too wet into holes that are too narrow is the single most common cause of early fence failure in Tustin. The above-grade work usually holds up fine. The posts fail because the concrete doesn’t hold load under clay-soil movement. Call (833) 954-6066 if your existing fence is already leaning – we quote repairs and replacements both.
The Bottom Line
Fence installation has a clean line: above grade is DIY-friendly, below grade is not. Panel swaps, staining, hardware, and minor rail repairs are realistic weekend projects. New posts in the ground – the part that decides whether the fence survives year three – need proper footing diameter, correct concrete mix, post-driver compaction, and drainage gravel, and those are the steps DIY tutorials skip. Add Tustin’s permit thresholds, the property line documentation that prevents future boundary disputes, and the 1-in-3 redo rate on DIY footings, and the professional install’s real advantage becomes obvious. The cost gap is smaller than it looks, the workmanship is backed in writing, and the fence lasts.
Planning a fence in Tustin? Groundwork Construction Co. of Tustin pulls permits, sets footings to spec, and backs every install with our 730-Day Done Right Promise. Our technicians have up to 12 years of experience, arrive background-checked and in uniform, and answer calls live 24/7. Every project starts with a free estimate and a written line-item quote. Current promotions include $1,000 off projects over $10,000, 0% financing for 18 months, and a free design consult – no surprises, no change orders, upfront pricing you can plan around.
Call (833) 954-6066 for a free fence estimate in Tustin, or explore our full range of services – from Groundwork Construction Co. of Tustin home to Home Additions & ADU in Tustin – as one connected scope when you’re ready to plan the whole project.
From foundation to finish line, built to last and backed in writing. Reach out to Groundwork Construction Co. of Tustin today at (833) 954-6066 and get your project scoped, priced, and scheduled.
Written by the team at Groundwork Construction Co. of Tustin.