
Last updated November 17, 2026






Free written scope consultation - allowances, timeline, and change-order rules on paper before a single trade is scheduled
Bathroom Remodeling Maintenance Schedule: What to Do and When
Most bathroom caulk failures that cause water damage behind walls start showing visible signs 18 to 24 months after installation. But homeowners who catch them at month 12 spend about $40 on caulk instead of $4,000 on drywall, framing, and mold remediation. That gap, between a cheap fix and a catastrophic one, is entirely a matter of timing. A newly remodeled bathroom in Tustin doesn’t need much from you in year one, but the small tasks you do in those first twelve months set the trajectory for the next decade. This guide gives you the schedule: what to check at 30, 60, and 90 days, which annual tasks belong to which materials, and how to catch moisture problems before they cost you a wall.
Quick Answer
A bathroom remodel maintenance schedule runs on three clocks: a 30/60/90-day post-installation checklist (grout cure, caulk settling, fixture torque, exhaust fan function), annual tasks tied to specific materials (reseal natural stone every 12 months, porcelain every 3 to 5 years, re-caulk wet areas every 18 to 24 months), and seasonal inspections of moisture-prone zones like under-sink cabinets, toilet bases, and shower pans. Catching a failing caulk line at month 12 costs about $40; missing it until water reaches the subfloor costs thousands. The schedule below tells you exactly what to do, when, and what to leave to a professional.
Styles & brands we work with
- Kitchen remodeling
- Bathroom remodeling
- Home additions & ADU
- Roofing
- Windows & doors
- Driveway & pavers
- Fence
Table of Contents
- The First 90 Days: Your Post-Remodel Checklist
- The Annual Maintenance Schedule, Month by Month
- Material Lifespans: What to Reseal, When, and Why
- How to Inspect Behind the Visible Surface
- Years 2 Through 10: The Long-Horizon Tasks
- What Your Warranty Covers (and What It Doesn’t)
- Common Mistakes to Avoid
- When to Call a Professional
The First 90 Days: Your Post-Remodel Checklist
The first three months after a bathroom remodel are when new materials settle, cure, and reveal how well they were installed. Tustin’s climate helps here: our low humidity and mild winters mean grout and caulk cure predictably, without the seasonal swings that crack fresh joints in colder parts of the country. But curing is still a process, and rushing it causes problems. Here’s what to do and when.
Days 1 through 30
- Don’t scrub new grout. Cementitious grout needs about 72 hours to cure before any water touches it, and it reaches full hardness around 28 days. Use a soft sponge and plain water for the first month. No vinegar, no acidic cleaners, no scrubbing brushes.
- Run the exhaust fan every shower. A new fan needs to be run regularly to confirm it’s moving air properly. Hold a tissue against the grille; it should pull tight and stay. If it flaps or falls, the fan or ductwork has an issue worth flagging before the warranty conversation gets complicated.
- Check fixture torque at week two. Faucet handles, shower arms, towel bars, and toilet supply lines should all still be snug. A slow drip under a sink or a wobbling handle usually means a fitting loosened as the plumbing settled. Snugging a supply line is a 10-minute job; a leak that runs for a month behind a cabinet is not.
- Note any movement in the shower pan. Step into the shower and feel for flex or soft spots. A properly set pan is solid underfoot. Any give is worth a call back to whoever installed it, and the earlier you catch it, the simpler the fix.
Days 30 through 60
This is when caulk lines around the tub, shower base, and sink backsplash finish shrinking and settling. Walk every caulk joint with your eyes at close range. Hairline separations at corners are normal movement, not failure. But any gap wider than a credit card edge, or any dark discoloration starting behind the caulk, means moisture is already getting in. Note where, and address it this month, not next year.
Days 60 through 90
Check the toilet base. Rock the bowl gently side to side; it should not move. A rocking toilet compresses its wax ring and opens a path for water to reach the subfloor, which is a slow and expensive leak. If you feel movement, that’s a professional call, not a homeowner fix, because the toilet has to come up to reset the ring. Also look at the base of the shower pan where it meets the tile or floor. Any softness in that joint deserves attention from the installer while the work is still fresh. If you’re considering this remodel as part of a larger project, our Groundwork Construction Co. of Tustin home page outlines the full scope of what we build across these seven service lines.
The Annual Maintenance Schedule, Month by Month
Once the first 90 days are behind you, bathroom maintenance settles into a rhythm. The schedule below is built around Southern California’s dry season and rainy season, which matters more than most guides admit: water intrusion problems in Tustin tend to surface in January and February, after a few months of winter rain and closed windows, so you want to be inspecting and sealing in fall, not spring. In our experience across Tustin bathrooms, the homes that fail early are almost always the ones where nobody opened the cabinet under the sink or looked at the shower pan corners for a year straight.
Fall (September through November): Seal and Protect
- Re-seal stone surfaces before winter rain season. Natural stone is porous and absorbs water; a fresh sealant coat takes an afternoon and protects the surface for the year.
- Inspect and repair caulk in all wet areas. September is the ideal month to cut out failing caulk and replace it, because it cures before the rain and the humidity climbs.
- Test the exhaust fan and clean the grille. Dust buildup cuts airflow and makes the fan work harder to do less.
- Clean the shower door tracks and check the weep holes at the bottom. Blocked weep holes in a frameless glass shower system trap water against the seal.
Winter (December through February): Watch for Water
- Check under every sink for signs of moisture: water stains on the cabinet floor, soft wood, or a musty smell. Winter is when small leaks become visible because the home stays closed up.
- Look at the ceiling below the bathroom if you have a lower floor. Any discoloration is a direct signal that something above is leaking.
- Run the fan during and after every shower for at least 20 minutes afterward. Tustin winters are mild but the air inside stays wet until the fan clears it.
Spring (March through May): Deep Clean and Torque
- Deep clean grout with a pH-neutral cleaner (never vinegar on cementitious grout).
- Re-torque fixture fittings, recheck the toilet base, and snug any loose towel bars or accessories.
- Inspect the toilet tank internals. A flapper that leaks silently can waste thousands of gallons a month. Put a few drops of food coloring in the tank and check the bowl after 20 minutes; color in the bowl means the flapper is leaking.
Summer (June through August): Seals and Drains
- Inspect shower door weatherstripping and sweeps for hardening or cracking. These are cheap parts that keep water where it belongs.
- Test all drains for slow drainage, which often signals hair or soap scum buildup before a clog.
- Clean the AC return or bathroom vent filter if your layout shares ducting, so humidity doesn’t get pulled through the wrong way.
Material Lifespans: What to Reseal, When, and Why
Not every surface in your bathroom needs the same attention on the same timeline. The material dictates the schedule, and getting this wrong is one of the most common causes of premature failure. The table below gives the honest numbers, based on how these materials actually behave in Southern California bathrooms.
- Natural stone (marble, travertine, limestone): Reseal every 12 months. Stone is porous and absorbs water and oils. A marble vanity top that goes unsealed for two years will etch and stain permanently; no amount of polishing brings it back without refinishing.
- Porcelain and ceramic tile: Reseal grout every 3 to 5 years. The tile itself is impervious, but grout lines are not, and a penetrating sealer keeps them from staining. If you use an epoxy grout, the reseal interval stretches considerably; ask your installer which you have.
- Quartz and solid-surface countertops: No resealing needed. These are non-porous by design, and the maintenance is a wipe-down with mild soap. Avoid abrasive cleaners that dull the finish.
- Glass shower doors: Apply a water-repellent coating every 6 to 12 months. Glass doesn’t absorb water, but mineral deposits from Tustin’s hard water etch the surface if left. A squeegee after every shower is the cheapest maintenance you’ll ever do.
- Caulk in wet areas: Replace every 18 to 24 months, or sooner if you see separation, discoloration, or peeling. Caulk is a wear part, not a permanent seal.
- Grout in the shower pan: Inspect every 6 months. The pan is the highest-stress zone in the room, and a hairline crack there is the fastest path to a hidden leak.
Why the timelines differ: stone is porous and takes on water, porcelain is not; quartz needs nothing because its surface is sealed at the factory; glass is impervious but vulnerable to mineral etching. Treat them all the same and you’ll either waste money resealing quartz or destroy a marble countertop by neglect. If your remodel includes exterior work like pavers or fencing, the same material-specific thinking applies on a different schedule; you can see how we approach that in Driveway & Pavers in Tustin and Fence Installation in Tustin.
How to Inspect Behind the Visible Surface
The tile, the grout, and the caulk are the surface. The damage happens behind them. This is where the real maintenance work lives, and it’s the part most homeowners skip. A flashlight and 15 minutes once a season will tell you more about your bathroom’s health than any cleaning product.
Under the sink cabinet
Open the doors and look at the back corner and the floor of the cabinet. Feel the wood. Any softness, dark staining, or white chalky residue (efflorescence, a sign of water moving through) means moisture is present. Trace the supply lines and the P-trap; a slow drip there may be invisible from above but obvious on the cabinet floor. Look at the base where the cabinet meets the wall; a stain spreading up from the floor is a bigger issue than a fitting leak.
Around the toilet base
Crouch down and look at the floor around the toilet from every angle. Any dark ring, soft flooring, or lifting tile near the base is a red flag for a failed wax ring. The wax ring is a $5 part, but the water it lets through when it fails works directly on the subfloor. Rock the bowl gently; if it moves, stop using the toilet and get it reset.
Near the shower pan
Look at the caulk joint between the shower base and the wall tile on all three sides. Press on it with your thumb; it should be firm and bonded. Also look at the floor outside the shower threshold. Any discoloration on the flooring just outside the shower is often the first sign the pan or the curb waterproofing has failed. In Tustin homes built before the 1990s, the original shower pans often have years of slow wear by the time a remodel happens, so post-remodel, the perimeter is the first place to watch.
The three signs that matter most
- Musty smell with no visible source. Odor is often the earliest detectable signal of hidden moisture. Your nose catches what your eyes miss.
- Bubbling or peeling paint on the ceiling below the bathroom. Moisture travels down, and the ceiling below is where it exits.
- Soft or spongy flooring anywhere near the fixtures. A subfloor that gives underfoot is already compromised; this is a professional call.
Years 2 Through 10: The Long-Horizon Tasks
Beyond the annual rhythm, some tasks come due on a multi-year schedule. These are the ones that determine whether your remodel holds its value for a decade or starts showing failure in year two or three. The list below is ordered by when they typically surface.
- Year 2 to 3: Re-caulk all wet-area joints. Even the best silicone fails eventually. This is the single highest-return maintenance task in the bathroom.
- Year 3 to 5: Reseal grout throughout. Penetrating sealers degrade, especially in the shower. Resealing refreshes the barrier without touching the tile.
- Year 4 to 6: Replace the exhaust fan if it’s struggling. A fan that no longer moves air isn’t protecting anything. This is a modest job that prevents big moisture problems.
- Year 5 to 7: Inspect the shower door and hardware. Hinges, seals, and sweeps wear. These are inexpensive parts that protect a very expensive enclosure.
- Year 7 to 10: Check the toilet flapper and fill valve. These fail from constant water exposure. Replacing them is a 30-minute job that saves water and prevents leaks.
- Year 10: A professional moisture survey. This is the point where a trained eye can catch slow leaks under the pan or behind the tile before they become structural. It’s the same logic we apply when planning a larger remodel; see Home Additions & ADU in Tustin for how build-quality decisions show up over the long haul.
What Your Warranty Covers (and What It Doesn’t)
A warranty is only as good as the line between what it covers and what it doesn’t. Our 730-Day Done Right Promise covers workmanship and materials we install: if a caulk joint we set fails inside the two-year window, we return and fix it. If a tile comes loose, if a fixture we installed fails under normal use, if a drain we roughed in leaks, that’s on us. What it doesn’t cover is owner maintenance that lapses: caulk that was never cleaned and failed from neglect, a marble surface that etched because it wasn’t sealed, a toilet that rocked for months and damaged the subfloor. That distinction isn’t fine print; it’s the reason the schedule in this guide matters. Keeping records of your maintenance tasks (a simple note on your phone with dates and photos works) protects your claim if anything does fail, because it shows the failure wasn’t neglect.
Common Mistakes to Avoid
- Using vinegar or acidic cleaners on new grout. It’s the most common mistake we see in Tustin. Acid eats cementitious grout and etches stone. Use a pH-neutral cleaner and save the acid for espresso machines.
- Ignoring caulk until it looks bad. Caulk fails from the back where you can’t see it. By the time it discolors, water has had months to work its way in. Inspect on a schedule, not on appearance.
- Resealing everything on the same schedule. Quartz doesn’t need sealing; marble does. Resealing the wrong surfaces wastes money; skipping the right ones causes damage.
- Not running the exhaust fan long enough. Run it during the shower and for 20 minutes after. Tustin’s dry climate is no excuse; indoor humidity is the issue, not outdoor.
- Wobbling a toilet base without fixing it. Any movement compresses the wax ring. It’s a straightforward fix, but left alone it turns into a subfloor repair. Call someone, don’t step around it.
- Cleaning shower door tracks with bleach. It breaks down the seals and weatherstripping. Use mild soap and a soft brush.
- Skipping the professional moisture check at year 10. A hidden leak found early is a repair; one found late is a rebuild. The old homes around Old Town Tustin and the newer builds near Tustin Ranch both benefit from a trained look at the decade mark.
See the difference
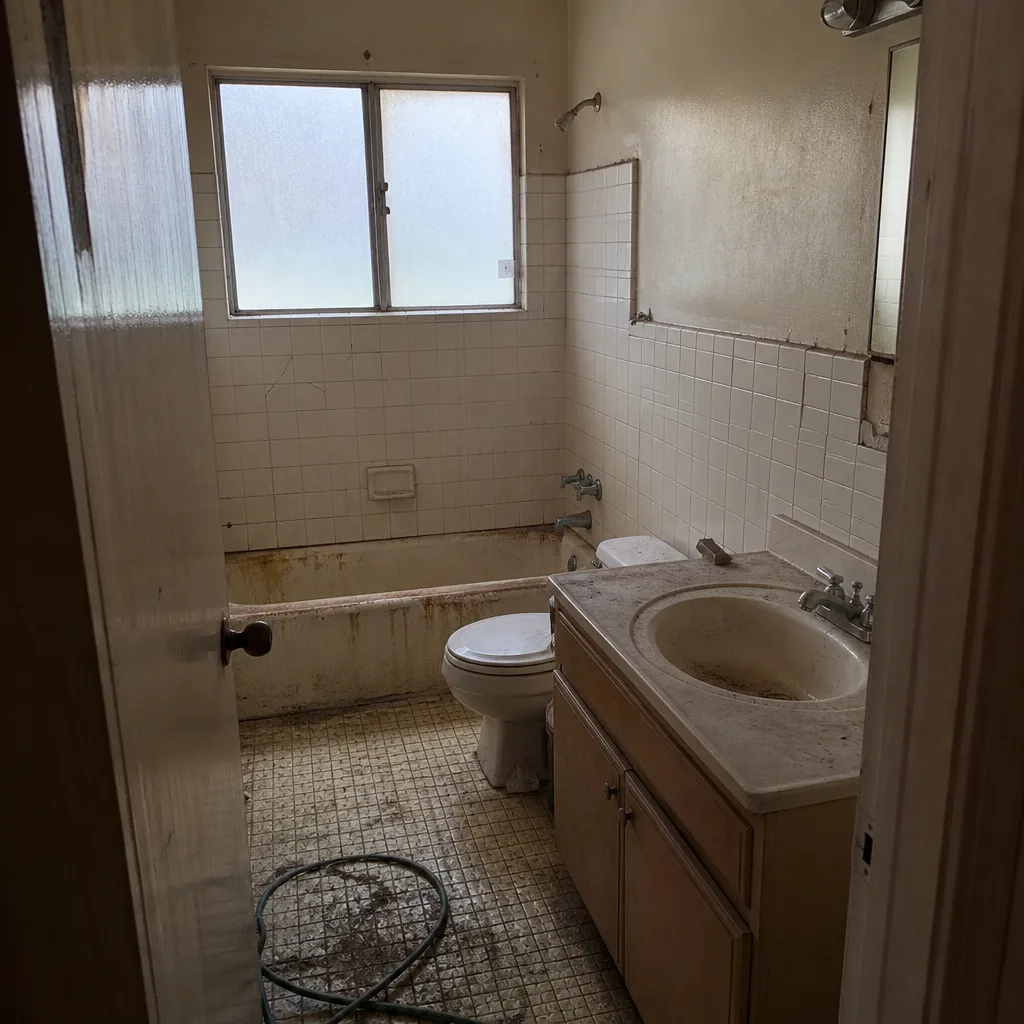 Before
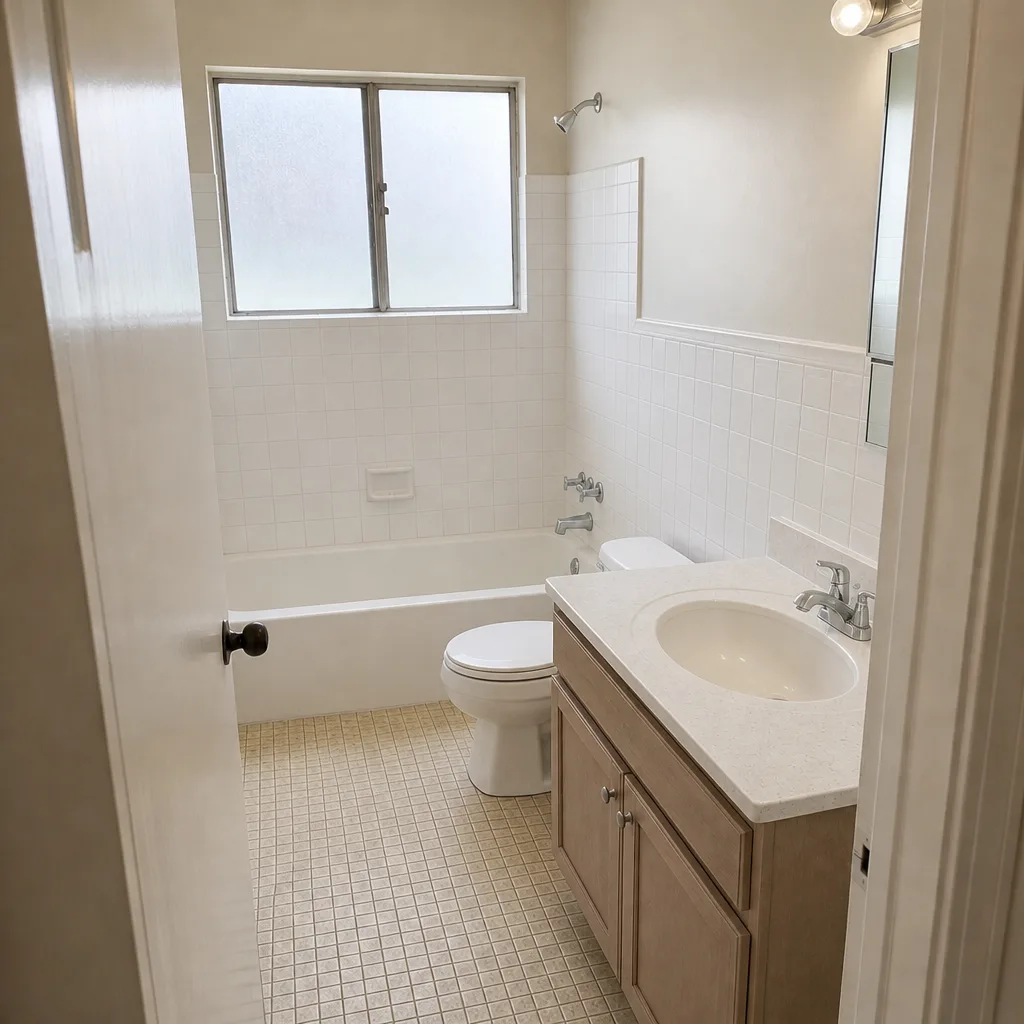 After
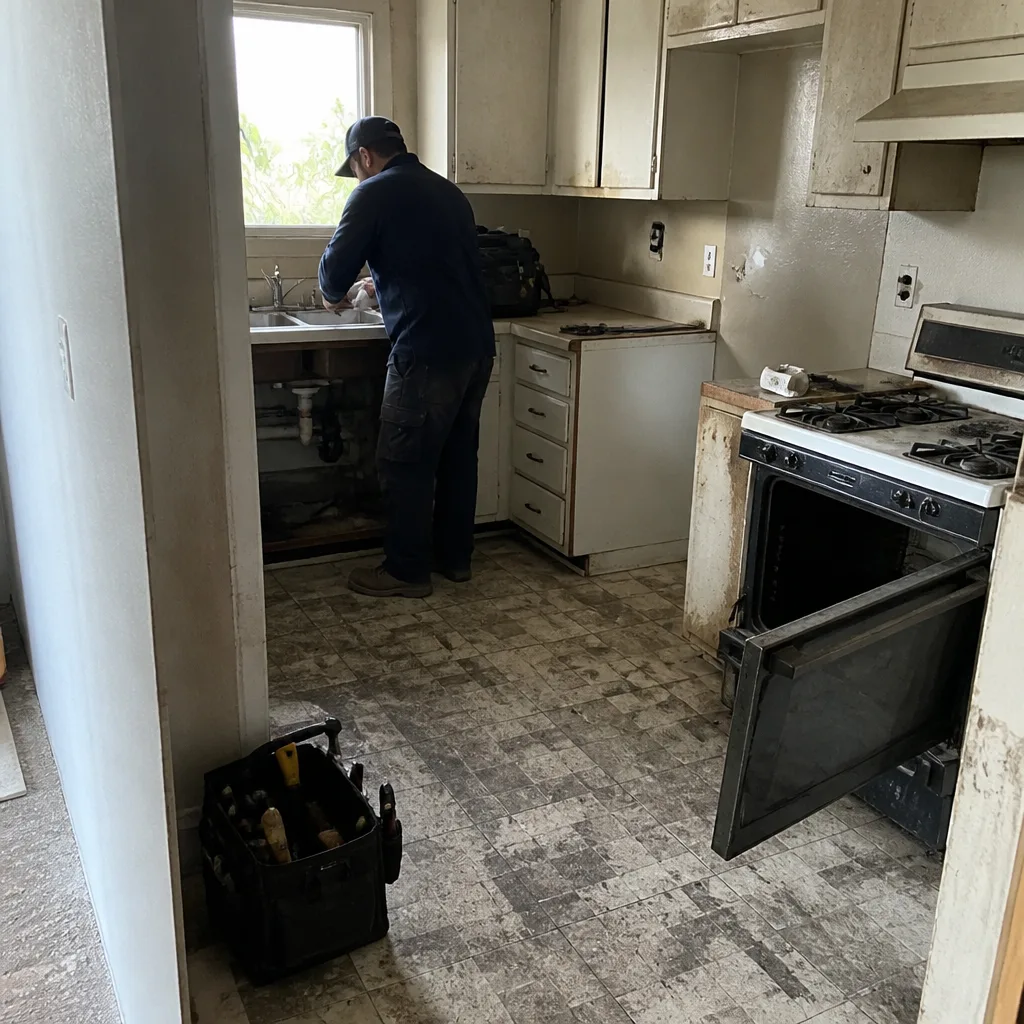 Before
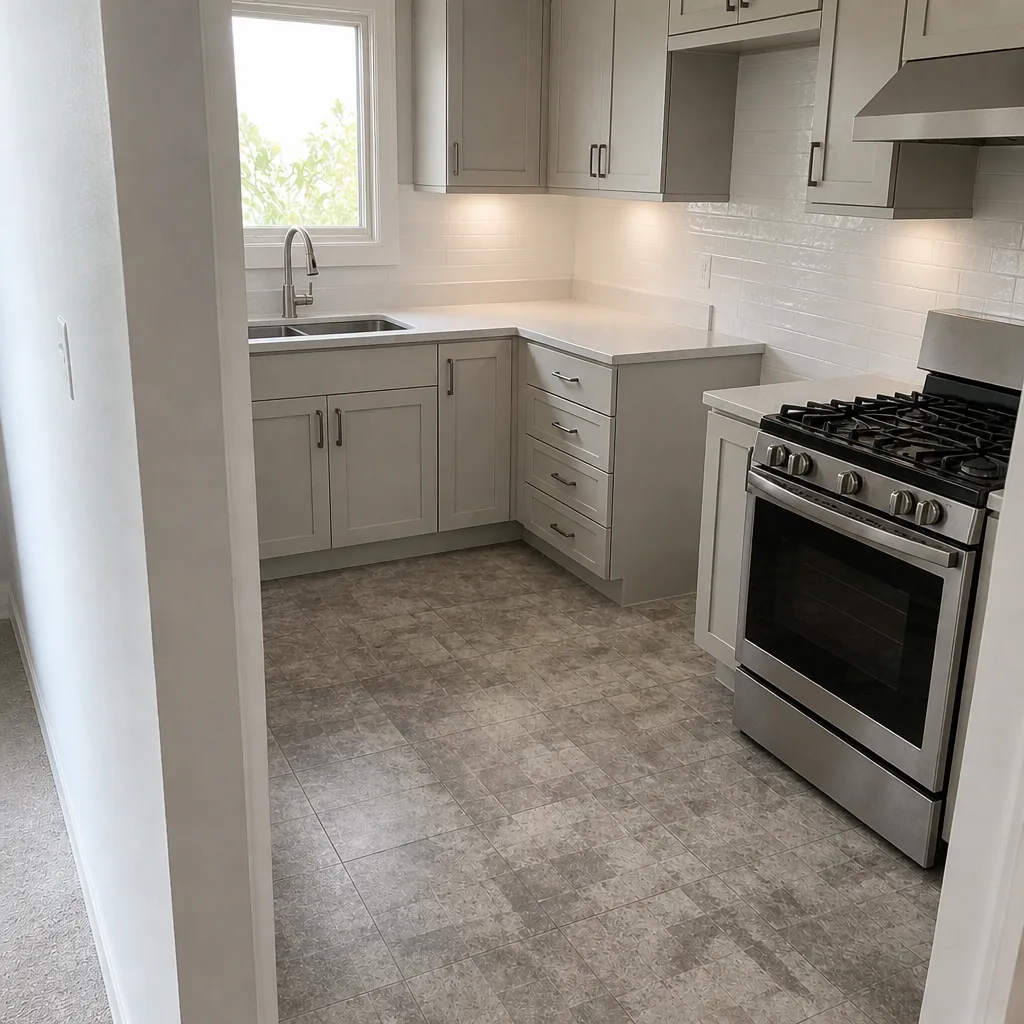 After
 Before
 After
When to Call a Professional
Most of the schedule above is homeowner work: caulk, cleaning, fan checks, toilet flapper swaps. But some signals mean the maintenance has uncovered a real problem, and they’re worth treating as automatic calls. A toilet that rocks, flooring that softens or sponges underfoot, a shower pan that flexes, a musty smell that persists after cleaning, water staining on the ceiling below, or caulk that pulls away from the wall in long strips all point to moisture getting into the building assemblies. Those are not 20-minute fixes; they’re assessments of what’s happening behind the surface. Groundwork Construction Co. of Tustin offers free estimates in Tustin; call (833) 954-6066. We can look at what your maintenance schedule uncovered and tell you honestly whether it’s a repair or something more, with upfront pricing and a written scope before work starts.
Frequently Asked Questions
Every 12 months. Marble is porous and absorbs water, oils, and cosmetics, so annual sealing is the interval that keeps it looking new. Skip it and the surface will etch and stain, which can’t be polished out by hand.
No. Vinegar is acidic and breaks down cementitious grout, and on natural stone it etches the surface. Use a pH-neutral tile cleaner instead; it cleans just as well without damaging the joints.
A persistent musty smell with no visible source usually means moisture is trapped where you can’t see it, often under a shower pan or behind a vanity. Clean and dry the room thoroughly, then call a professional if the smell returns within a week. It’s the earliest signal of a hidden leak.
Not indoors. Outdoor humidity in Tustin is low, but a bathroom generates moisture from every shower, so the exhaust fan still has to run and the wet-area caulk still fails on schedule. The dry climate reduces exterior wood rot; it does nothing for a bathroom ceiling tile.
A well-maintained bathroom holds up 20 to 30 years on the tile and plumbing, with caulk and grout maintenance keeping the envelope intact. Without the care schedule above, failures like hidden leaks and subfloor damage show up within 2 to 5 years.
Maintenance is routine care you do on schedule: caulk replacement, resealing, cleaning, fitting checks. A warranty claim is a failure of workmanship or installed material under normal use. Keeping dated notes and photos of your maintenance protects the claim if you ever need it, and our 730-Day Done Right Promise backs the work we do for two years.
The Bottom Line
Your bathroom remodel’s lifespan is set by the maintenance you do in the first two years and the rhythm you keep for the next eight. Inspect at 30, 60, and 90 days for curing and settling; run the annual schedule on the seasonal calendar; reseal each material on its own timeline (stone yearly, porcelain every 3 to 5 years); and check behind the visible surface once a season. Keep a simple log, and the 730-Day Done Right Promise protects anything that fails from the work itself. The math is simple: $40 of caulk at month 12 versus $4,000 of drywall at month 24. Groundwork Construction Co. of Tustin builds bathrooms for the long horizon, from foundation to finish line. Call (833) 954-6066 for your free estimate and design consult, with upfront pricing and no surprises.
Written by the team at Groundwork Construction Co. of Tustin.