Last updated November 17, 2026




Free written scope consultation - allowances, timeline, and change-order rules on paper before a single trade is scheduled
Home Additions & ADU Troubleshooting: Common Problems and How to Fix Them
The number one complaint we hear from Tustin homeowners after a botched addition isn’t the cost overrun. It’s “nobody told me this was a problem until it was too late.” The slab crack that spread under the new kitchen. The permit that was never closed out. The HVAC that shuts off every time the new bedroom door closes. These failures don’t announce themselves. They hide behind drywall, inside permit files, and in vague contract language until the repair bill has already climbed into the tens of thousands. This guide walks you through the seven most damaging failure points in California home additions and accessory dwelling units (ADUs), how to spot each one at the stage where it’s still fixable, and what remediation actually involves. We’ll cover Tustin-specific ground conditions, Orange County permitting realities, and the hard conversation to have when a contractor walks away mid-build.
Quick Answer
The most common home addition and ADU problems fall into seven categories: foundation mismatch between new and existing slabs, permit close-out failures, undersized HVAC and electrical systems, water intrusion at the old-to-new transition, drainage and grading mistakes, poor contract documentation, and stalled or abandoned projects. Most of these are detectable at three checkpoints – design, framing inspection, and final inspection – which is why a homeowner who asks the right questions at those stages avoids the majority of five-figure repair scenarios. In Tustin, the combination of expansive clay soils and older mid-century slabs makes foundation and drainage issues especially common, so those two checkpoints deserve the closest attention.
Styles & brands we work with
- Kitchen remodeling
- Bathroom remodeling
- Home additions & ADU
- Roofing
- Windows & doors
- Driveway & pavers
- Fence
Table of Contents
- Foundation Mismatch: Why New Additions Crack at the Seam
- Permit Close-Out Failures: When “Done” Isn’t Legal
- HVAC and Electrical Capacity: Was Your System Actually Upgraded?
- Water Intrusion at the Old-to-New Transition
- Drainage, Grading, and the Tustin Soil Problem
- Contract Documentation That Protects You
- How to Handle a Stalled Project Mid-Construction
- Common Mistakes to Avoid
- When to Call a Professional
- Frequently Asked Questions
Foundation Mismatch: Why New Additions Crack at the Seam
A new addition foundation tied incorrectly to an existing slab produces visible cracking within two to three years. That’s not a worst-case scenario. It’s the normal outcome when two foundations that settle at different rates are rigidly connected instead of properly isolated or doweled with the right engineering detail. The crack usually starts at the corner where the new foundation meets the old one and travels diagonally up the wall or across the floor.
Here’s what actually causes it. Your existing Tustin home – especially if it was built in the 1950s through 1970s, which covers most of the stock in neighborhoods like Old Town and Columbus Square – sits on a slab that has already finished most of its settling. A new foundation has not. The new slab will move more in its first three years than the old slab has moved in the last thirty. If the two are bolted together without a proper cold joint, a slip plane, or engineering to account for differential settlement, the movement has nowhere to go but into your finishes.
Visible Signs to Watch For
- Diagonal cracks starting at the inside corner where the addition joins the original structure
- Step cracks in exterior stucco at the transition line
- Doors and windows in the new section that stop latching within a year or two
- Sloping or bouncy flooring right at the old-to-new seam
- Gaps opening between baseboard and floor along the shared wall
What Proper Remediation Involves
Depending on severity, remediation ranges from crack injection and monitoring to underpinning one side of the foundation to bring it back into alignment. In the more serious cases, the connection detail has to be reworked – which means opening up the seam, cutting back finishes, and installing the isolation or doweling detail that should have been there in the first place. That’s a $8,000 to $25,000 repair in the Tustin market, and it’s almost always cheaper to get the detail right at framing.
How to Check Your Foundation Detail Before You Sign
- Ask your structural engineer to show you the connection detail in the plans – explicitly, in writing, on a drawing.
- Confirm whether the design calls for a cold joint, slip plane, or doweled connection, and why that choice was made.
- Ask whether a soils report was done. Expansive clay in parts of Tustin makes this non-negotiable.
- Request that the foundation inspection be photographed before the slab is poured.
- Have an independent inspector look at the seam after framing and again at one year.
This is exactly the kind of checkpoint that separates a build that lasts from a build that starts cracking in year three. It’s also why Groundwork Construction Co. of Tustin’s home page leads with the 730-Day Done Right Promise – if a foundation detail fails inside the warranty window, we make it right rather than pointing at the engineer.
Permit Close-Out Failures: When “Done” Isn’t Legal
Permit close-out failures are surprisingly common. Construction gets “done,” the contractor packs up, the check clears, and nobody ever calls for the final inspection. The addition is finished and furnished. It’s also, from the city’s perspective, still an open permit – which means the square footage is legally unpermitted and the property can’t be sold cleanly until it’s closed out.
In Tustin, additions and ADUs typically move through several inspection stages: foundation, framing, rough electrical and plumbing, insulation, drywall nailing, and final. The final inspection is the one that closes the permit, and it’s the one most likely to be skipped when a contractor is trying to move on to the next job. We’ve seen houses in Tustin Ranch and North Tustin where a fully finished bonus room was added fifteen years ago and the permit was still open when the owner tried to sell – which triggered a scramble, a reinspection, and in some cases a demolition order for anything the city couldn’t verify was built to code.
How to Confirm Your Permit Is Closed
- Go to the City of Tustin’s online permit portal and search by your property address.
- Check the permit status – “finaled,” “closed,” or “complete” are the terms you want to see.
- Request a copy of the final inspection sign-off card or the closed permit record.
- If a permit is still open, call the building department and ask what’s needed to close it.
- Get a written confirmation from the contractor that all inspections are complete before the final payment clears.
What Remediation Looks Like
If the permit was never finaled, the path forward usually involves re-inspection of the visible stages, possible destructive testing (opening a wall to verify framing or electrical), and payment of outstanding permit fees plus a penalty. That’s typically $1,500 to $6,000 in Orange County depending on what has to be opened up. If the work was substantially non-compliant, remediation can run much higher. Either way, it’s a problem to solve before you sell – not during escrow, when the buyer has all the leverage.
For Tustin homeowners planning an addition, this is one of the key reasons the Home Additions & ADU service in Tustin page leads with permit management as a core deliverable. Permit close-out isn’t paperwork. It’s the difference between legal square footage and a liability that follows the house.
HVAC and Electrical Capacity: Was Your System Actually Upgraded?
A contractor who “taps in” to your existing HVAC and electrical systems without checking capacity has just guaranteed you’ll have problems – usually in the first winter or the first hot week of summer. Adding 500 square feet of conditioned space to a home in Tustin isn’t just a matter of running a duct. The load calculation, the panel capacity, and the distribution design all have to be checked, and they frequently aren’t.
Diagnosing HVAC Capacity
The single most reliable test is a Manual J load calculation. This is the industry-standard engineering calculation that tells you exactly how much heating and cooling the combined existing-plus-new square footage requires. If your contractor can’t produce one, they’re guessing. Signs of an HVAC system that wasn’t properly upgraded after an addition:
- Some rooms never reach temperature on hot Tustin afternoons while others get too cold
- The system runs almost constantly in August and September
- Static pressure at the air handler is above the manufacturer’s specification (your HVAC tech can measure it)
- New rooms feel humid or stagnant even when the thermostat is satisfied
- The unit short-cycles or trips the breaker under full load
Diagnosing Electrical Capacity
Electrical is where the shortcuts get expensive fast. Adding a bedroom, kitchen, ADU, or home office usually means new circuits, and possibly a subpanel or a full panel upgrade. A contractor who ties new circuits into a nearly-full panel without a load calculation is playing a dangerous game. In California, an electrical service upgrade to 200 amps typically runs $3,500 to $8,500 – but it’s non-negotiable if the load calc calls for it.
If you’re looking at a stalled addition and the electrical work looks unfinished or questionable, do not open the panel yourself. Electrical panels and service upgrades are genuinely dangerous and require a licensed electrician. Call a professional for any capacity check that involves opening the panel cover.
What Proper Remediation Requires
- Get a Manual J load calculation and a Manual S equipment selection.
- Have a licensed electrician perform a panel capacity calculation.
- Document the existing system’s condition before any upgrades.
- Install dedicated circuits or a subpanel for the addition rather than tapping in.
- Commission the system and verify temperature and pressure after the first full season.
In Tustin, where temperatures can swing from 55F mornings to 95F afternoons in the same day, an undersized HVAC system doesn’t just feel uncomfortable – it wears itself out. Proper design at the start costs less than a replacement in year three.
Water Intrusion at the Old-to-New Transition
Water intrusion at the seam between old and new construction is the most predictable failure point in any addition. And it’s the one we see most in Tustin homes because of two factors: the seasonal dry-then-wet climate and the frequency of stucco-to-stucco and stucco-to-siding transitions. The specific flashing details that get skipped almost always involve the headwall, the intersection of new roofline into old, and the door and window penetrations.
Here’s the pattern. The skip typically happens where the new roof meets the existing wall. A proper headwall flashing requires a step-and-counter-flashing detail that gets woven into the existing stucco or siding above and drains out over the new roof below. When that detail is rough, water gets behind the new roofing, behind the new stucco, and into the wall cavity. But because the leak starts high and travels down, you don’t see it at the point of entry. You see it at the ceiling or the baseboard, months later, after the framing has already gotten wet.
Early Warning Signs
- Water staining at the interior ceiling or top of the wall near the transition
- Efflorescence (white powdery residue) on exterior stucco near the seam
- Peeling or bubbling paint at the interior corner where new meets old
- Musty smell in the new space that gets worse in the wet season
- Loose or lifting roofing at the point where new roof meets old wall
What to Check Before Drywall Goes Up
- Confirm the headwall flashing has a written detail on the plans.
- Photograph the flashing installation before the roofing and stucco cover it.
- Verify that building paper or WRB (weather-resistant barrier) laps correctly over the flashing.
- Look for kick-out flashing at the base of the wall-roof intersection – this is what stops water from running into the wall at the bottom of the run.
- Have the seam water-tested (an AAMA 501.2 spray test is the standard) before drywall.
If the addition already has drywall up and you suspect water intrusion, don’t wait. Mold in Orange County’s climate can colonize wet framing within weeks, and remediation costs climb fast once you’ve got active mold and rotted framing to deal with. The window for cheap fixes closes quickly.
If you’re building new or replacing the windows and doors in the new section, specifying a premium product with known flashing compatibility matters. We typically use Therma-Tru or ViewLux on the door side and Andersen or Marvin on windows for the flashing integration and warranty support they carry – but the specific brand matters far less than whether the flashing detail was drawn and installed. You can see how we think about the same transition work on our fence installation in Tustin page, where post-to-fence and wall-to-fence penetrations get the same treatment.
Drainage, Grading, and the Tustin Soil Problem
Tustin sits on a mix of expansive clay soils and older alluvial deposits, which means water management around a new addition isn’t optional. An addition that changes the grading, blocks a natural drainage path, or funnels roof water to the wrong side of the house will produce foundation movement, damp crawl spaces, and stand-water problems – usually within the first two wet seasons.
The most common mistake is ignoring site drainage entirely. An addition shifts where the roof water goes, adds impervious surface (the new roof, the new patio, the new driveway approach), and changes how water moves across the lot. If the plan doesn’t include the drainage design, water ends up where it shouldn’t be – against the foundation of the original house, under the new slab, or into the neighbor’s yard.
Grading and Drainage Checklist
- Soil should slope away from all foundation walls at a minimum of 6 inches over the first 10 feet.
- Downspouts from the new roof should discharge at least 4 feet from the foundation and away from the original house.
- Any low spot on the lot after construction must be regraded or drained – not left “to see what happens.”
- Permeable surfaces (pavers, gravel, planted swales) are often cheaper and more effective than trench drains.
- If your addition sits on a hillside lot in North Tustin, add a swale, retaining element, or drainage channel on the uphill side.
Why This Matters More Than It Sounds
Improper grading is the single largest driver of the differential-settlement cracking we covered at the top of this guide. Water against the new slab softens the soil, the slab moves, and the seam to the original house takes the stress. There’s no point fixing the foundation detail if the water that’s causing movement is still pooling against the new work. The Driveway & Pavers in Tustin team deals with this weekly – the pavers might be picture-perfect, but if the grade underneath pushes water toward the house, the foundation is paying for it.
Before final inspection, walk the perimeter after a rain (or a hose test) and confirm that water is moving away from the house and off the lot. If it isn’t, that’s a detail the contractor owes you – not a “next phase” item.
Contract Documentation That Protects You
Most of the expensive problems in a botched addition trace back to contract language that was vague at the wrong moment. Vague scope. Vague change-order process. Vague timeline. Vague warranty. The good news is that a construction contract isn’t a mystery – it’s a list, and the list can be checked before you sign.
In California, home improvement contracts over $500 are governed by Business and Professions Code section 7159, which requires a written contract with specific elements: the contractor’s name, address, and license number, a description of the work, a schedule of payments, and a notice of cancellation, among others. That’s a floor, not a ceiling – for an addition or ADU, you want considerably more than the statutory minimum.
What a Good Addition Contract Includes
- Full scope description with plans attached and referenced by date and revision
- Allowances spelled out – which items are allowances, at what dollar amount, and what happens when the actual cost exceeds them
- Change-order procedure – in writing, priced before work starts, homeowner signature required
- Payment schedule tied to milestones, not calendar dates, and never more than 10% down in California for projects over $500
- Timeline with a substantial completion date and a description of what happens if it slips
- Warranty terms spelled out in writing, including duration and what’s covered
- Permit responsibility – explicitly who pulls, who pays for, and who closes out each permit
- Lien release provisions – conditional waivers at each payment and unconditional on final
The Questions That Surface the Real Answers
Before signing, ask: what’s your warranty, in years, on workmanship? What happens if you and I disagree on whether something is complete? Who’s on the job every day, and what’s that person’s name and role? What’s the process if we find dry rot behind the existing wall (for Tustin homes built before 1970, the answer to this should be detailed)? If a contractor hesitates on any of these, that’s your answer.
The 730-Day Done Right Promise exists because we’ve seen how much friction is created when the warranty is ambiguous. Two years is enough time for most hidden failures to surface. If something goes wrong with our work during that window, we fix it – that’s the whole promise. It’s written, it’s specific, and it’s the standard every addition we work on is held to.
How to Handle a Stalled Project Mid-Construction
A stalled project is the worst-case scenario, and it’s more common than most homeowners realize. Contractor abandons the job. Crew stops showing up. Phone goes to voicemail. You’re left with a half-framed addition, an open permit, and money already paid. The good news is that there’s a path through it – a methodical one that protects your money, your permit, and your property.
Step-by-Step: What to Do When Your Contractor Walks
- Document the state of the job immediately. Photograph everything. Write down dates, payments made, work completed, and work outstanding. This log becomes the basis of every decision that follows.
- Send written notice. A certified letter stating that the contractor is in breach and giving them a defined cure period (typically 10 days) is the standard first move. Keep a copy.
- Check the license and insurance status. Look up the contractor’s license with the California Contractors State License Board. If the license is expired, suspended, or was never valid, you have additional options – including a claim against the CSLB’s recovery fund.
- File a CSLB complaint. This triggers an investigation, and in cases of abandonment the board can act quickly. It also creates a formal record that helps for any subsequent claim.
- Protect the property. Secure the site, cover exposed framing, and shut off open utilities. Water intrusion from an open frame during a Tustin rainy season can cause thousands in additional damage.
- Check for liens. Subcontractors and suppliers who weren’t paid can record mechanic’s liens against your property. California requires a 20-day preliminary notice in most cases, but confirm with a construction attorney.
- Get the permit transferred or the new contractor added. The City of Tustin will typically allow a new licensed contractor to take over an open permit with the proper paperwork and a written explanation. Don’t start work before this is done.
- Bring in a new contractor. Insist on a written scope of work that starts with an inspection of the existing work, a full pricing of the finish scope, and an explicit acknowledgment of the existing permit. Any contractor who won’t inspect the prior work in writing is a bad bet.
What to Expect on Cost
Finishing someone else’s half-built addition typically runs 15% to 30% higher than the equivalent scope would have been start-to-finish, because of the inspection, correction, and permit-transfer overhead. That’s a painful number, and it’s why stopping early is almost always better than gambling on a contractor who’s gone silent. If you haven’t yet written the check that puts them in a position to walk, don’t write it.
Common Mistakes to Avoid
- Signing a contract with an allowance that’s secretly a placeholder. An allowance that’s $2,000 for a $6,000 line item is a change order waiting to happen. Insist on realistic allowance amounts or fixed pricing.
- Assuming the final inspection will happen without your involvement. It frequently doesn’t. Verify the permit closes before the last payment clears – this is the single most common close-out failure in Tustin.
- Accepting “we’ll handle the permits” without seeing the paperwork. Pull a copy of every permit before work begins, and confirm the contractor is the named permit holder or co-applicant.
- Skipping the soils report in clay-heavy areas. Tustin has enough expansive clay that skipping a soils report on a new foundation is a gamble with a known bad outcome. It’s a few hundred dollars and it informs every structural decision.
- Letting the contractor choose drainage “at the end.” Site drainage has to be designed before the addition footprint is set, not after the roof is on. Retrofitting drainage is expensive; designing it is not.
- Paying more than 10% down or paying ahead of milestone completion. California caps the deposit for most projects over $500 at 10%, but more importantly, paying ahead of milestones removes your leverage to get the work corrected.
- Assuming “it passed framing” means the whole job is clean. Framing inspection covers the structure, not the flashing, not the HVAC commissioning, not the drainage. Each stage has its own inspection, and each one is a separate checkpoint.
When to Call a Professional
Some problems are DIY-fixable. Additions and ADUs have very few of them. Call a professional if you’re seeing slab cracks at the old-to-new seam, water staining near the transition, an open permit from a previous project, an HVAC system that can’t keep up, anything electrical involving the panel, or a contractor who has stopped returning calls. These are all situations where the cost of getting it wrong the second time is higher than the cost of getting it right. Foundation under carpenters, electricians under panel covers, and water intrusion behind stucco all carry real risk of injury or structural damage – don’t pull the drywall yourself hoping to find a simple fix.
Groundwork Construction Co. of Tustin offers free project estimates in Tustin – call (833) 954-6066 to schedule one. Our technicians have up to 12 years of experience, arrive in uniform, and are background-checked. Calls are answered by a live person around the clock, so you’re not waiting until Monday to get a real answer. Every addition we take on is covered by the 730-Day Done Right Promise, with upfront pricing and no surprises when the work begins.
Frequently Asked Questions
Foundation mismatch remediation in Tustin typically runs $8,000 to $25,000, with the higher end covering underpinning work and rebuilding the seam detail. The exact number depends on how far the new foundation has settled and how much interior finish has to be removed to access the problem. Call (833) 954-6066 for a free estimate – we’ll scope the repair and give you a line-item written quote.
First, pull the permit record on the City of Tustin portal and confirm it’s actually open rather than simply not updated. Then call the building department directly and ask what’s needed to close it – usually a reinspection of visible stages and payment of any outstanding fees. If a contractor was responsible for close-out, notify them in writing before you involve anyone else. If the contractor won’t respond, a new licensed contractor can typically take over the open permit with the proper paperwork. Call (833) 954-6066 to schedule a consultation.
Maybe, but you can’t know without a Manual J load calculation – and any contractor who says “it’ll be fine” without one is guessing. In Tustin’s climate, an undersized system will run constantly in summer, short-cycle, and fail years earlier than it should. The proper approach is to run the load calc, verify the air handler and ductwork can handle the added load, and upgrade if needed. Call (833) 954-6066 for a free estimate on an HVAC scope review.
Yes, and it’s a well-trodden path – but only if the permit is transferred correctly and the new contractor inspects the existing work in writing before starting. Expect the finish scope to run 15% to 30% higher than it would have in a clean start, mostly due to correction and reinspection. The first step is documenting everything and notifying the original contractor in writing. Call (833) 954-6066 to set up a site walk and a fixed-price scope for the remaining work.
If the drywall is already up, you can’t see the flashing – but you can look for the tells: water stains at the ceiling near the transition, efflorescence on exterior stucco, or a musty smell that gets worse in the wet season. Before drywall, the flashing should be photographed and, ideally, spray-tested. If you suspect a problem now, an infrared moisture scan through the drywall can confirm before you open anything up. Call (833) 954-6066 for a free inspection and estimate.
ADUs in Tustin hold their value well – the rental market is strong and the square footage adds appraisal value to the main home. That said, drainage work is real cost, and it should be priced before you commit. A detached ADU on a lot that needs regrading and a new drainage field can add $8,000 to $20,000 to the project. Get that scope written into the estimate so you’re not surprised. Call (833) 954-6066 for a free project estimate – the free design consult will tell you whether the lot is a green light.
The Bottom Line
Home addition and ADU problems almost never announce themselves. They hide in the foundation seam, the permit file, the HVAC closet, and the flashing behind the stucco – until the repair bill is already five figures. The cure isn’t luck. It’s three things: verify the design details in writing before you sign, photograph and inspect every stage that will be covered up, and confirm the permit closes out before the last payment clears. In Tustin’s clay soils and coastal climate, foundation and drainage deserve the closest attention of all, since they’re the problems that cascade into everything else. Get those three checkpoints right and the odds you end up with a five-figure surprise drop dramatically. If you’re past the checkpoints and already dealing with one of these failures, call (833) 954-6066. A free estimate – with upfront pricing and a fixed scope in writing – is where every fix starts.
Written by the team at Groundwork Construction Co. of Tustin.
See the difference
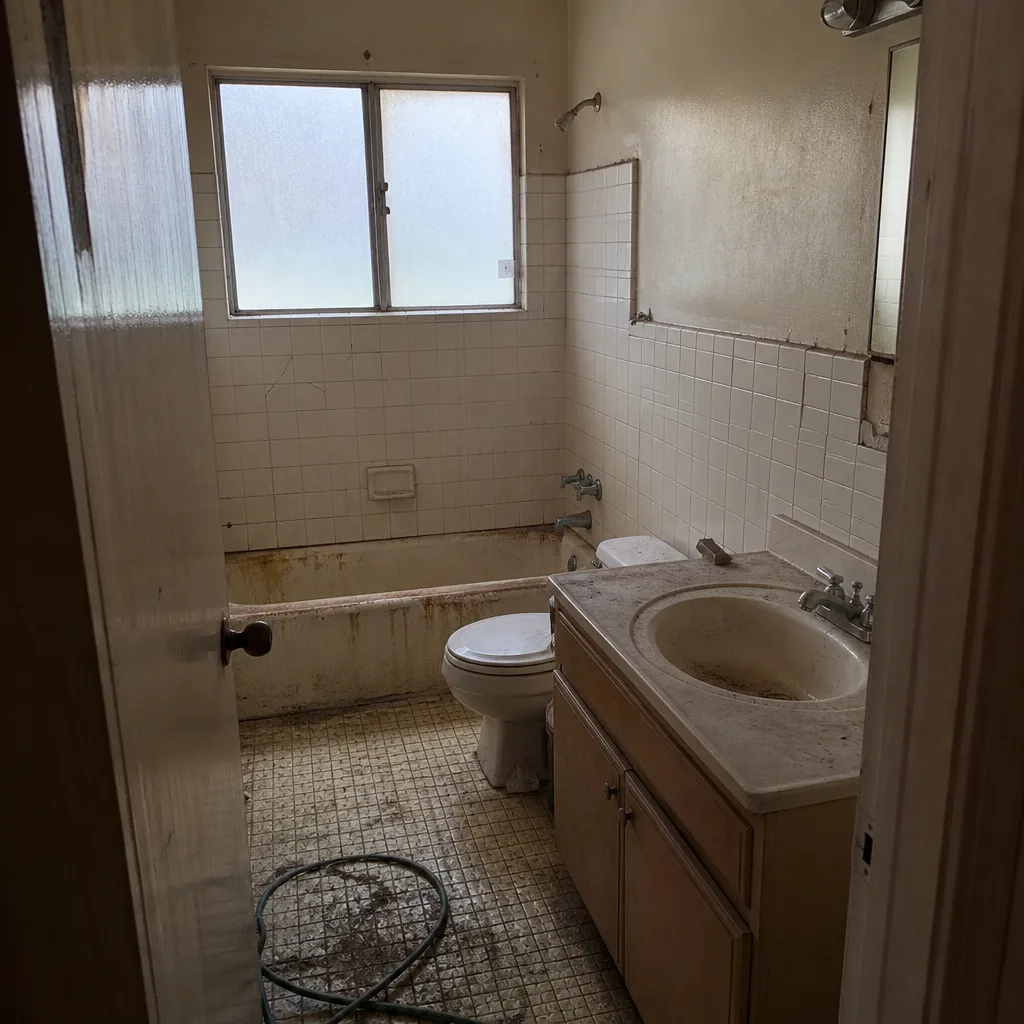 Before
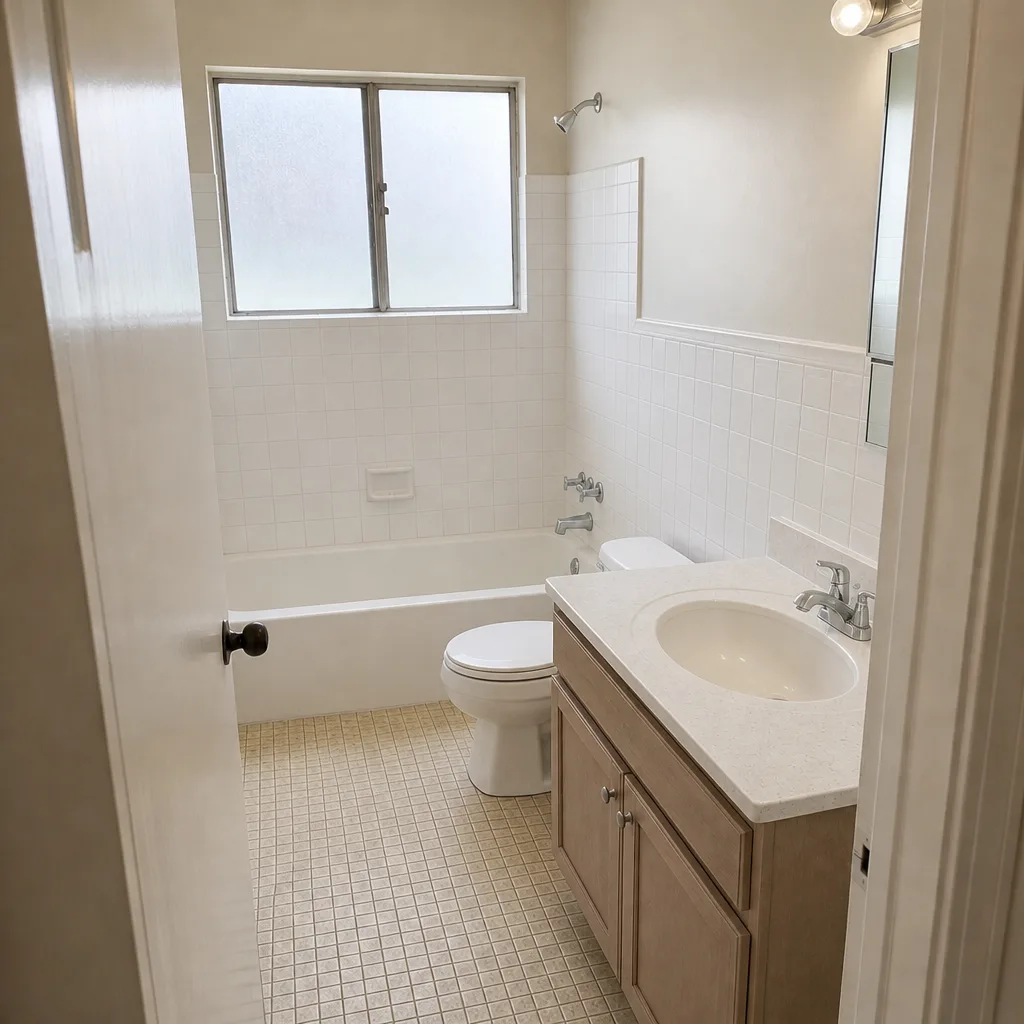 After
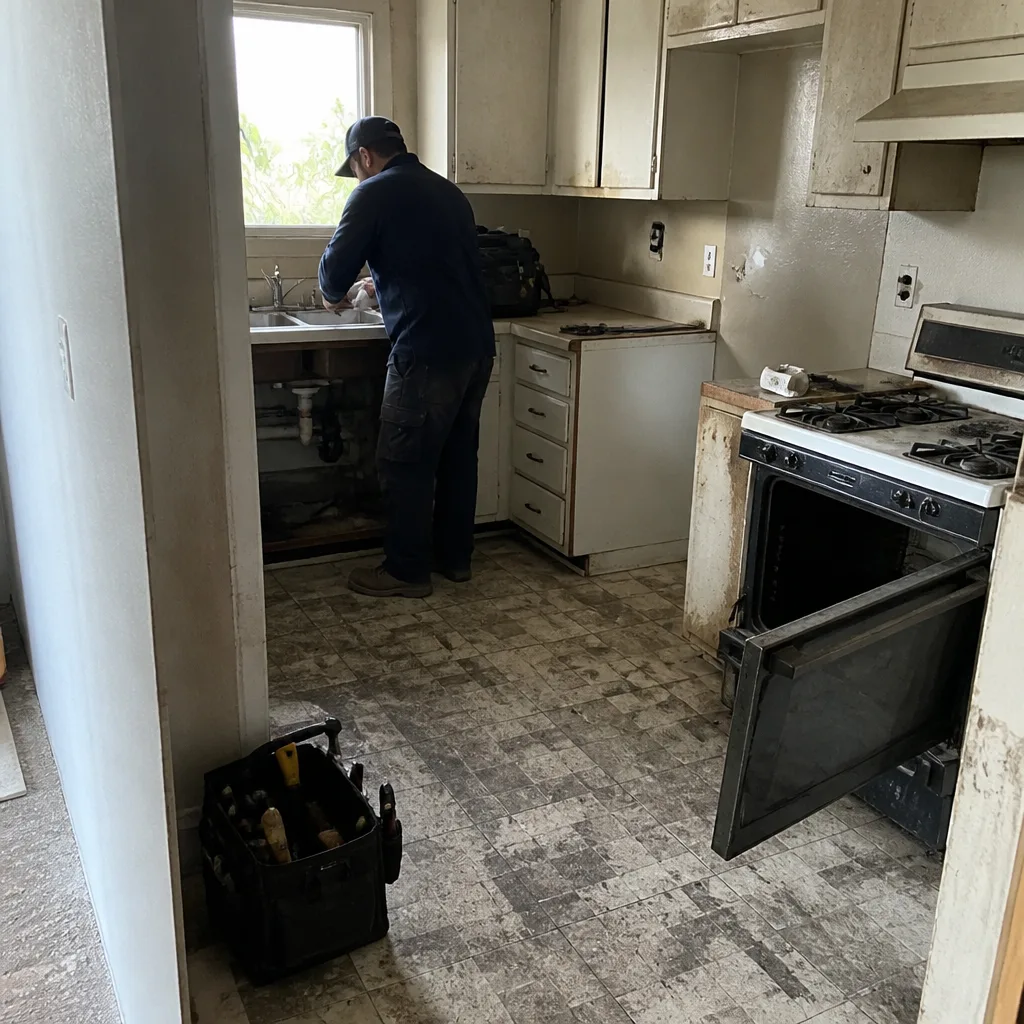 Before
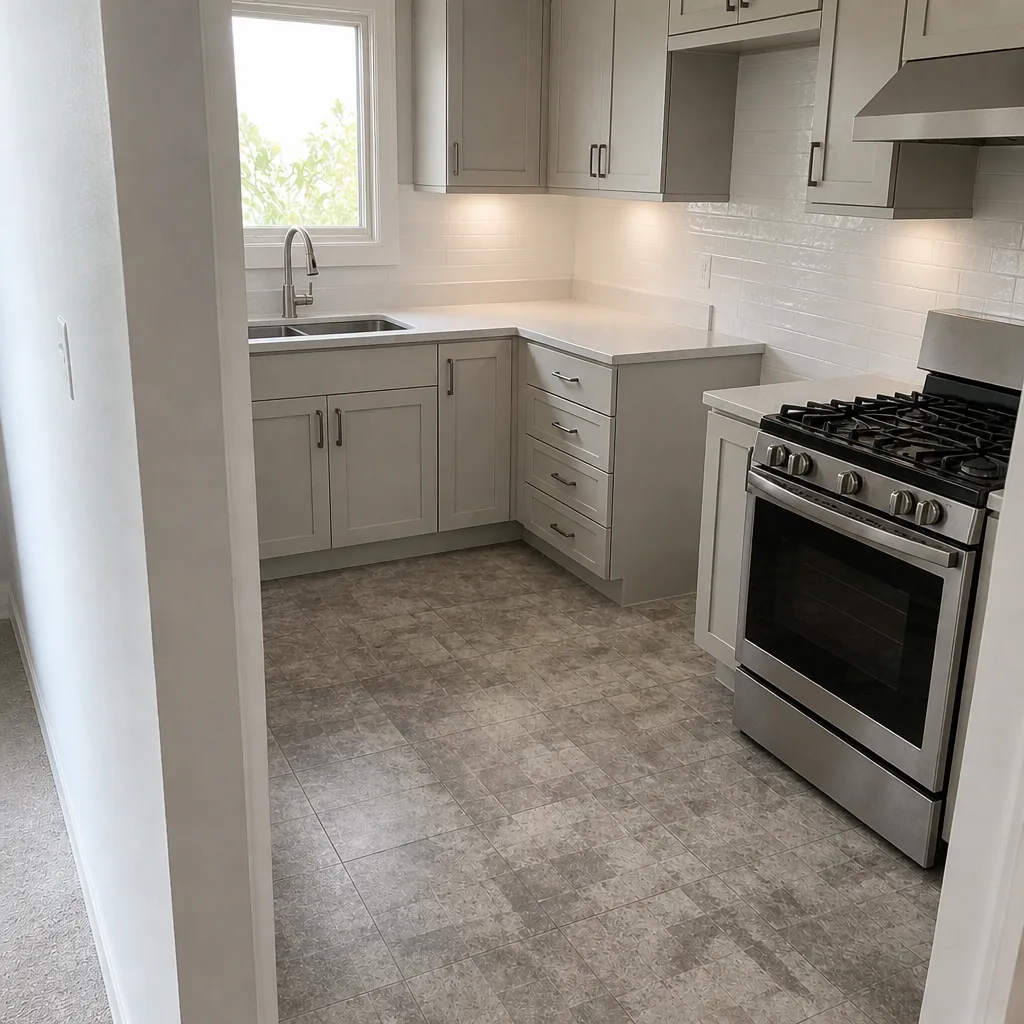 After
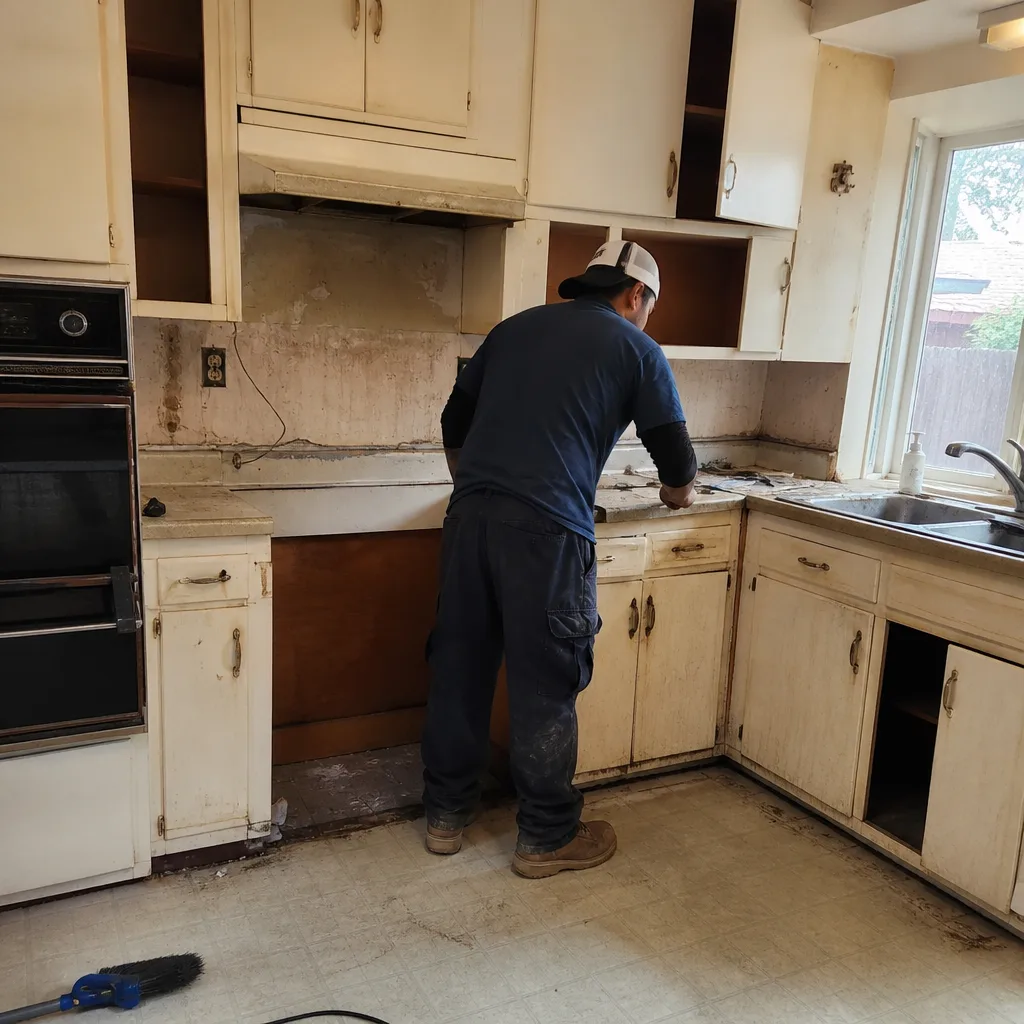 Before
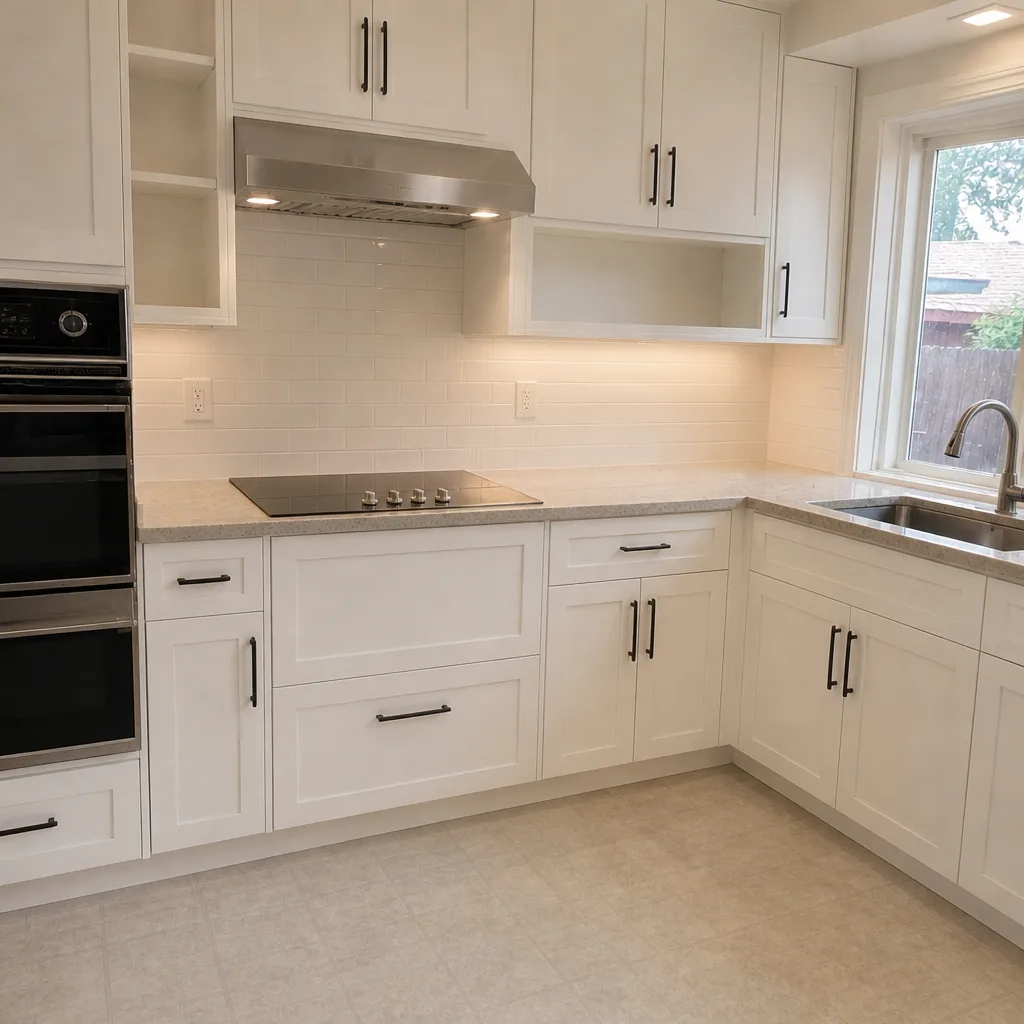 After